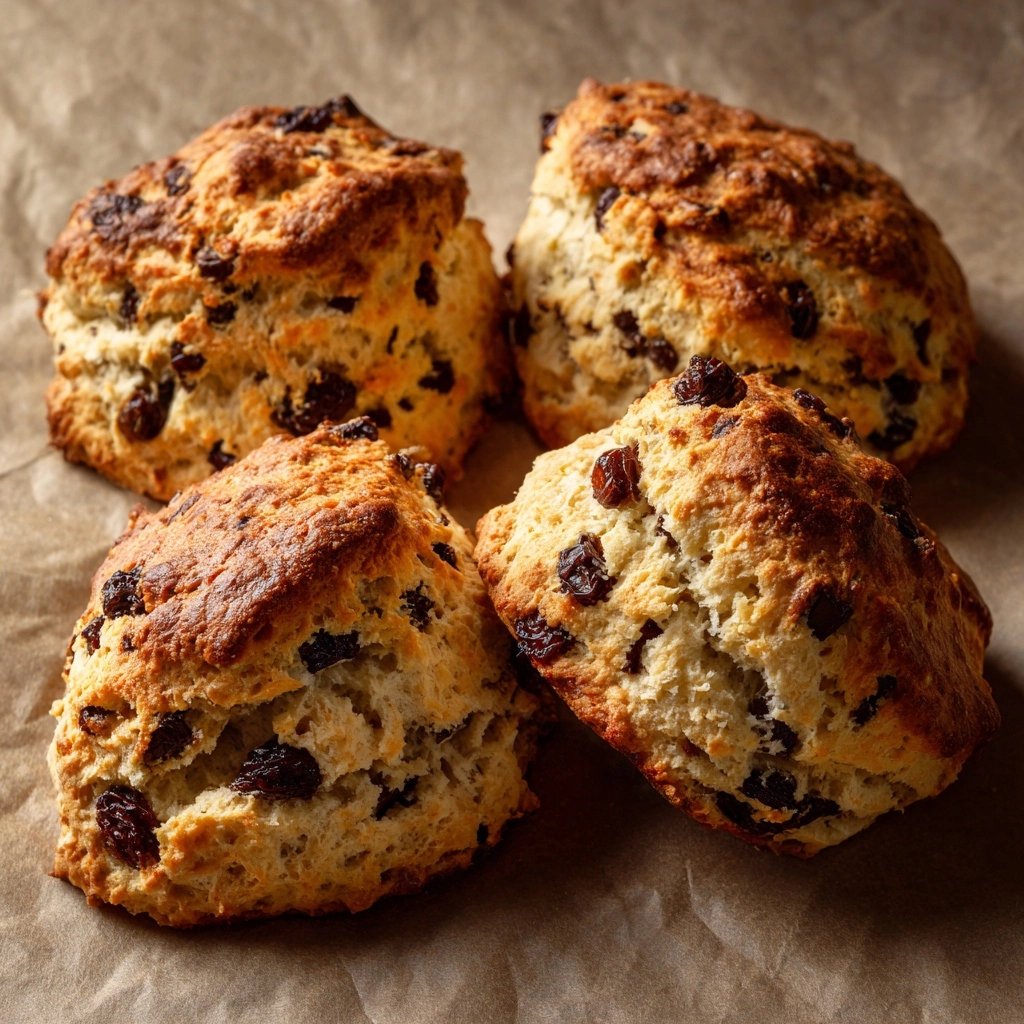
If you’re looking for a treat that’s loaded with charm, nostalgia, and just the right amount of sweetness, Rock Buns are the answer. These crumbly, fruit-studded little cakes are a staple in British baking, beloved for their rugged looks and melt-in-your-mouth centers. With a recipe that comes together in no time and a delicious flavor that’s never fussy or overly sweet, Rock Buns are the perfect snack for tea time, lunchboxes, or whenever you need a cozy pick-me-up.
Ingredients You’ll Need
Gathering your ingredients for Rock Buns is almost as delightful as baking them. Every item plays a crucial role, from the tender crumb that butter brings, to the warmth of cinnamon and bursts of juicy dried fruit. Here’s what you’ll need and why:
- All-purpose flour: The sturdy foundation that gives your Rock Buns their classic, rustic texture.
- Baking powder: Helps the buns rise and become deliciously fluffy inside.
- Ground cinnamon: Adds a gentle, aromatic warmth that pairs perfectly with dried fruit.
- Salt: Just a pinch brings out the flavors and balances the sweetness.
- Cold unsalted butter: Essential for that crumbly, tender bite—be sure it’s cold for best results!
- Granulated sugar: Provides a subtle sweetness without overpowering the spices and fruit.
- Dried fruit (raisins, sultanas, or mixed peel): These chewy gems lend pops of fruity flavor and a touch of color.
- Large egg: Helps bind the mixture and adds richness.
- Milk: Moistens the dough just enough to bring everything together.
- Vanilla extract (optional): For a hint of floral sweetness, but feel free to skip it for a more traditional flavor.
- Coarse sugar for sprinkling (optional): Adds a lovely crunch and sparkle to the tops.
How to Make Rock Buns
Step 1: Prep Your Baking Sheet
Start by preheating your oven to 375°F (190°C) and lining a baking sheet with parchment paper. This simple step ensures your Rock Buns won’t stick and makes cleanup a breeze. Getting your oven hot and ready means your buns will bake evenly and develop that golden, irresistible crust.
Step 2: Combine the Dry Ingredients
Grab a large mixing bowl and whisk together the flour, baking powder, cinnamon, and salt. Giving your dry ingredients a quick whisk helps evenly distribute the rising agent and spices, so every single bite of your Rock Buns is perfectly flavored and beautifully textured.
Step 3: Cut in the Butter
Add the cold, cubed butter to your dry mixture. Using your fingertips, gently rub the butter in until the mixture looks like coarse breadcrumbs. This step is the secret to that classic crumbly texture—don’t rush it, and don’t worry if there are a few larger bits left; they’ll create lovely pockets of tenderness.
Step 4: Add Sugar and Dried Fruit
Stir in the granulated sugar and your choice of dried fruit. This is where the magic happens: the sugar sweetens and the fruit adds chewy, juicy bursts to every bite of your Rock Buns. You can stick with classic raisins or sultanas, or get adventurous with mixed peel for extra zing.
Step 5: Mix the Wet Ingredients
In a small bowl, beat together the egg, milk, and vanilla extract if you’re using it. This mixture will bring your dough together and add richness. Don’t skip the beating—it ensures a more even texture when you add it to the dry mix.
Step 6: Bring the Dough Together
Pour the wet ingredients into the dry mix and stir gently until just combined. The dough should be thick and slightly sticky—if it seems a bit dry, add a splash more milk. Be careful not to overmix; the less you stir, the lighter your Rock Buns will be.
Step 7: Shape and Bake
Drop heaping spoonfuls of the dough onto your prepared baking sheet, leaving a little space between each for spreading. Sprinkle with coarse sugar if you like a crisp, sparkly top. Bake for 15 to 18 minutes, or until golden and firm to the touch. Let your Rock Buns cool on a wire rack so they set up just right before serving.
How to Serve Rock Buns
Garnishes
A simple dusting of powdered sugar or a sprinkle of coarse sugar on top can make your Rock Buns look extra inviting. For a seasonal twist, add a little fresh orange zest or a drizzle of light glaze for special occasions.
Side Dishes
Rock Buns shine brightest alongside a steaming cup of tea or coffee. For a more decadent treat, pair them with a dollop of whipped cream or a little pot of fruit preserves. They’re also wonderful with a wedge of good cheddar cheese for a sweet-and-savory snack.
Creative Ways to Present
Try stacking your Rock Buns on a vintage cake stand for a pretty afternoon tea setup, or wrap them up in parchment and tie with twine for charming edible gifts. For parties, serve mini versions with tiny spoons of clotted cream on the side—guests will be delighted!
Make Ahead and Storage
Storing Leftovers
Rock Buns are best on the day they’re baked, but leftovers can be kept in an airtight container at room temperature for up to three days. They’ll stay tender and flavorful, making them a perfect grab-and-go treat for busy mornings or lunchboxes.
Freezing
If you want to keep Rock Buns for longer, you’re in luck—they freeze beautifully! Once they’re completely cool, wrap them tightly in plastic wrap or foil, then pop them in a freezer-safe bag. They’ll keep for up to three months; just thaw at room temperature when cravings strike.
Reheating
To enjoy Rock Buns as if they’re fresh from the oven, reheat them in a low oven (about 300°F or 150°C) for 5–7 minutes. This brings back their just-baked aroma and soft, crumbly texture. Avoid microwaving, as it can make them tough.
FAQs
Can I use whole wheat flour instead of all-purpose flour?
Absolutely! Swapping in whole wheat flour will give your Rock Buns a heartier flavor and a slightly denser texture. If you like, try using half whole wheat and half all-purpose for the best of both worlds.
What other dried fruits can I add to Rock Buns?
You can get creative with your mix-ins—dried cranberries, chopped apricots, cherries, or even a handful of chocolate chips or chopped nuts make delicious additions. Just keep the total amount around half a cup so the dough holds together.
Are Rock Buns supposed to be crumbly?
Yes! The signature texture of Rock Buns is all about that slightly rugged, crumbly bite with a soft, tender center. The butter and light mixing technique ensure you end up with the perfect consistency every time.
Can I make Rock Buns without eggs?
If you need an egg-free version, simply substitute the egg with 3 tablespoons of milk or a non-dairy alternative. The buns will still hold together nicely and taste delicious.
How do I know when my Rock Buns are done baking?
Look for a golden-brown color and a firm touch on top. If you’re unsure, insert a toothpick into the center of one—if it comes out clean, your Rock Buns are ready to cool and enjoy!
Final Thoughts
I can’t recommend these Rock Buns enough—they’re a joy to make, share, and, of course, eat. Whether you’re new to classic British baking or just searching for a simple, satisfying treat, these little beauties will quickly become a favorite. Bake a batch and let every crumbly, fruit-filled bite bring a smile to your face!
Print
Rock Buns Recipe
- Prep Time: 15 minutes
- Cook Time: 18 minutes
- Total Time: 33 minutes
- Yield: 8–10 buns 1x
- Category: Snack, Dessert
- Method: Baking
- Cuisine: British
- Diet: Vegetarian
Description
Rock Buns are a traditional British baked snack featuring a delightful combination of dried fruit and warm cinnamon spiced in a tender, crumbly biscuit. Perfect for tea time or an easy dessert, these buns are quick to prepare and offer a satisfying sweet treat with a nostalgic twist.
Ingredients
Dry Ingredients
- 2 cups all-purpose flour
- 2 teaspoons baking powder
- 1/2 teaspoon ground cinnamon
- 1/4 teaspoon salt
- 1/3 cup granulated sugar
- 1/2 cup dried fruit (raisins, sultanas, or mixed peel)
Wet Ingredients
- 1/2 cup (1 stick) cold unsalted butter, cut into cubes
- 1 large egg
- 2 tablespoons milk (plus more if needed)
- 1/2 teaspoon vanilla extract (optional)
Topping
- Coarse sugar for sprinkling (optional)
Instructions
- Preheat Oven and Prepare Baking Sheet: Preheat your oven to 375°F (190°C) and line a baking sheet with parchment paper to prevent sticking and ensure even baking.
- Mix Dry Ingredients: In a large mixing bowl, whisk together the flour, baking powder, cinnamon, and salt to evenly distribute the leavening and spices throughout the mixture.
- Incorporate Butter: Add the cold unsalted butter cubes to the dry ingredients. Using your fingertips, rub the butter into the flour mixture until it resembles coarse crumbs, which gives the buns their characteristic crumbly texture.
- Add Sugar and Dried Fruit: Stir in the granulated sugar and dried fruit of your choice, such as raisins, sultanas, or mixed peel, dispersing them evenly throughout the mixture.
- Combine Wet Ingredients: In a small bowl, beat the egg with the milk and vanilla extract if using. This mixture adds moisture and richness to the dough.
- Make Dough: Pour the wet ingredients into the dry mixture and gently stir until just combined. The dough should be thick and slightly sticky; if it feels too dry, add a splash more milk to reach the right consistency.
- Shape Buns: Drop heaping spoonfuls of the dough onto the prepared baking sheet, spacing them slightly apart as they will spread slightly during baking.
- Optional Topping: Sprinkle the tops with coarse sugar for an added crunch and sparkle after baking.
- Bake: Place the baking sheet in the preheated oven and bake for 15 to 18 minutes until the buns are golden brown and firm to the touch.
- Cool and Serve: Remove from the oven and cool on a wire rack. Serve the rock buns warm or at room temperature for the best flavor and texture.
Notes
- Rock buns are best enjoyed fresh but can be stored in an airtight container for 2 to 3 days to maintain freshness.
- For a variation, try adding chopped nuts or chocolate chips to the dough for extra texture and flavor.
- Ensure the butter is cold to create a crumbly texture rather than a doughy one.
Nutrition
- Serving Size: 1 bun
- Calories: 210
- Sugar: 10g
- Sodium: 120mg
- Fat: 9g
- Saturated Fat: 5g
- Unsaturated Fat: 4g
- Trans Fat: 0g
- Carbohydrates: 30g
- Fiber: 1g
- Protein: 3g
- Cholesterol: 35mg