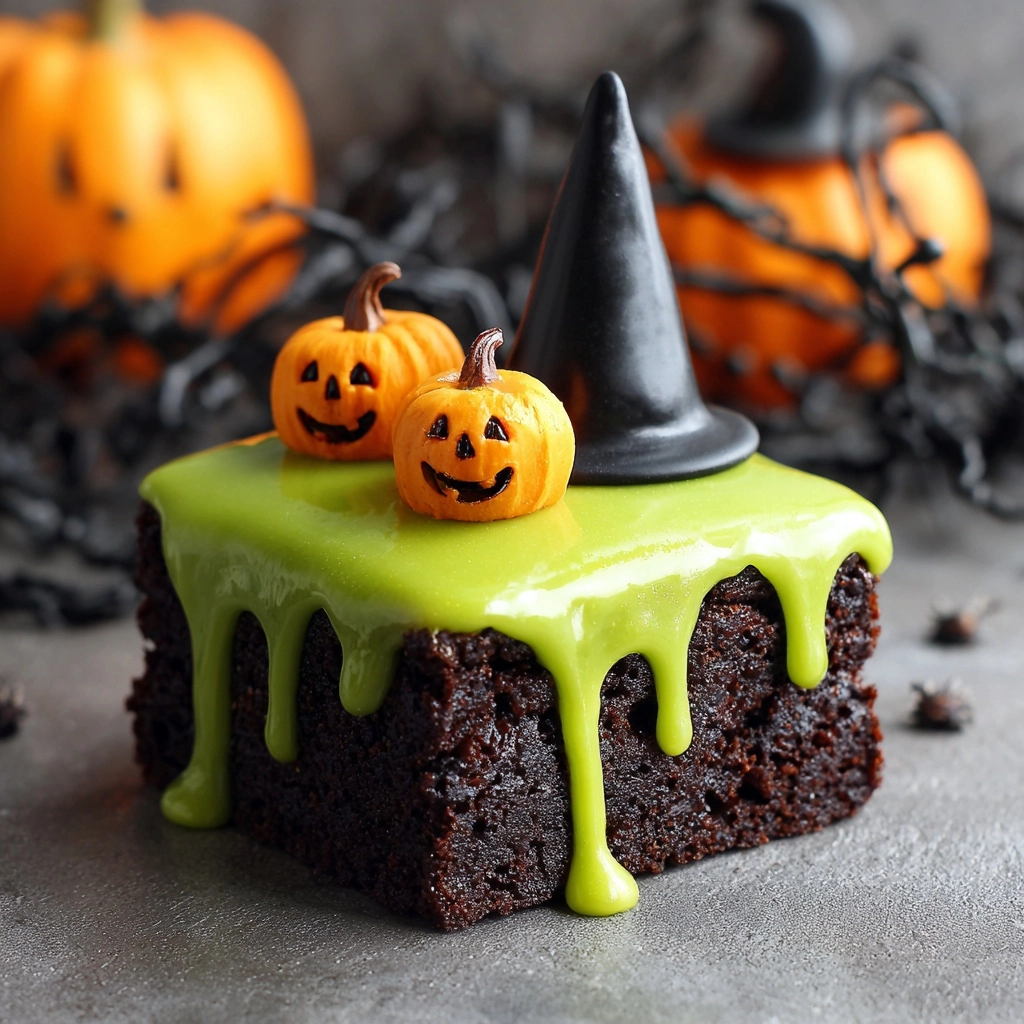
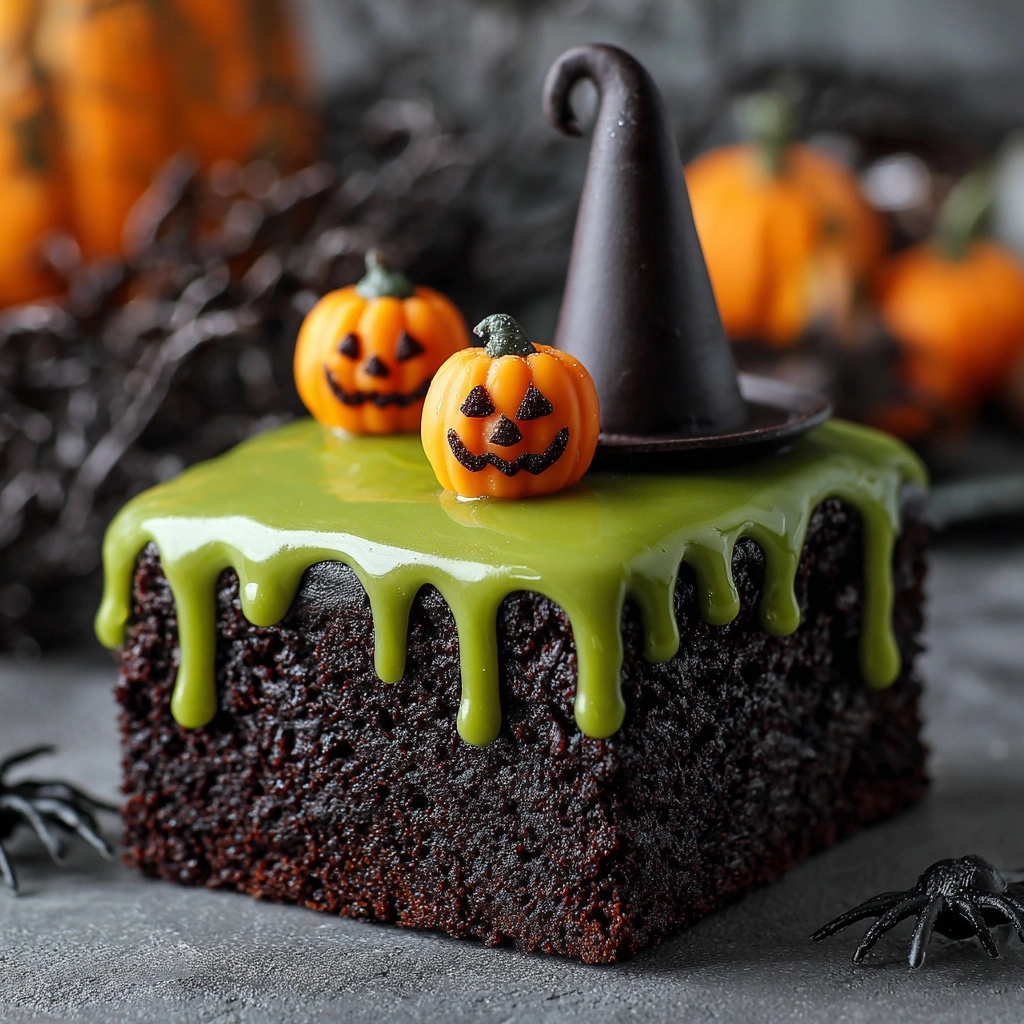
If you’re looking for a showstopping Halloween treat that’s as fun to make as it is to eat, the Melting Witch Poke Cake is your answer! This whimsical dessert brings together moist chocolate cake, vibrant green pistachio pudding, and playful witchy decorations for a cake that’s equal parts spooky and delicious. It’s the perfect centerpiece for any Halloween bash or a festive family night, and the best part is how incredibly easy it is to whip up. With its eye-catching colors and melt-in-your-mouth texture, everyone will be enchanted by a slice of Melting Witch Poke Cake.
Ingredients You’ll Need
You won’t believe how a handful of simple, everyday ingredients come together to create such a magical effect! Each item plays a special role, from the deep cocoa flavor of the cake to the “witchy” green pudding and charming hat toppers, making this Melting Witch Poke Cake both scrumptious and fun to assemble.
- Chocolate cake mix: Your favorite boxed mix forms the soft, chocolaty base—plus it keeps things quick and easy.
- Eggs, oil, and water: These are needed as directed by your cake mix, ensuring a moist and tender crumb.
- Instant pistachio pudding mix: The secret to that ghoulish green filling, with a light nutty flavor and creamy texture.
- Cold milk: Essential for activating the pudding and getting that luscious, pourable consistency.
- Green food coloring (optional): For an extra pop of vibrant witch-green to really sell the Halloween theme.
- Whipped topping: Fluffy, light, and easy to spread, this becomes your “melting” witch layer.
- Halloween sprinkles or candy eyes: Adds pops of color and a dash of spooky personality.
- Black decorating gel or melted chocolate: The “glue” for assembling the witch hats and adding creative details.
- Chocolate striped cookies: Serve as the brims of your adorable witch hats for the perfect finishing touch.
- Chocolate kisses: Placed atop the cookies to complete each mini witch hat—cute and chocolatey!
How to Make Melting Witch Poke Cake
Step 1: Bake the Chocolate Cake
Start off by preparing your chocolate cake mix according to the box instructions—this usually means mixing in eggs, oil, and water. Pour the batter into a greased 9×13-inch pan and bake until the cake is cooked through and a toothpick comes out clean. The aroma of baking chocolate is your first hint that something wonderful is about to happen!
Step 2: Poke the Cake
Once the cake has cooled for about 10 minutes, grab the handle of a wooden spoon and gently poke holes all over its surface, spacing them about an inch apart. This is where the magic happens—the holes will soak up the pudding for that signature “poke cake” effect, making every bite extra moist and flavorful.
Step 3: Mix and Pour the Witchy Pudding
Whisk together the instant pistachio pudding mix and cold milk until it’s just slightly thickened. If you really want that classic Melting Witch Poke Cake look, add a few drops of green food coloring to make the filling pop! While the pudding is still pourable, spread it evenly over the warm cake, letting it sink into all those holes you created.
Step 4: Chill and Set
Pop the cake in the refrigerator for about an hour. This gives the pudding time to set up and soak into the cake, creating those irresistible layers of color and flavor. Plus, chilling makes for the perfect slice every time.
Step 5: Frost and Decorate
Spread the whipped topping smoothly over the chilled cake—this is your “melting” witch layer. Sprinkle on Halloween sprinkles or candy eyes to add playful, spooky vibes. The more creative, the better!
Step 6: Make and Place the Witch Hats
To make each adorable witch hat, attach a chocolate kiss to the center of a chocolate striped cookie using black decorating gel or melted chocolate as your “glue.” Gently press a hat onto each slice just before serving, crowning your Melting Witch Poke Cake with the ultimate Halloween flourish.
How to Serve Melting Witch Poke Cake
Garnishes
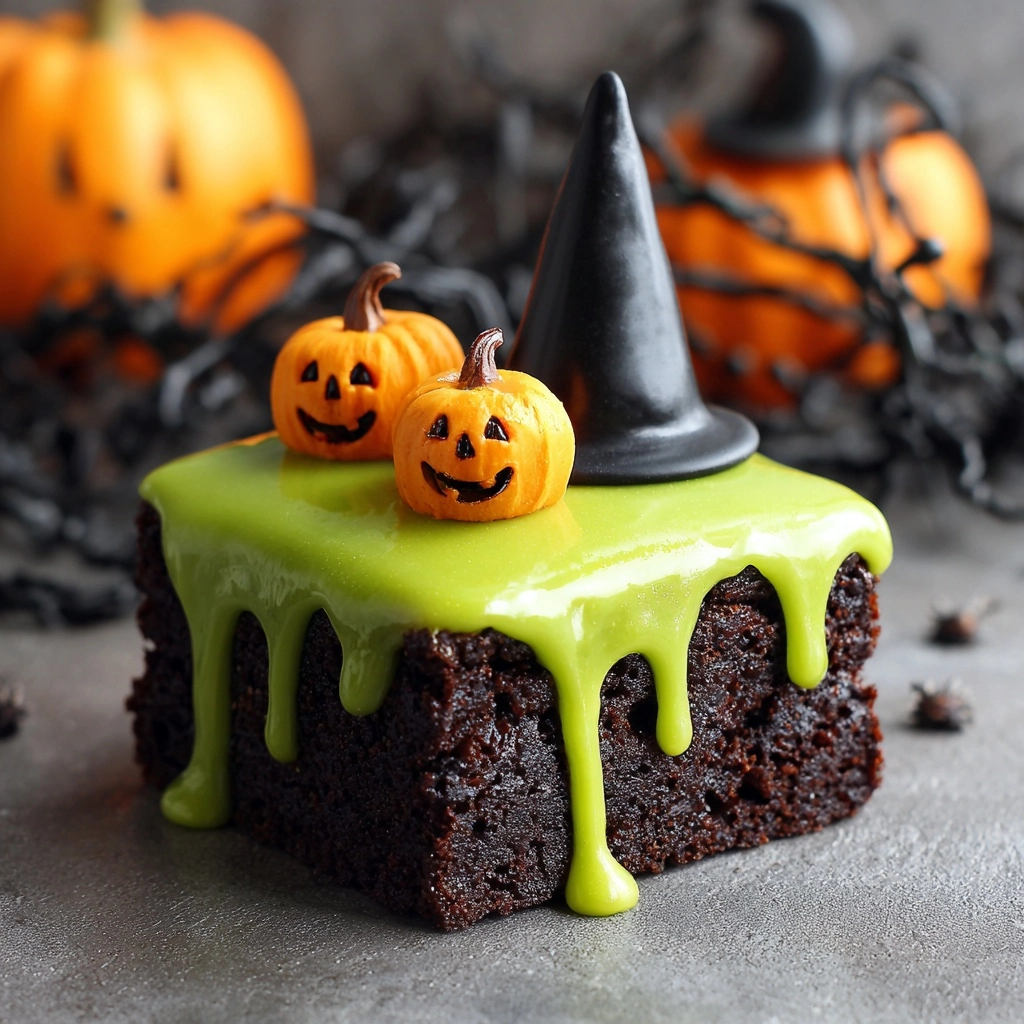
For a truly festive presentation, scatter extra Halloween sprinkles or candy eyes across the top and even around the serving platter. A drizzle of black or green icing over the whipped topping can add a dramatic “melting” effect. Don’t forget those charming witch hats—they’re both a decoration and a tasty treat!
Side Dishes
Pair your Melting Witch Poke Cake with a scoop of vanilla ice cream or a glass of cold milk for a comforting dessert combo. For parties, serve alongside other Halloween favorites like caramel apples, popcorn balls, or a bowl of spooky punch to round out your frightfully fun spread.
Creative Ways to Present
If you’re hosting a crowd, cut the cake into individual squares and top each with its own witch hat for easy, grab-and-go servings. Arrange the cake on a platter surrounded by gummy worms or candy corn for extra Halloween flair. You can even write “Boo!” or draw witchy shapes with decorating gel on the whipped topping for added personality.
Make Ahead and Storage
Storing Leftovers
Leftover Melting Witch Poke Cake keeps beautifully in the fridge. Simply cover the pan tightly with plastic wrap or a lid to keep the cake moist and the decorations fresh. It’s best enjoyed within three days, though odds are good it’ll disappear much sooner!
Freezing
For longer storage, you can freeze the cake without the witch hats or sprinkles. Wrap squares tightly in plastic and foil, then freeze for up to two months. When ready to serve, thaw the cake in the fridge overnight and add the hats and decorations just before serving.
Reheating
This cake is best served chilled straight from the fridge, so reheating isn’t necessary. If you prefer a slightly softer texture, let slices sit at room temperature for 15–20 minutes before serving, but keep those witch hats cool until it’s showtime!
FAQs
Can I use a different flavor of pudding?
Absolutely! Vanilla or white chocolate pudding dyed with green food coloring works wonderfully if you’re not a fan of pistachio. The key is getting that bright green “witchy” look for your Melting Witch Poke Cake.
What if I don’t have black decorating gel?
You can use melted chocolate or even a thick chocolate syrup as the “glue” for your witch hats. If you’re feeling creative, try colored icing for extra flair!
Can I make this cake ahead of time?
Yes, you can prepare the cake and add the pudding and whipped topping the day before. Just wait until right before serving to add the witch hats so they stay crisp and cute.
Is there a nut-free version?
Definitely! Use a nut-free vanilla pudding and check your cake mix and other ingredients for allergens. The effect and flavor will still be delightful and safe for nut-free guests.
How do I keep the witch hats from getting soggy?
For the best texture, add the hats just before serving. If assembling in advance, store the hats separately in an airtight container and place them on each slice at the last minute.
Final Thoughts
If you’re craving a dessert that’s as memorable as it is delicious, you can’t go wrong with Melting Witch Poke Cake. It’s a guaranteed crowd-pleaser, perfect for sharing laughs and a little Halloween magic. Give it a try—you’ll be looking for reasons to make it year after year!
Print
Melting Witch Poke Cake Recipe
- Prep Time: 15 minutes
- Cook Time: 30 minutes
- Total Time: 1 hour 45 minutes
- Yield: 12 servings 1x
- Category: Dessert
- Method: Baking
- Cuisine: American
- Diet: Vegetarian
Description
Melting Witch Poke Cake is a fun and festive Halloween dessert featuring a moist chocolate cake infused with pistachio pudding, creating a spooky green effect that oozes from poked holes. Topped with whipped cream, Halloween sprinkles, and adorable witch hats made from cookies and chocolate kisses, this cake is perfect for parties and kid-friendly treats.
Ingredients
Cake
- 1 box chocolate cake mix (plus eggs, oil, and water as called for on box)
Pudding Mixture
- 1 (3.4 oz) box instant pistachio pudding mix
- 2 cups cold milk
- Green food coloring (optional, for a more vibrant “witchy” color)
Topping & Decoration
- 1 (8 oz) tub whipped topping, thawed
- Halloween sprinkles or candy eyes
- 6 chocolate striped cookies (for hats)
- 6 chocolate kisses (for hat tops)
- Black decorating gel or melted chocolate (to attach hats)
Instructions
- Prepare the Cake: Preheat your oven and prepare the chocolate cake mix according to the package instructions. Pour the batter into a 9×13-inch pan and bake as directed. Once baked, allow the cake to cool for 10 minutes.
- Poke Holes in Cake: Use the handle of a wooden spoon to poke holes all over the cake about 1 inch apart. This creates spaces for the pudding to sink in and infuse the cake.
- Mix the Pudding: In a bowl, whisk together the instant pistachio pudding mix and cold milk for 2 minutes until it begins to thicken slightly. Add green food coloring if you want a more vibrant green color.
- Pour Pudding over Cake: Immediately pour the pudding evenly over the warm cake. Use a spatula to spread the pudding and help it seep into the holes you created.
- Chill: Place the cake in the refrigerator and let it chill for at least 1 hour to set the pudding.
- Add Whipped Topping: Spread the thawed whipped topping evenly across the chilled cake surface.
- Decorate with Halloween Theme: Sprinkle Halloween-themed sprinkles or candy eyes over the whipped topping for a spooky effect.
- Make Witch Hats: Attach a chocolate kiss to the center of each chocolate striped cookie using black decorating gel or melted chocolate to create witch hats.
- Assemble Hats on Cake: Just before serving, place the witch hats on top of the cake to complete the look.
Notes
- You can substitute the pistachio pudding with vanilla pudding dyed green if pistachio flavor is not preferred.
- Store the cake covered in the refrigerator for up to 3 days to keep it fresh.
- This cake is ideal for Halloween parties or kid-friendly celebrations due to its fun and playful design.
Nutrition
- Serving Size: 1 slice
- Calories: 290
- Sugar: 24g
- Sodium: 340mg
- Fat: 14g
- Saturated Fat: 5g
- Unsaturated Fat: 7g
- Trans Fat: 0g
- Carbohydrates: 38g
- Fiber: 1g
- Protein: 3g
- Cholesterol: 30mg

