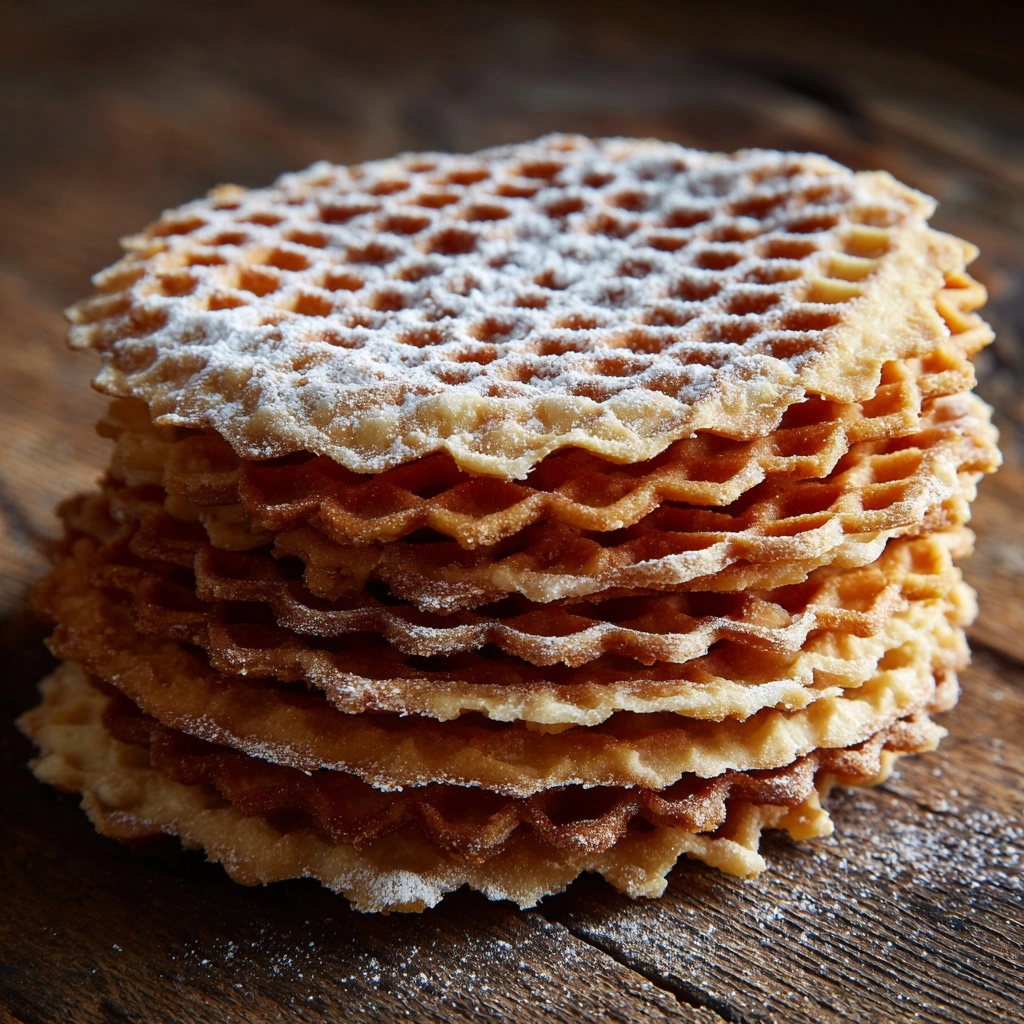
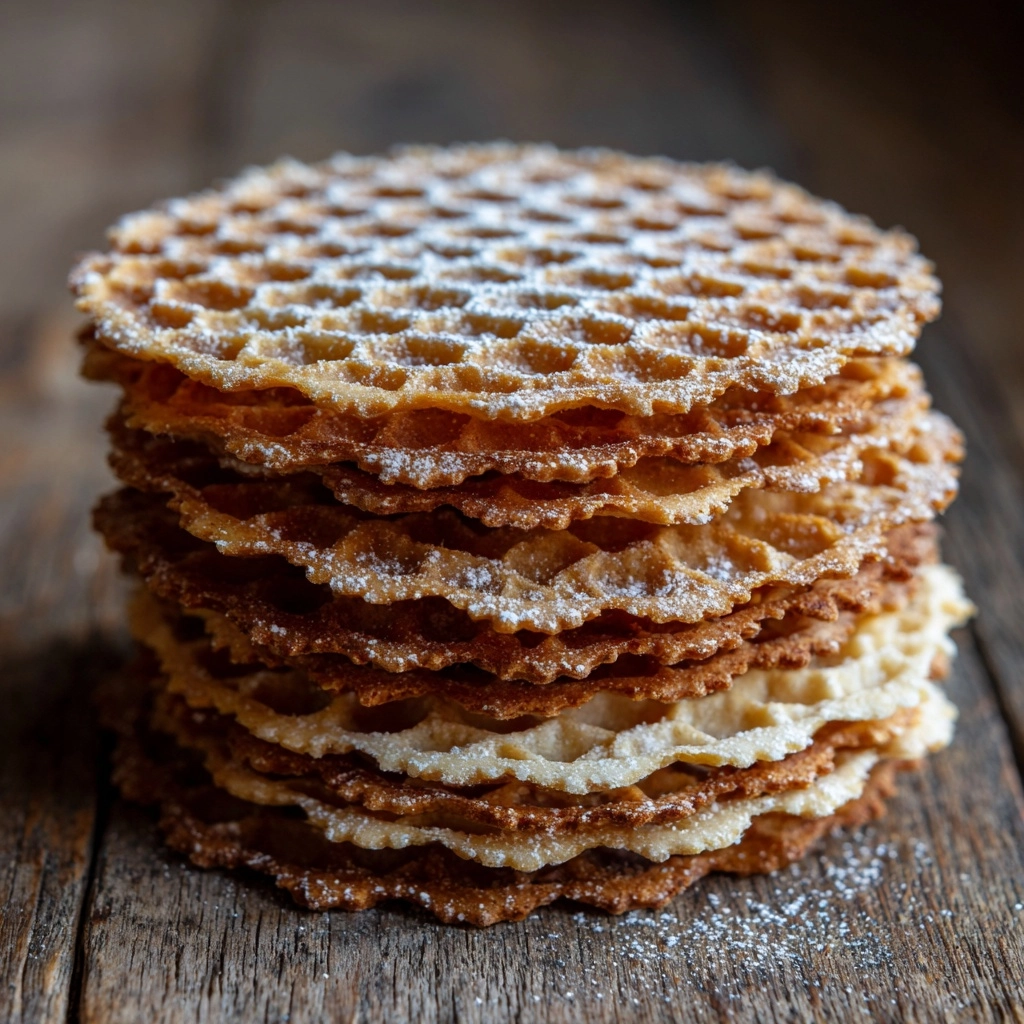
If there’s one Italian treat that instantly transports me back to family gatherings and joyful celebrations, it’s Classic Pizzelle. These delicate, crisp waffle cookies are a beautiful marriage of simplicity and elegance, boasting a lacy design and a whisper of vanilla and anise. Whether you’re making them for holiday platters or enjoying with a midday espresso, Classic Pizzelle are as delightful to bake as they are to eat. With a handful of pantry staples and a pizzelle iron, you’ll be amazed at just how quickly these traditional cookies come together.
Ingredients You’ll Need
Classic Pizzelle are all about quality basics coming together in perfect harmony. Each ingredient has a purpose: from creating a tender crumb to infusing those signature flavors and ensuring crisp, golden results every time.
- Eggs: The foundation for structure and richness, making the pizzelle tender and beautifully colored.
- Granulated sugar: Adds just the right touch of sweetness and helps the cookies achieve their lovely golden hue.
- Unsalted butter (melted and cooled): Ensures a melt-in-your-mouth texture and a subtle buttery depth.
- Vanilla extract: Delivers that classic, comforting aroma and flavor in every bite.
- Anise extract (optional): For a traditional twist, this brings a gentle licorice note that’s beloved in Italian kitchens.
- All-purpose flour: The backbone of the dough, giving the cookies their structure while keeping them light.
- Baking powder: Adds just enough lift for a delicate crispness without making the cookies cakey.
- Pinch of salt: Balances out the sweetness and enhances every other flavor in the mix.
How to Make Classic Pizzelle
Step 1: Preheat Your Pizzelle Iron
Begin by plugging in and preheating your pizzelle iron, following the manufacturer’s instructions. A properly heated iron is crucial for ensuring each Classic Pizzelle cooks evenly and releases easily, resulting in those gorgeous, lace-like patterns.
Step 2: Beat Eggs and Sugar
In a large mixing bowl, beat together the eggs and granulated sugar until the mixture is light and fluffy. This takes about 2 to 3 minutes and creates the perfect airy base for your cookies, ensuring they’re tender and not dense.
Step 3: Add Butter and Extracts
Slowly drizzle in the melted, cooled butter while mixing, then stir in the vanilla extract and, if you’re feeling traditional, the anise extract. This is where the rich, fragrant flavors start to build, making your entire kitchen smell irresistible.
Step 4: Combine Dry Ingredients
In a separate bowl, whisk together the all-purpose flour, baking powder, and salt. This quick step ensures the leavening and seasoning are perfectly distributed, so every Classic Pizzelle is consistently crisp and flavorful.
Step 5: Mix Wet and Dry Ingredients
Gradually add the dry mixture to your wet ingredients, stirring until a thick, sticky batter forms. Don’t worry if it seems a bit denser than cake batter—this texture is what gives pizzelle their signature snap.
Step 6: Cook the Pizzelle
Drop about one heaping tablespoon of batter onto the center of each pizzelle iron section. Close the lid and cook for 30 to 45 seconds, or until each cookie is lightly golden. Keep an eye out—these cook quickly and can go from perfect to too dark in a flash!
Step 7: Cool and Crisp
Carefully remove each Classic Pizzelle with a fork or spatula and transfer to a wire rack. Let them cool completely so they crisp up beautifully. If you want to get creative, roll them into cones or cylinders while still warm.
How to Serve Classic Pizzelle

Garnishes
A gentle dusting of powdered sugar is the classic finish, highlighting each pizzelle’s intricate design and adding a touch of sweetness. For a festive flair, you can drizzle with melted chocolate, or even dip half of each cookie for a pretty, party-ready look.
Side Dishes
Classic Pizzelle are wonderful on their own, but they also pair beautifully with espresso, cappuccino, or a scoop of vanilla gelato. Serve them alongside a bowl of fresh berries or a simple fruit compote for a dessert spread that’s both elegant and effortless.
Creative Ways to Present
Turn Classic Pizzelle into edible dessert bowls by shaping them over the underside of a small cup while warm, or roll them into tubes and fill with sweetened ricotta or whipped cream. Stack them for a striking cookie tower, or package in pretty bags for homemade gifts everyone will rave about.
Make Ahead and Storage
Storing Leftovers
To keep your Classic Pizzelle crisp and fresh, store them in an airtight container at room temperature. They’ll stay delightfully crunchy for up to a week—just make sure they’re completely cool before sealing to prevent any unwanted softness.
Freezing
Classic Pizzelle freeze surprisingly well. Layer them between sheets of parchment in a freezer-safe container or zip-top bag. When you’re ready to enjoy, simply thaw at room temperature for a few minutes and they’ll taste as good as freshly baked.
Reheating
If your pizzelle lose a bit of their crispness, you can revive them by placing on a wire rack in a low oven (250°F/120°C) for a few minutes. Let them cool completely again before serving, and they’ll regain that perfect snap.
FAQs
Can I make Classic Pizzelle without a pizzelle iron?
A pizzelle iron is essential for achieving the iconic thin, patterned cookies. While you can experiment with other waffle irons, the results won’t be quite as classic or delicate.
What if I don’t like anise flavor?
No problem! Simply leave out the anise extract and stick to vanilla. You’ll still have beautifully flavored, authentic Classic Pizzelle to enjoy.
Why are my pizzelle soft instead of crisp?
Soft pizzelle are usually a result of being stacked before fully cooled or from humidity in storage. Let them cool thoroughly on a wire rack and store in an airtight container once completely dry.
Can I double the recipe?
Absolutely. Classic Pizzelle are perfect for sharing, and the recipe doubles beautifully. Just be sure not to overcrowd your cooling racks!
Are there gluten-free options?
Yes! Substitute your favorite measure-for-measure gluten-free flour blend for the all-purpose flour. The texture may be slightly different, but you’ll still get delicious pizzelle.
Final Thoughts
Making Classic Pizzelle at home is a joyful little ritual that brings friends and family together, one batch after another. Give this recipe a try and see just how easy it is to create a plateful of memories—don’t be surprised if they disappear faster than you can make them!
Print
Classic Pizzelle Recipe
- Prep Time: 10 minutes
- Cook Time: 30 minutes
- Total Time: 40 minutes
- Yield: 30 pizzelle 1x
- Category: Dessert
- Method: Pizzelle Iron
- Cuisine: Italian
- Diet: Vegetarian
Description
Classic Pizzelle are traditional Italian waffle cookies known for their delicate crisp texture and subtle vanilla and anise flavors. These thin, crisp treats are perfect for holidays or anytime you want a light, flavorful dessert cookie that can be enjoyed plain or shaped into cones.
Ingredients
Wet Ingredients
- 3 large eggs
- 3/4 cup granulated sugar
- 1/2 cup unsalted butter (melted and cooled)
- 1 teaspoon vanilla extract
- 1/2 teaspoon anise extract (optional, for traditional flavor)
Dry Ingredients
- 1 3/4 cups all-purpose flour
- 2 teaspoons baking powder
- pinch of salt
Instructions
- Preheat the iron: Preheat your pizzelle iron according to the manufacturer’s instructions to ensure even cooking and perfect texture.
- Mix eggs and sugar: In a large bowl, beat the eggs and sugar together until the mixture becomes light and fluffy, about 2–3 minutes, to incorporate air for a tender cookie.
- Add flavorings and butter: Slowly mix in the melted, cooled butter, vanilla extract, and anise extract if using, blending well to combine all wet ingredients smoothly.
- Combine dry ingredients: In a separate bowl, whisk together the flour, baking powder, and salt to evenly distribute the leavening and seasoning.
- Make the batter: Gradually add the dry ingredients to the wet mixture, stirring until a thick and sticky batter forms that is ready to drop onto the iron.
- Cook pizzelle: Drop about 1 heaping tablespoon of batter onto the center of each section of the preheated pizzelle iron. Close the lid and cook for 30–45 seconds, until lightly golden, carefully monitoring to avoid burning.
- Cool and crisp: Use a spatula or fork to carefully remove each pizzelle and transfer to a wire rack. Let cool fully to crisp up without stacking to maintain texture.
- Repeat: Continue the process with the remaining batter until all pizzelle are cooked and cooled.
Notes
- For crispier pizzelle, allow them to cool completely on a wire rack without stacking.
- You can shape warm pizzelle into cones or cylinders for an elegant presentation.
- Store pizzelle in an airtight container for up to 1 week to keep them fresh and crisp.
- Optionally dust with powdered sugar before serving for a festive touch.
Nutrition
- Serving Size: 1 pizzelle
- Calories: 70
- Sugar: 5 g
- Sodium: 25 mg
- Fat: 3 g
- Saturated Fat: 2 g
- Unsaturated Fat: 1 g
- Trans Fat: 0 g
- Carbohydrates: 9 g
- Fiber: 0 g
- Protein: 1 g
- Cholesterol: 20 mg