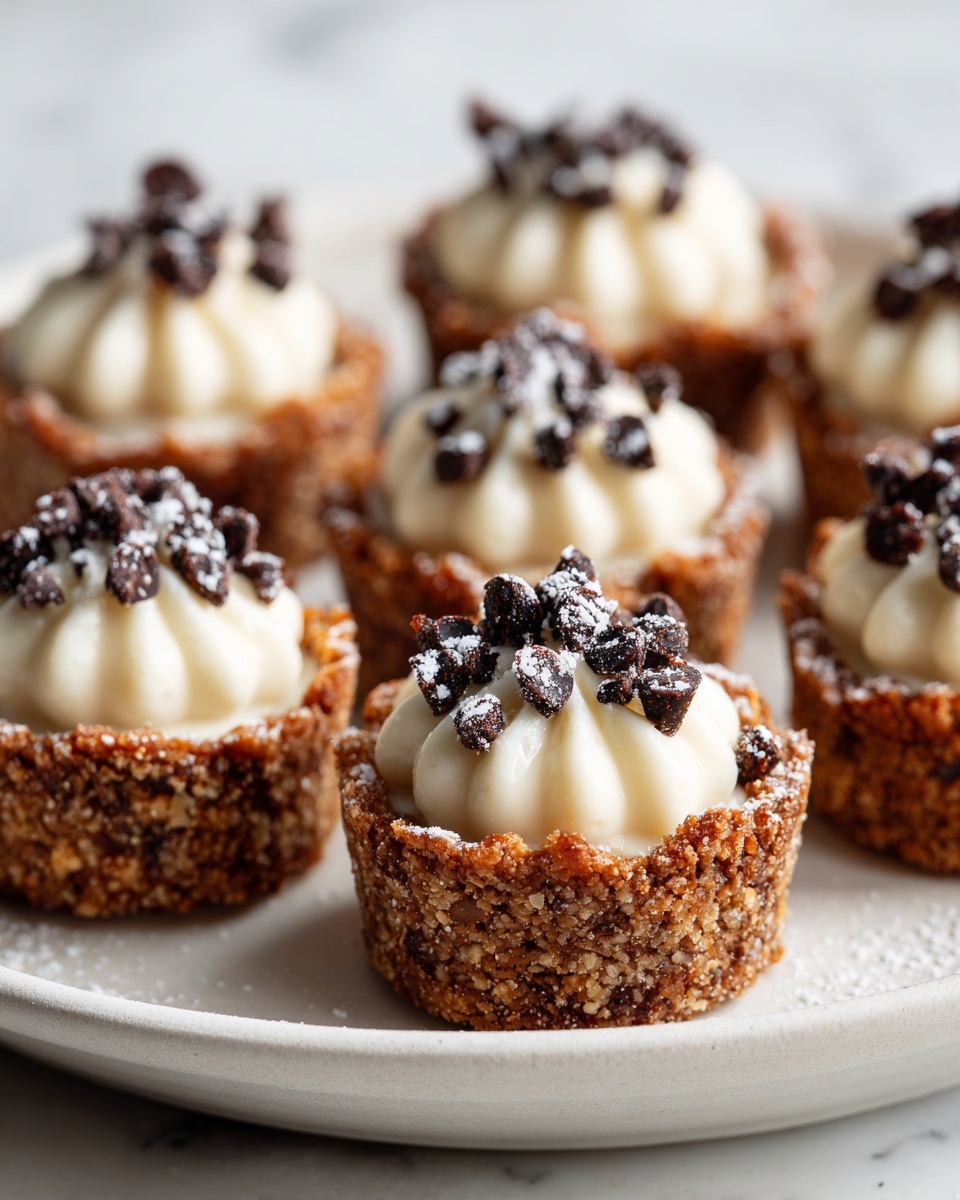
If you adore the rich, creamy delight of traditional Italian cannoli but want a fun and effortless twist, the Cannoli Cookie Cups Recipe is just what you’ve been waiting for. These charming little treats capture all the best flavors of classic cannoli filling nestled in a sweet, buttery sugar cookie shell. Perfect for parties, family gatherings, or just an indulgent afternoon snack, this recipe turns a beloved dessert into a playful, bite-sized sensation that’s as delicious as it is delightful to make.
Ingredients You’ll Need
The magic of this Cannoli Cookie Cups Recipe lies in its simplicity. Each ingredient plays a vital role in balancing texture, sweetness, and flavor — transforming basic pantry staples into a luxurious treat. From the creamy ricotta to the crunchy pistachios and melty chocolate chips, every element adds its own charm.
- Refrigerated sugar cookie dough: The perfect buttery base that crisps edges while staying tender inside.
- Ricotta cheese: Creamy and mild, it forms the luscious filling that’s essential to cannoli.
- Powdered sugar: Adds the right amount of sweetness while keeping the filling silky smooth.
- Vanilla extract: A little splash for warmth and depth, enhancing the entire flavor profile.
- Mini chocolate chips: Tiny pockets of chocolate that bring delightful bursts of sweetness.
- Chopped pistachios: Adds a gorgeous green color and a satisfying crunch.
How to Make Cannoli Cookie Cups Recipe
Step 1: Prepare the cookie cups
Begin by preheating your oven to 350°F (175°C) and spraying a mini muffin tin with non-stick cooking spray. This ensures your cookie cups will release easily after baking and remain perfectly shaped. Slice the refrigerated sugar cookie dough into 12 equal pieces—this uniformity guarantees each cup will bake evenly.
Step 2: Shape the cookie dough in the mini muffin tin
Press each piece of cookie dough into the bottom and up the sides of each muffin cup. This creates the little “bowl” perfect for holding the luscious filling. Make sure the dough is spread evenly to avoid thin spots that could burn or break apart later.
Step 3: Bake the cookie cups
Bake the cookie cups for 12-15 minutes, keeping an eye out for edges turning a light golden brown. This subtle color change means the cookies are fully baked but still tender inside. Once out of the oven, let them cool completely in the tin so they maintain their shape and texture.
Step 4: Mix the ricotta filling
In a mixing bowl, combine ricotta cheese, powdered sugar, and vanilla extract. Mix until smooth and creamy. This step is key to achieving that classic cannoli filling texture — sweet but light, creamy but not heavy.
Step 5: Fold in mix-ins
Carefully fold mini chocolate chips and chopped pistachios into the ricotta mixture. These additions bring delightful texture and pops of flavor that balance the sweetness with a hint of indulgent crunch.
Step 6: Fill the cookie cups
Using a spoon (or piping bag if you want to get fancy), scoop the ricotta filling into each cooled cookie cup. Fill generously but avoid overflowing to keep the presentation neat and appealing.
Step 7: Chill before serving
Place the filled cookie cups in the refrigerator for at least 30 minutes before serving. This chilling step helps the filling set, making these bite-sized treats refreshing and perfectly cohesive.
How to Serve Cannoli Cookie Cups Recipe
Garnishes
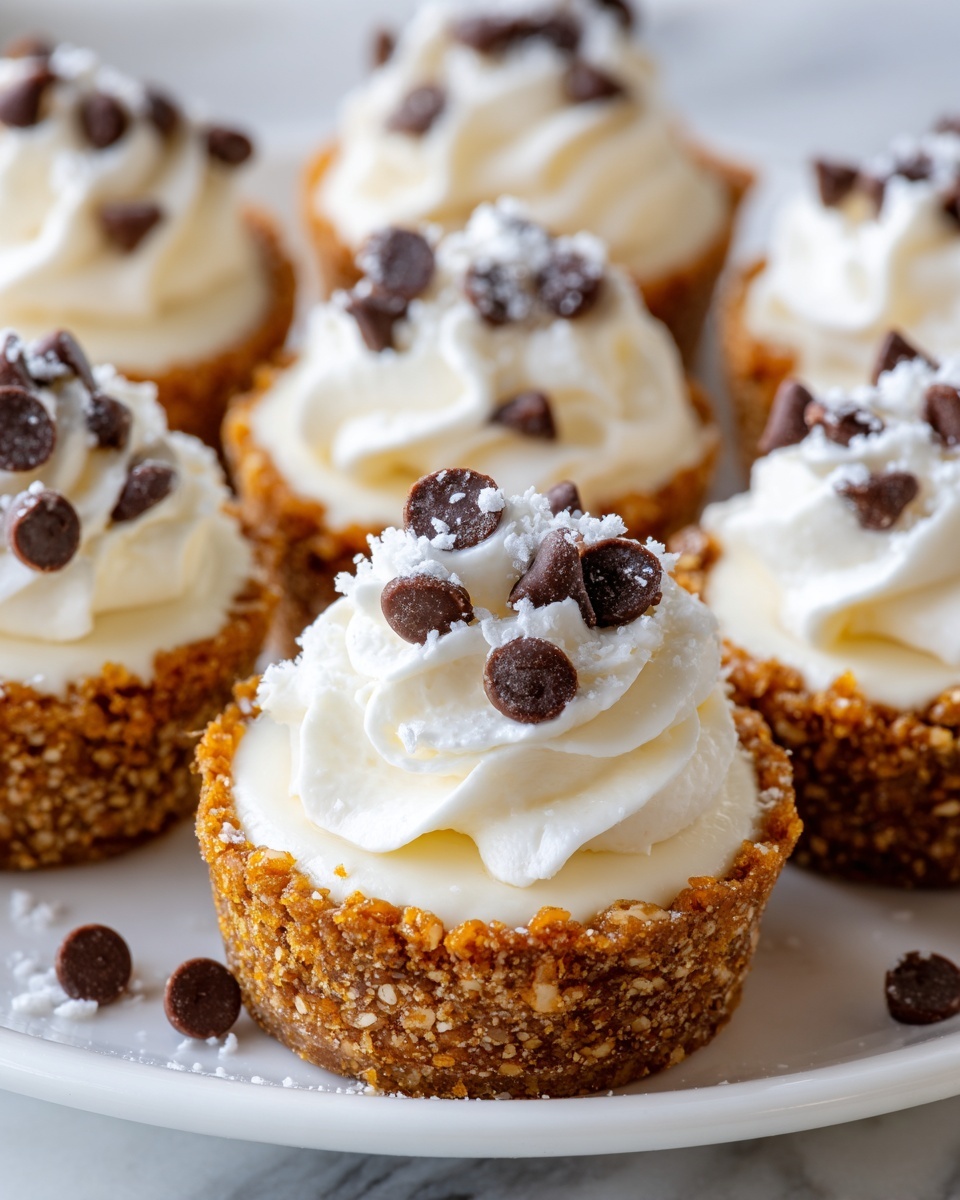
Enhance your Cannoli Cookie Cups Recipe with a dusting of powdered sugar or a drizzle of melted dark chocolate for an elegant touch. You could also sprinkle additional chopped pistachios or add a small fresh mint leaf to each cup for a pop of color and a hint of fresh flavor, making them even more irresistible.
Side Dishes
These cookie cups are a stellar dessert on their own, but pairing them with fresh berries or a light espresso is an excellent way to balance their richness. A small bowl of mixed fruit salad provides a refreshing contrast and makes for a beautiful, balanced dessert spread at any gathering.
Creative Ways to Present
Want to take your presentation to the next level? Serve the cookie cups on a pretty platter adorned with edible flowers or edible gold leaf accents for a sophisticated appeal. Alternatively, line a rustic wooden board with doilies and cluster the cups with small bowls of extra pistachios and mini chocolate chips for guests to customize their own.
Make Ahead and Storage
Storing Leftovers
If you have leftover Cannoli Cookie Cups (not that it will last long!), store them in an airtight container in the refrigerator. This keeps the creamy filling fresh and the cookie shell from becoming soggy. They’ll stay delicious for up to 3 days—perfect for quick weekend treats.
Freezing
For longer storage, freeze the cookie cups after baking but before filling. Wrap the muffin tin or transfer the cooled cups to a freezer-safe container with parchment paper between layers. When ready to enjoy, thaw at room temperature and fill with freshly made ricotta filling for best texture.
Reheating
Because the filling is delicate and best chilled, reheating filled cups is not recommended. However, if you want to warm the cookie shells, gently heat them in a low oven for a few minutes before filling. This way you get that fresh-baked cookie flavor without compromising the creamy filling quality.
FAQs
Can I use homemade sugar cookie dough?
Absolutely! Homemade sugar cookie dough works wonderfully and gives you control over sweetness and flavor. Just be sure the dough is chilled enough to handle shaping into the mini muffin tins.
Is ricotta cheese necessary for the filling?
Ricotta is key for achieving that authentic cannoli texture—light, creamy, and slightly grainy. However, for a richer filling, you can blend ricotta with mascarpone or cream cheese, adjusting sweetness as needed.
Can these cookie cups be made gluten-free?
Yes! Just substitute the sugar cookie dough with a gluten-free version, either homemade or store-bought. Make sure all other ingredients, like chocolate chips, are gluten-free certified.
How long should I chill the cookie cups before serving?
At least 30 minutes is ideal to help the filling set and flavors meld. If you have time, an hour or more in the fridge can make the dessert even more refreshing.
Can I make these ahead of time for a party?
Certainly! You can bake and cool the cookie cups up to 2 days in advance, then fill and chill them the day of your party for best freshness and presentation. This makes entertaining super simple and stress-free.
Final Thoughts
This Cannoli Cookie Cups Recipe is a must-try for anyone who loves the charm of traditional Italian desserts but wants something quick, fun, and irresistibly delicious. Each bite-sized cup bursts with creamy, sweet filling and the buttery crunch of a perfect cookie shell. I can’t wait for you to give this recipe a whirl—your family and friends will thank you, and you might just find yourself making them again and again.
Print
Cannoli Cookie Cups Recipe
- Prep Time: 15 minutes
- Cook Time: 15 minutes
- Total Time: 45 minutes
- Yield: 12 servings 1x
- Category: Dessert
- Method: Baking
- Cuisine: Italian-American
Description
Delightful Cannoli Cookie Cups combine the classic flavors of traditional cannoli into bite-sized cookie cups filled with a creamy ricotta mixture, mini chocolate chips, and chopped pistachios. These easy-to-make treats are perfect for parties, dessert tables, or a sweet snack any time.
Ingredients
For the Cookie Cups
- 1 package refrigerated sugar cookie dough
For the Filling
- 1 cup ricotta cheese
- 1/2 cup powdered sugar
- 1/2 teaspoon vanilla extract
- 1/4 cup mini chocolate chips
- 1/4 cup chopped pistachios
Instructions
- Prepare the Oven and Muffin Tin: Preheat your oven to 350°F (175°C) and spray a mini muffin tin with non-stick cooking spray to ensure the cookie cups don’t stick.
- Form the Cookie Cups: Slice the refrigerated sugar cookie dough into 12 equal pieces. Press each piece firmly into the bottom and up the sides of each muffin cup, shaping them into cups.
- Bake the Cookie Cups: Place the muffin tin in the oven and bake for 12-15 minutes, or until the edges of the cookie cups are lightly golden. Remove from the oven and allow them to cool completely before removing from the tin.
- Mix the Filling: In a mixing bowl, combine ricotta cheese, powdered sugar, and vanilla extract. Stir until the mixture is smooth and creamy.
- Add Chocolate Chips and Pistachios: Gently fold mini chocolate chips and chopped pistachios into the ricotta mixture to evenly distribute the mix-ins.
- Fill the Cookie Cups: Spoon the ricotta filling evenly into each cooled cookie cup, filling them generously but neatly.
- Chill Before Serving: Place the filled cookie cups in the refrigerator and chill for at least 30 minutes to let the filling set. Serve chilled for best taste and texture.
Notes
- Ensure the cookie cups are completely cooled before adding the filling to prevent melting or sogginess.
- You can substitute pistachios with chopped walnuts or almonds if desired.
- For a more traditional cannoli flavor, consider adding a pinch of cinnamon to the filling.
- These cookie cups keep well refrigerated for up to 2 days.
- If refrigeration time is limited, chill at least 15 minutes to allow the filling to firm up slightly.