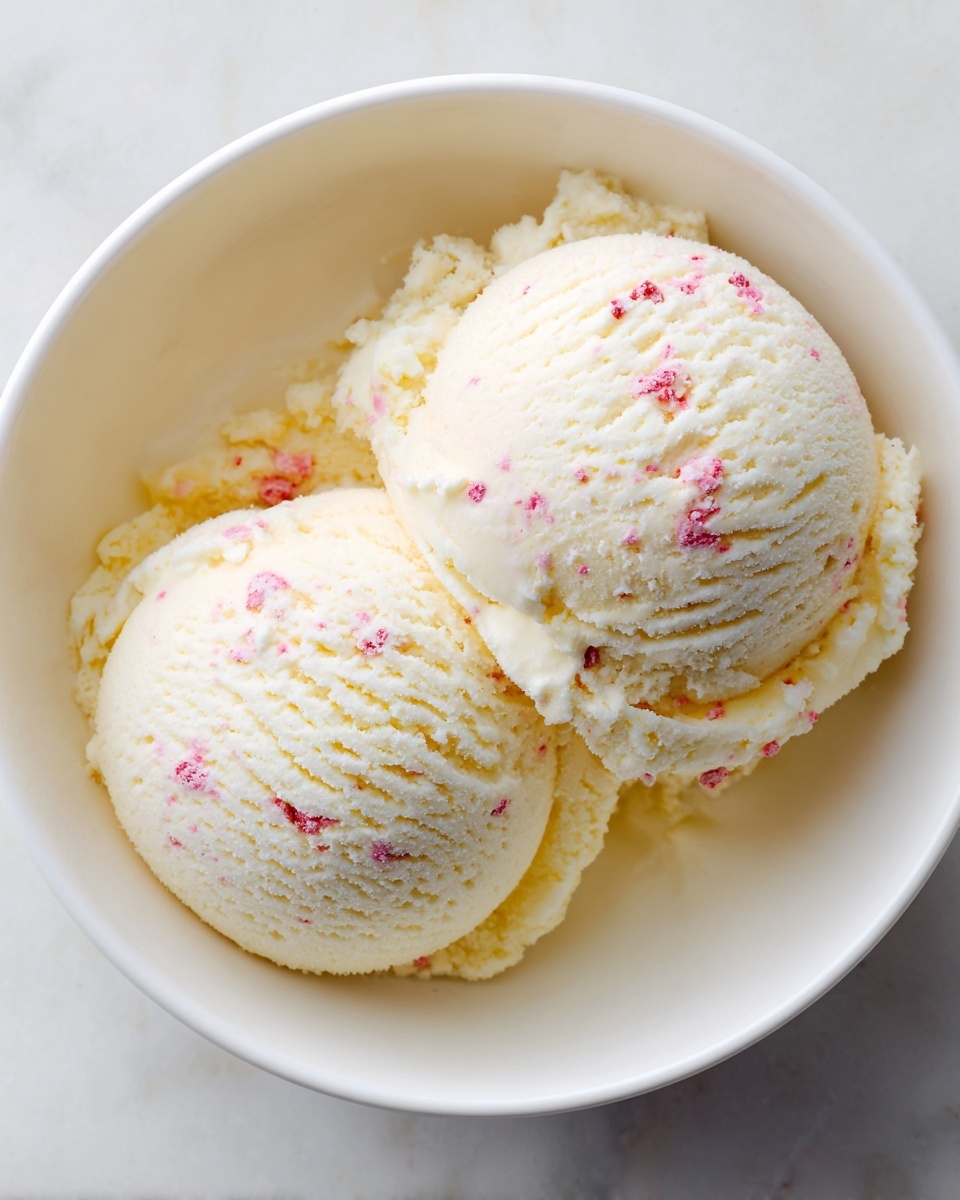
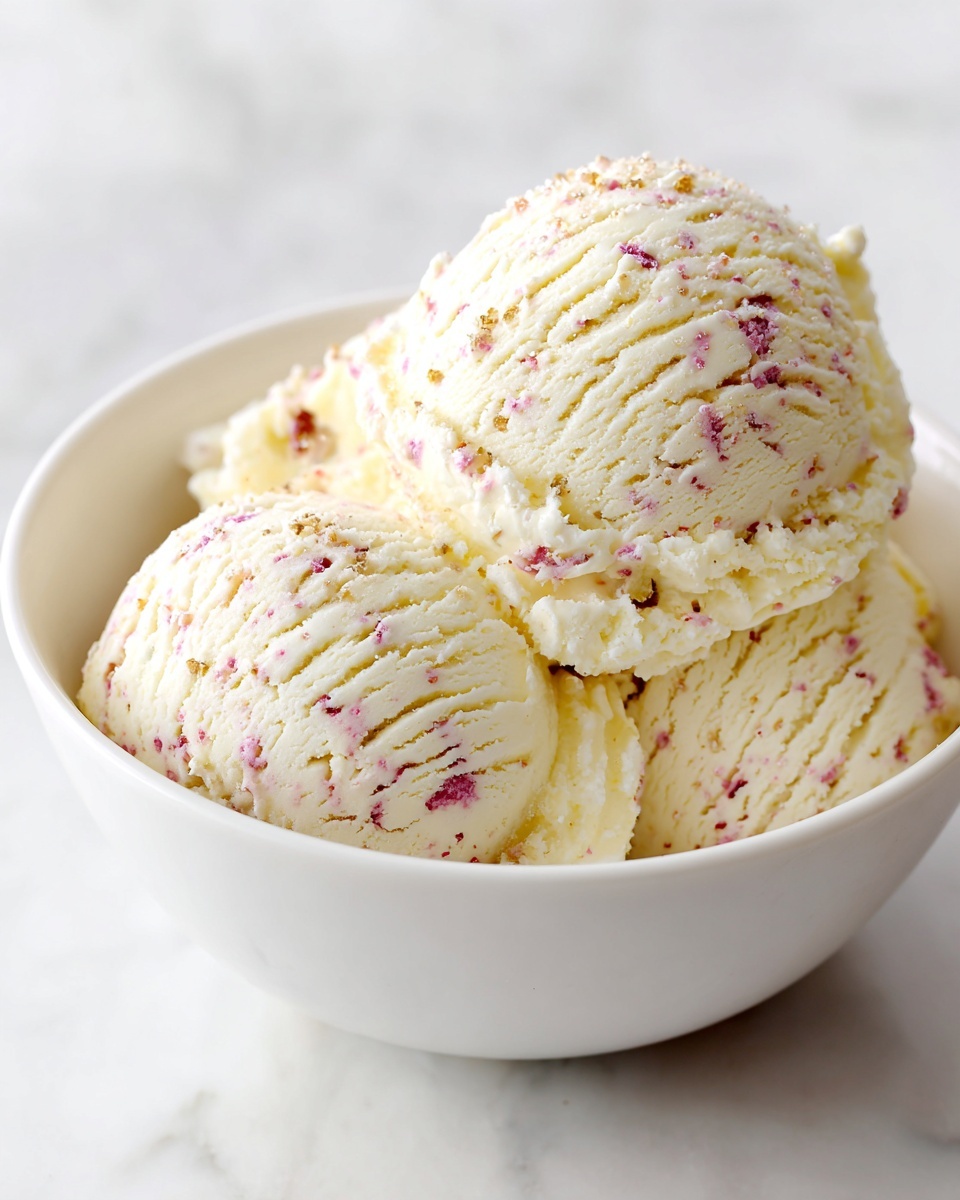
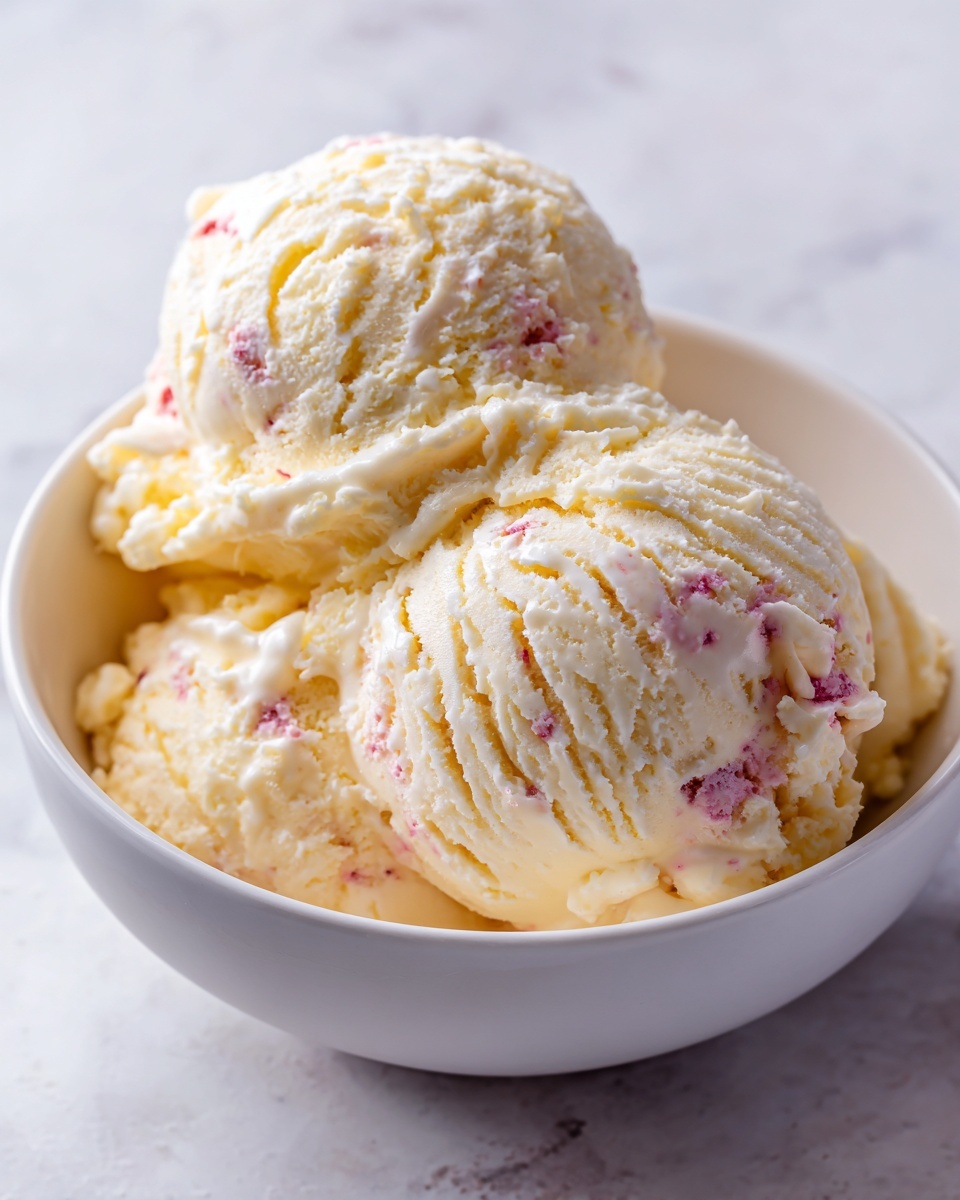
If you are searching for a delightful treat that feels indulgent but is actually nourishing, look no further than this Healthy Banana-Based Vegan Ice Cream Recipe. Bursting with natural sweetness from ripe bananas and completely free from dairy and refined sugars, this creamy dessert is a game changer for anyone craving a refreshing and guilt-free scoop. With just a handful of simple ingredients and an easy blending technique, you will have a silky smooth, soft-serve style ice cream that’s both satisfying and incredibly versatile. Whether you stick to the classic version or jazz it up with your favorite add-ins, this recipe proves that healthy desserts can be deliciously effortless.
Ingredients You’ll Need
What’s truly amazing about this Healthy Banana-Based Vegan Ice Cream Recipe is how the few, straightforward ingredients work harmoniously to create a creamy, flavorful dessert without any fuss. Each element is carefully chosen to enhance taste, texture, and that perfect ice cream feel.
- 3 ripe bananas (peeled, sliced, and frozen): The base of your ice cream, bananas add natural sweetness and a creamy texture when blended.
- 1/2 tsp vanilla extract: Enhances depth of flavor with a warm, inviting aroma.
- 2 tbsp unsweetened almond milk: Helps ease blending and keeps the ice cream smooth; swap with any plant-based milk you prefer.
- Pinch of salt: Balances the sweetness and intensifies the overall flavor.
- Optional add-ins: 1 tbsp peanut butter, 1 tbsp cocoa powder, 1/4 cup frozen berries, or 1 tbsp dark chocolate chips to customize your ice cream with extra richness and flair.
How to Make Healthy Banana-Based Vegan Ice Cream Recipe
Step 1: Prepare Your Bananas
Begin by peeling and slicing ripe bananas, then freeze them ahead of time. The frozen bananas are key for achieving the creamy, scoopable texture that mimics traditional ice cream without needing any cream or sugar.
Step 2: Blend the Base Ingredients
Place your frozen banana slices into a food processor or high-speed blender. At first, they will break down into small bits, but keep blending! Slowly pour in the almond milk, add the vanilla extract, and sprinkle in the pinch of salt. Continue blending until the mixture is perfectly smooth and creamy, resembling soft-serve ice cream. Don’t forget to scrape down the sides as needed to get everything smoothly combined.
Step 3: Add Your Favorite Mix-Ins
This is your moment to get creative! Whether you prefer a rich chocolate kick from cocoa powder, a nutty touch from peanut butter, a pop of fruity freshness with frozen berries, or a bit of crunch from dark chocolate chips, simply add these into the blender and pulse until mixed evenly.
Step 4: Serve or Freeze
If you want soft-serve texture, dig right in once the mixture is smooth. For those who crave a firmer, scoopable consistency, transfer your ice cream to an airtight container and freeze for 1 to 2 hours before serving.
How to Serve Healthy Banana-Based Vegan Ice Cream Recipe
Garnishes
Topping your banana-based vegan ice cream with fresh fruit like sliced strawberries or blueberries makes for a colorful, refreshing accent. Alternatively, a sprinkle of chopped nuts or a drizzle of natural almond butter can add a delightful crunch and extra flavor dimension.
Side Dishes
This ice cream shines as a solo indulgence but pairs beautifully with freshly baked vegan cookies or a warm fruit compote. Imagine a cozy afternoon with a mug of herbal tea and this cool, creamy dessert on the side.
Creative Ways to Present
For a fun twist, serve the ice cream in hollowed-out fruit shells like coconut halves or pineapple boats. You can also create layered parfaits by alternating scoops of banana ice cream with your favorite granola or vegan chocolate sauce. These presentations add an exciting visual appeal that’s perfect for gatherings.
Make Ahead and Storage
Storing Leftovers
If you have any leftovers, store the ice cream in an airtight container in the freezer. Because it’s made without preservatives, it’s best enjoyed within a week for optimal flavor and texture.
Freezing
Freezing your ice cream for one to two hours after blending will firm it up nicely without becoming rock solid. If left frozen longer, just allow it to sit out for a few minutes before scooping to soften it back to the perfect consistency.
Reheating
Since this ice cream is best served cold, reheating is not recommended. However, if it becomes too hard in the freezer, just let it thaw at room temperature for about five to ten minutes before enjoying.
FAQs
Can I use bananas that are not frozen?
Using fresh bananas won’t give you the creamy texture you want, so it’s best to slice and freeze them before blending to get that perfect ice cream consistency.
Is this recipe suitable for people with nut allergies?
Yes! Simply use a nut-free plant milk such as oat or rice milk and skip any optional nut-based add-ins to keep it allergy-friendly.
What makes this a Healthy Banana-Based Vegan Ice Cream Recipe?
It uses natural sweeteners from bananas, no dairy, and no refined sugar, making it not only vegan but also packed with fiber and nutrients, making indulgence healthier.
Can I add other flavors besides the optional ones suggested?
Absolutely! Feel free to experiment with spices like cinnamon or nutmeg, or even add a splash of espresso for a coffee-flavored treat.
How long does this ice cream stay fresh?
For the best taste and texture, consume within one week of freezing. Beyond that, it might lose some creaminess or develop freezer burn.
Final Thoughts
This Healthy Banana-Based Vegan Ice Cream Recipe has quickly become one of my favorite go-to desserts because it’s so simple, nourishing, and customizable. Whether you’re vegan, watching your sugar intake, or just looking for a fun way to enjoy fruit, this recipe delivers every time. I truly hope you give it a try and watch how a few humble bananas transform into a luscious, creamy delight that feels like a special treat but is actually packed with goodness.
Print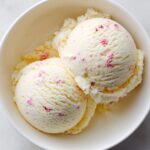
Healthy Banana-Based Vegan Ice Cream Recipe
- Prep Time: 5 minutes
- Cook Time: 0 minutes
- Total Time: 5 minutes (plus optional freezing time)
- Yield: 2 servings 1x
- Category: Dessert
- Method: Blending
- Cuisine: American
- Diet: Vegan
Description
This healthy banana-based ice cream is a creamy, dairy-free, and naturally sweet dessert that you can make in just minutes. Using frozen ripe bananas blended with almond milk and vanilla, it offers a guilt-free alternative to traditional ice cream, perfect for vegans and those avoiding refined sugars. Customize it with optional add-ins like peanut butter, cocoa powder, or berries for extra flavor.
Ingredients
Main Ingredients
- 3 ripe bananas, peeled, sliced, and frozen
- 1/2 tsp vanilla extract
- 2 tbsp unsweetened almond milk (or milk of choice)
- Pinch of salt
Optional Add-ins
- 1 tbsp peanut butter
- 1 tbsp cocoa powder
- 1/4 cup frozen berries
- 1 tbsp dark chocolate chips
Instructions
- Prepare the Bananas: Peel, slice, and freeze 3 ripe bananas until completely frozen. This step is crucial to achieve the creamy texture similar to ice cream.
- Blend Base Ingredients: Place the frozen banana slices in a food processor or high-speed blender and blend until they begin breaking down into small bits.
- Add Liquid and Flavor: Add 2 tablespoons of unsweetened almond milk, 1/2 teaspoon of vanilla extract, and a pinch of salt to the blender. Continue blending until the mixture becomes smooth and creamy, resembling soft-serve ice cream. Scrape down the sides as needed to ensure even blending.
- Incorporate Optional Add-ins: If desired, add 1 tablespoon peanut butter, 1 tablespoon cocoa powder, 1/4 cup frozen berries, or 1 tablespoon dark chocolate chips. Pulse the blender a few times to combine evenly.
- Serve or Freeze: Serve immediately to enjoy a soft-serve texture, or transfer the mixture to a container and freeze for 1 to 2 hours to achieve a firmer, scoopable consistency.
Notes
- This recipe is naturally sweetened by bananas, requiring no added sugars.
- It is dairy-free, gluten-free, and vegan-friendly.
- Customize with your favorite mix-ins such as chopped nuts, cinnamon, or a swirl of almond butter.
- For a firmer texture, allow extra freezing time beyond 2 hours as needed.