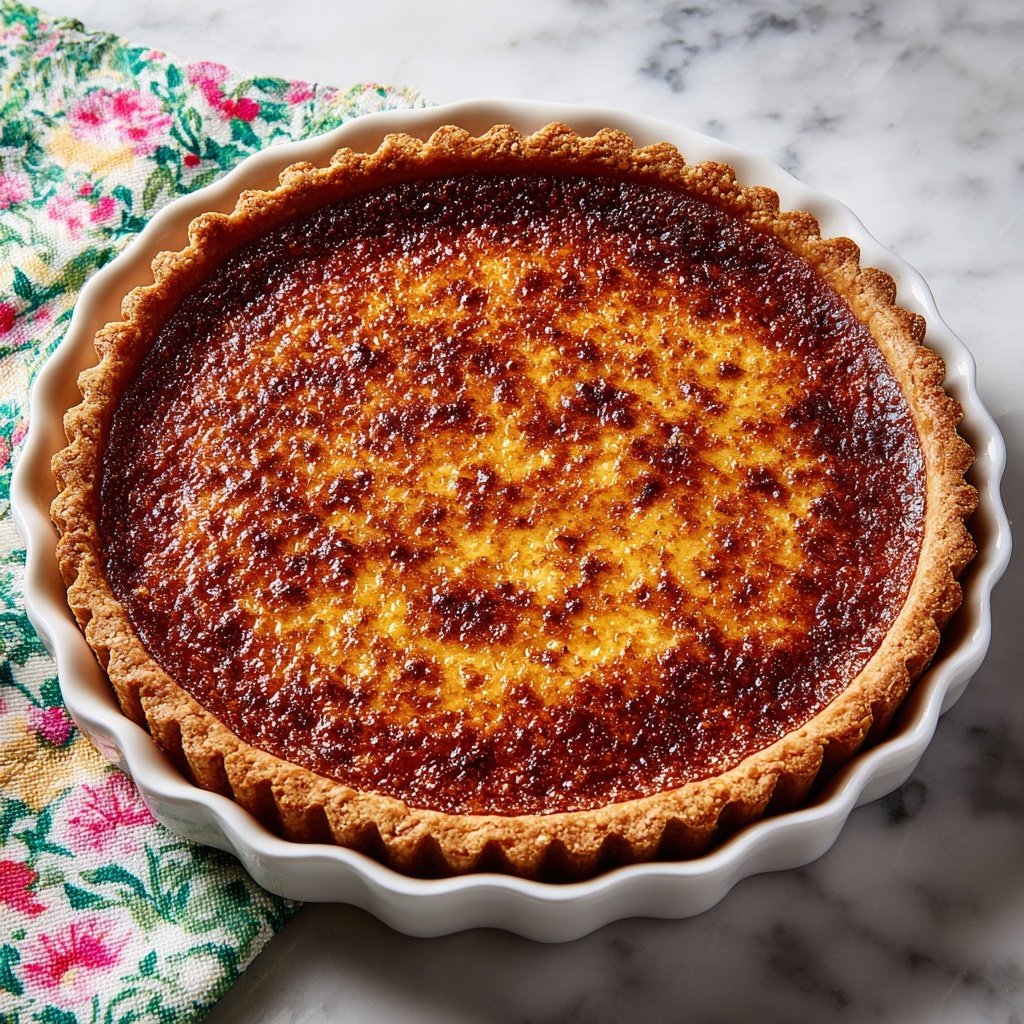
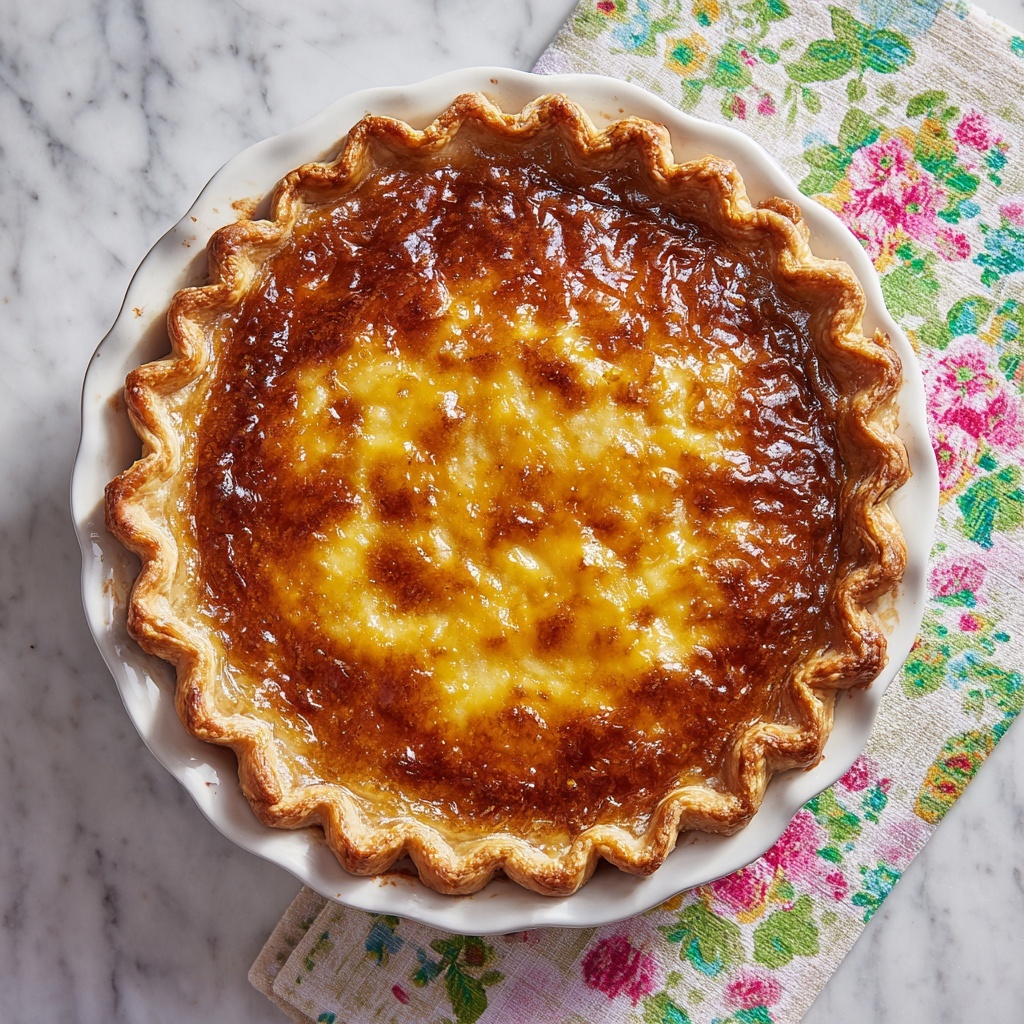
If you’ve never heard of this delightfully simple dessert, you are in for a treat with this charming Water Pie Recipe. It’s a nostalgic Southern classic that transforms basic pantry staples into a silky, custardy pie with a golden crust that’s as inviting as a warm hug. The magic lies in its unique water-based filling that solidifies into a tender, sweet custard without any eggs. Light, comforting, and surprisingly elegant, this Water Pie Recipe is perfect for anyone who loves fuss-free baking with maximum flavor and a sprinkle of history.
Ingredients You’ll Need
The beauty of this Water Pie Recipe is in its simplicity. Each ingredient plays a vital role to create a perfectly balanced pie — from the flaky crust to the custard-like filling. Here’s what you’ll need:
- 1 9-inch deep-dish pie crust, unbaked: The sturdy base that gives the pie its shape and flaky texture.
- 1 1/2 cups water: The key ingredient that creates the pie’s unique, silky custard texture.
- 4 tablespoons all-purpose flour: Helps thicken and stabilize the filling for a smooth set.
- 1 cup sugar: Adds just the right touch of sweetness to balance the mild flavor.
- 2 teaspoons vanilla extract: Gives the pie its warm, inviting aroma and subtle depth of flavor.
- 5 tablespoons butter, cut into pieces: Creates rich pockets of creaminess as the pie bakes.
How to Make Water Pie Recipe
Step 1: Preheat and Prepare
Start by preheating your oven to 400°F and place your unbaked pie crust on a baking sheet. This makes handling easier and helps catch any drips. A baking sheet also promotes even heat distribution for the crust’s golden finish.
Step 2: Add Water
Gently pour 1 1/2 cups of water directly into the unbaked pie shell. It might feel a bit strange because the filling is mostly water, but trust the process — this is what makes this pie so unique.
Step 3: Prepare the Filling
In a small bowl, combine the flour and sugar. Sprinkle this dry mixture evenly over the water in the pie without stirring. This layering is important to ensure the filling sets properly and avoids lumps.
Step 4: Add Flavor
Drizzle the vanilla extract over the pie’s surface, then scatter the pieces of butter on top. The butter will melt into the pie as it bakes, enriching the flavor and adding a lovely, silky texture.
Step 5: Bake
Place the pie in the preheated oven at 400°F for 30 minutes. Afterward, reduce the oven temperature to 375°F and continue baking for another 30 minutes. To protect the crust edges from burning, cover them with foil if needed. During baking, the pie will look watery and loose; don’t worry, it will set as it cools.
Step 6: Cool and Chill
Once baked, let the pie cool completely at room temperature, then cover it and refrigerate until chilled. This chilling step is essential as it allows the filling to fully set into the luscious custard consistency that makes this Water Pie Recipe so irresistible.
How to Serve Water Pie Recipe
Garnishes
Keep it classic with a dollop of whipped cream or a light sprinkle of powdered sugar. Fresh berries or a few mint leaves can also brighten the plate and add a pop of color and freshness that complements the pie’s gentle sweetness.
Side Dishes
This pie pairs beautifully with a hot cup of tea or coffee, making it a perfect after-dinner treat. For a more decadent experience, serve alongside a scoop of vanilla ice cream or a drizzle of caramel sauce for contrast and extra indulgence.
Creative Ways to Present
Try serving individual mini water pies in ramekins for a charming presentation at parties or gatherings. Alternatively, top each slice with candied nuts or a sprinkle of cinnamon to add a bit of texture and spice that highlights the filling’s delicate flavors.
Make Ahead and Storage
Storing Leftovers
Water Pie tastes best when fresh, but you can store any leftovers covered tightly in the refrigerator for up to 3 days. Keeping it chilled helps maintain the silky texture and prevents the crust from becoming soggy.
Freezing
Because of its delicate custard texture, freezing is not recommended as it could cause the pie to separate upon thawing. For best results, enjoy the pie within a couple of days.
Reheating
If you prefer your Water Pie warm, gently reheat individual slices in the microwave for 15–20 seconds, but be careful not to overheat. Serving chilled is traditional and really lets the flavors shine.
FAQs
Can I use store-bought pie crust for this Water Pie Recipe?
Absolutely! A good-quality store-bought crust saves time and works perfectly for this pie, as long as it’s a deep-dish style for enough room to hold the filling.
Is this Water Pie Recipe safe for people with egg allergies?
Yes, this pie contains no eggs, making it a fantastic dessert option for those with egg allergies or dietary restrictions.
Why does the pie look watery right out of the oven?
This is completely normal—the filling is mostly water and thickens as it cools. Patience is key; once refrigerated, it will set into a smooth custard.
Can I add other flavors to this recipe?
You can experiment by adding a splash of lemon juice or some cinnamon to the sugar and flour mixture for a different twist, but the classic vanilla flavor is timeless for a reason!
How serves this Water Pie Recipe best — cold or warm?
Traditionally, this pie is served chilled, which gives the custard a pleasant, firm texture. However, some enjoy it slightly warmed—just be sure not to heat it too long or the texture might change.
Final Thoughts
This Water Pie Recipe is an enchanting example of how simple ingredients paired with the right technique can create pure magic in the kitchen. It’s charming, comforting, and delightfully different — a perfect dessert to share with friends or savor on a quiet night in. Give it a try and let this humble pie win a special place in your baking repertoire!
Print
Water Pie Recipe
- Prep Time: 10 minutes
- Cook Time: 1 hour
- Total Time: 1 hour 10 minutes
- Yield: 4 servings 1x
- Category: Dessert
- Method: Baking
- Cuisine: American
Description
This classic Water Pie is a surprising and delightful dessert made with simple pantry ingredients. Featuring a flaky deep-dish pie crust filled with an easy custard-like mixture of water, sugar, flour, butter, and vanilla, it bakes into a sweet, creamy pie that sets as it cools. Perfect for when you want a nostalgic homemade dessert without needing eggs or milk.
Ingredients
Pie Crust
- 1 9-inch deep-dish pie crust, unbaked
Filling
- 1 1/2 cups water
- 4 tablespoons all-purpose flour
- 1 cup sugar
- 2 teaspoons vanilla extract
- 5 tablespoons butter, cut into 5 pieces
Instructions
- Preheat and Prepare: Preheat your oven to 400°F (200°C). Place the unbaked pie crust on a baking sheet to catch any drips and make handling easier.
- Add Water: Carefully pour 1 1/2 cups of water into the unbaked pie crust, spreading it evenly without spilling.
- Prepare Filling: In a small bowl, combine 4 tablespoons of all-purpose flour and 1 cup of sugar. Sprinkle this dry mixture evenly over the water in the pie crust. Do not stir or mix.
- Add Flavor: Drizzle 2 teaspoons of vanilla extract over the surface to add a rich aroma and sweetness. Then, evenly place 5 tablespoons of butter, cut into five separate pieces, on top of the filling.
- Bake at 400°F: Place the pie in the preheated oven and bake for 30 minutes at 400°F. This initial high heat helps to set the filling and start browning the crust.
- Reduce Heat and Continue Baking: After 30 minutes, lower the oven temperature to 375°F (190°C). If you notice the crust edges browning too quickly, cover them with foil to prevent burning. Bake for an additional 30 minutes until the filling is set and slightly golden on top.
- Cool and Chill: When the pie is finished baking, remove it from the oven. The filling will still look watery when hot, but it will set as it cools. Allow the pie to cool completely on a wire rack, then cover and refrigerate until chilled before slicing and serving.
Notes
- Do not stir the sugar and flour mixture into the water; the filling sets as it bakes.
- Using a deep-dish crust is essential to hold the water filling properly.
- Cover crust edges with foil halfway through baking to prevent over-browning.
- Allow enough cooling time; the filling needs to fully set at room temperature and in the fridge.
- This recipe contains no eggs or dairy (other than butter), making it a simple pantry dessert option.