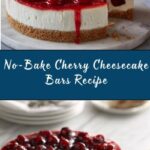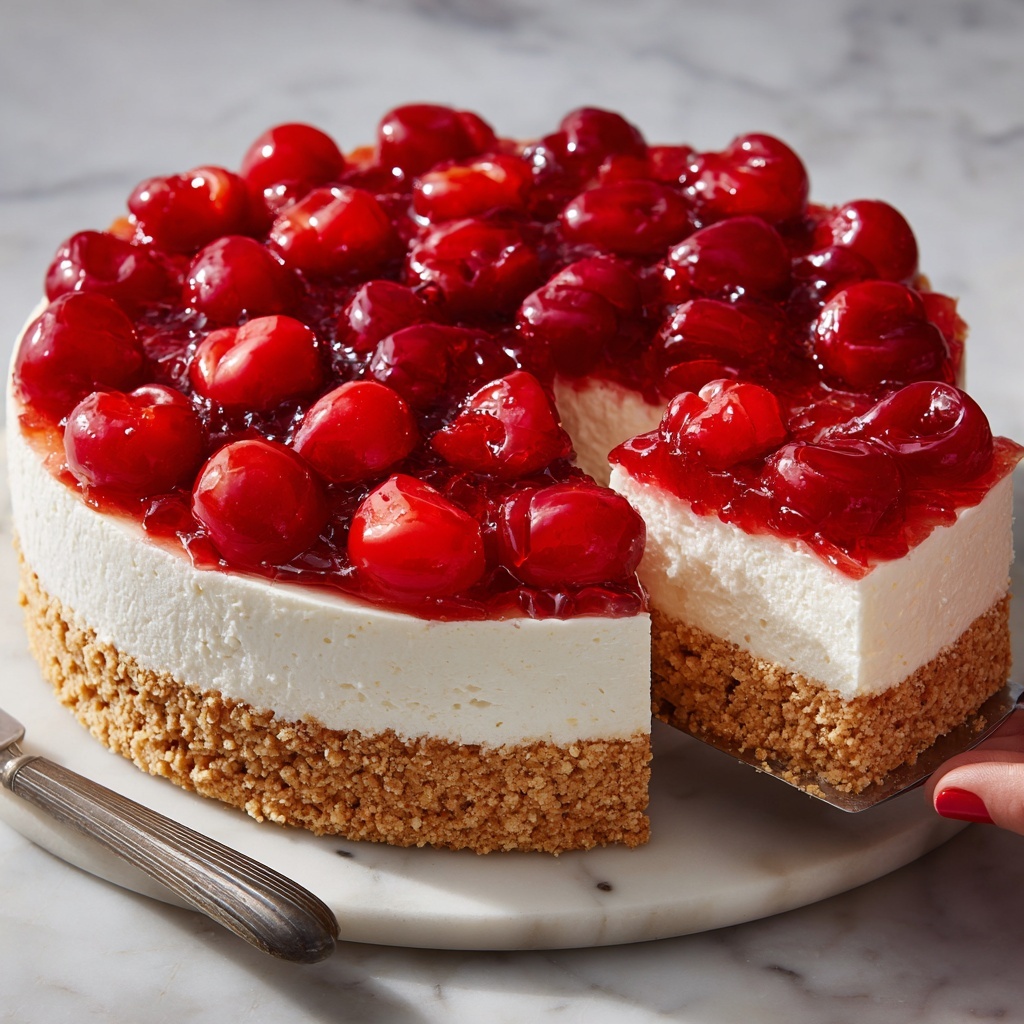
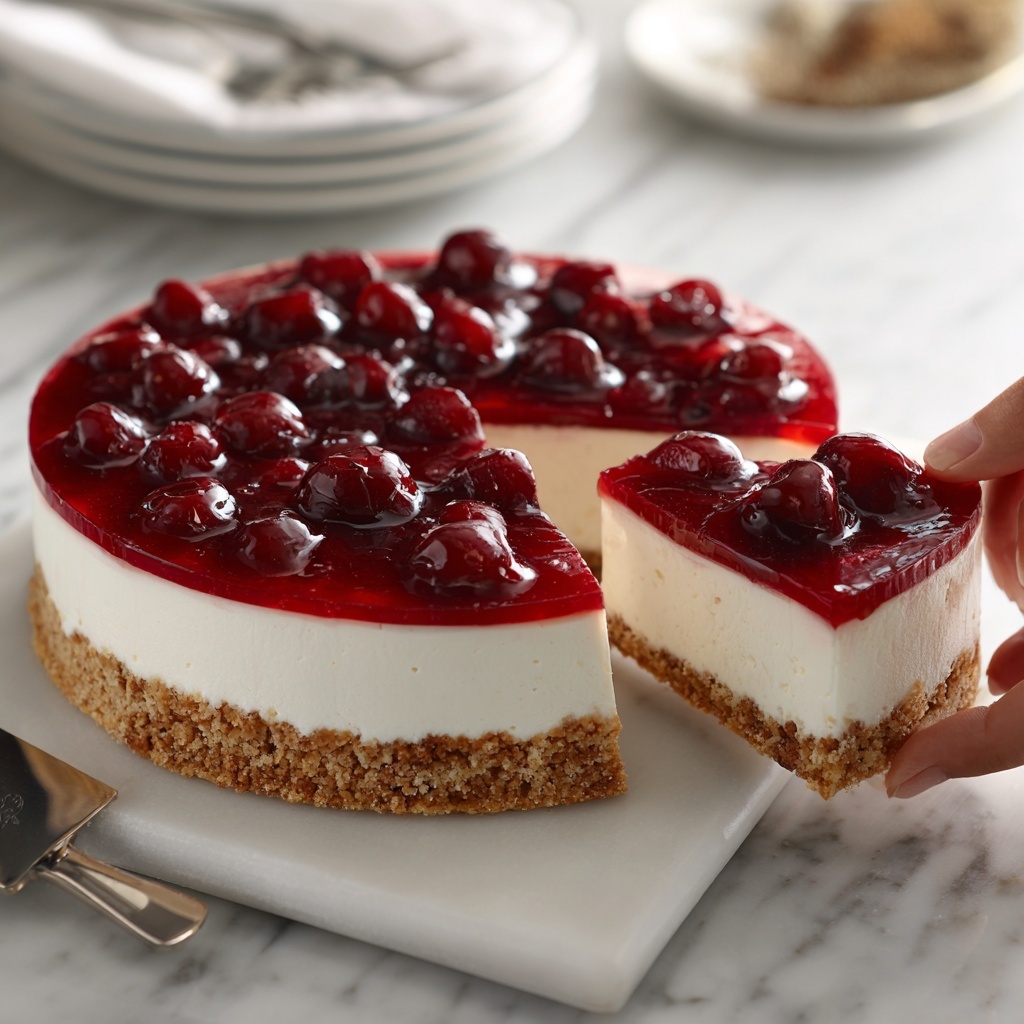
If you are craving a dessert that combines creamy, tangy, and sweet flavors with a delightfully smooth texture, then this No-Bake Cherry Cheesecake Bars Recipe is calling your name. Imagine luscious cream cheese filling atop a buttery graham cracker crust, crowned with vibrant, jewel-like cherry pie filling—no oven needed! These bars are perfect for sunny afternoons, potlucks, or anytime you need a quick yet impressive sweet treat that makes everyone smile.
Ingredients You’ll Need
The beauty of this recipe lies in its simplicity: just a handful of ingredients, each playing a crucial role in creating layers of flavor and texture. From the crunchy crust to the fluffy filling and the bright cherry topping, every component shines.
- 2 cups graham cracker crumbs: Provides the classic, buttery base with a perfect hint of sweetness and crunch.
- 1/2 cup unsalted butter, melted: Binds the crust ingredients together and adds indulgent richness.
- 2 tablespoons granulated sugar: Sweetens the crust slightly while enhancing overall balance.
- 2 (8-ounce) packages cream cheese, softened: The creamy heart of the filling, offering smooth texture and tangy flavor.
- 1 cup powdered sugar: Delivers gentle sweetness and ensures a silky texture in the filling.
- 1 teaspoon vanilla extract: Adds warm, aromatic depth that brightens every bite.
- 1 (8-ounce) container whipped topping, thawed: Lightens the filling for that airy, melt-in-your-mouth sensation.
- 1 (21-ounce) can cherry pie filling: The crowning glory with juicy cherries and shiny glaze, elevating both flavor and visual appeal.
How to Make No-Bake Cherry Cheesecake Bars Recipe
Step 1: Prepare the Graham Cracker Crust
Start by mixing the graham cracker crumbs, melted butter, and granulated sugar in a medium bowl. Stir until the mixture feels evenly moist and holds together when pressed. Press this mixture firmly into the bottom of a 9×9-inch baking dish to form a sturdy crust. Pop it into the fridge to chill while you whip up the cheesecake filling—this helps the crust set firmly and hold the bars perfectly.
Step 2: Make the Cream Cheese Filling
In a large mixing bowl, beat the softened cream cheese until it’s smooth and velvety—no lumps allowed! Gradually add the powdered sugar and vanilla extract, beating until everything is silky and fully combined. Finally, gently fold in the thawed whipped topping, which lightens the mixture beautifully, making the filling fluffy without losing that rich cream cheese flavor.
Step 3: Assemble the Bars
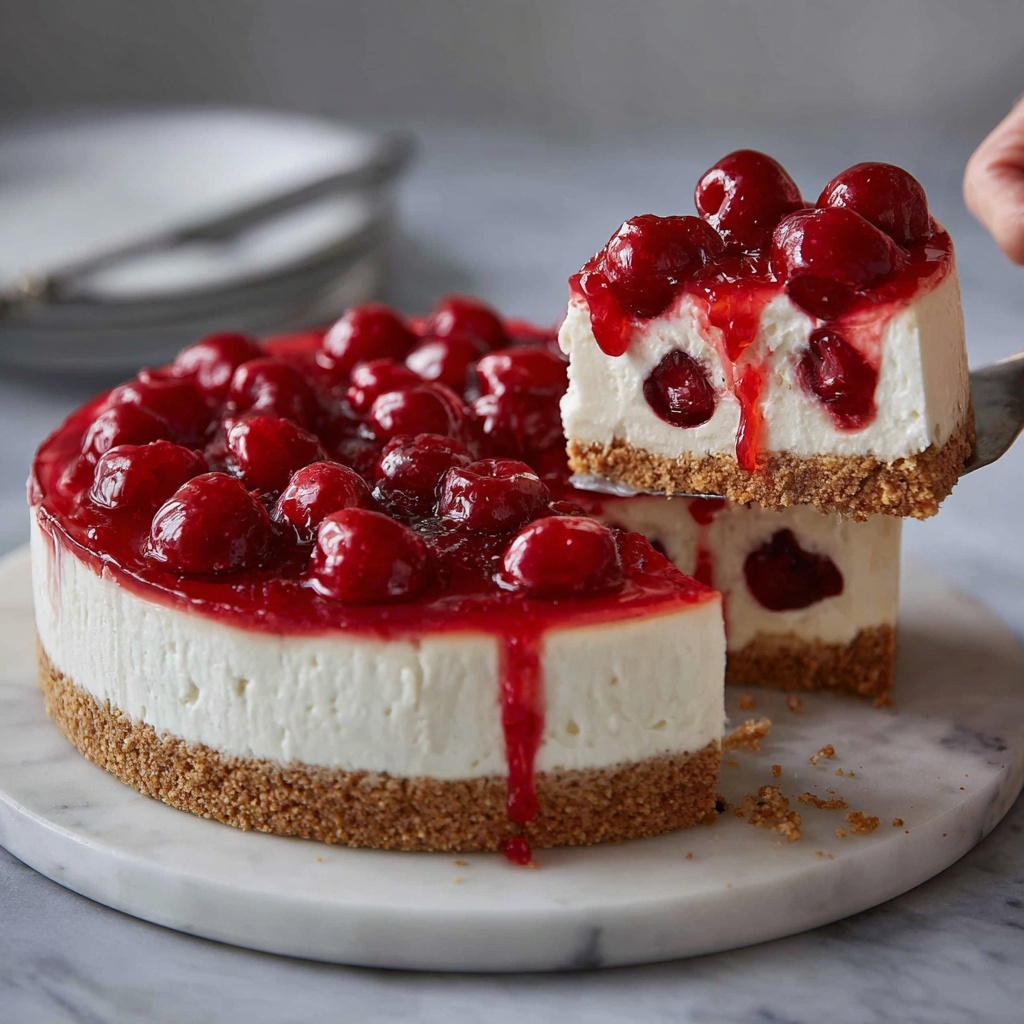
Evenly spread the luscious cream cheese filling over the chilled graham cracker crust, smoothing it out for a neat layer. Next, spoon the cherry pie filling on top. Take care to spread it gently so you get an even distribution of cherries and glaze, creating that signature cherry-topped look everyone loves.
Step 4: Chill Until Set
Cover the baking dish and refrigerate the bars for at least 4 hours—or better yet, overnight—to let the layers set firmly. This chilling step is key to achieving the perfect sliceable bars with intact layers and a satisfying texture.
How to Serve No-Bake Cherry Cheesecake Bars Recipe
Garnishes
These bars are stunning as-is, but if you want to add a little pizzazz, sprinkle a few reserved graham cracker crumbs on top right before serving. Fresh cherries or a dusting of powdered sugar can also add a pretty, fresh touch.
Side Dishes
Pair your bars with a light, fruity salad or a scoop of vanilla ice cream for a truly decadent dessert experience. A cup of coffee or a crisp glass of sparkling wine also complements the creamy, sweet flavors beautifully.
Creative Ways to Present
For entertaining, cut the bars into bite-sized squares and serve them on decorative picks as mini cheesecake bites. Layering cherry cheesecake bars in clear parfait glasses with additional fresh cherries can turn this classic into an elegant, crowd-pleasing dessert parfait.
Make Ahead and Storage
Storing Leftovers
These bars keep well covered in the refrigerator for up to 4 days. Store in an airtight container to prevent them from absorbing fridge odors and to maintain their perfect texture.
Freezing
You can freeze this No-Bake Cherry Cheesecake Bars Recipe for up to one month. Wrap the dish tightly with plastic wrap and aluminum foil to protect against freezer burn. Thaw overnight in the fridge before serving for best taste and texture.
Reheating
Since these bars are best served chilled, reheating is not necessary. Simply bring them to your preferred chilled temperature straight from the fridge or freezer after thawing.
FAQs
Can I use fresh cherries instead of cherry pie filling?
Absolutely! Fresh cherries can add a natural brightness, but consider stirring them with a bit of sugar and cornstarch and gently heating to mimic the texture of pie filling for best results.
What if I don’t have a 9×9-inch baking dish?
You can use a similar-sized pan or even a slightly larger one. Just keep in mind that a larger pan will yield thinner bars, so reduce the amount of filling accordingly.
Is it okay to use reduced-fat cream cheese?
While you can use reduced-fat cream cheese, the texture may be less creamy and rich. For the best results and flavor, full-fat cream cheese is recommended.
Can I make this recipe dairy-free?
To make it dairy-free, try substituting dairy-free cream cheese and whipped topping alternatives. Keep in mind the texture and taste might be slightly different, but it will still be delicious!
How long does it take to chill these bars?
The bars need at least 4 hours to set firmly in the fridge, but chilling overnight is best for the perfect slice and flavor melding.
Final Thoughts
There’s something truly special about this No-Bake Cherry Cheesecake Bars Recipe that feels both comforting and celebratory at the same time. Easy to make, visually delightful, and ridiculously tasty, these bars are bound to become a favorite in your dessert rotation. Give them a try—you might just find your new go-to treat for every occasion.
Print
No-Bake Cherry Cheesecake Bars Recipe
- Prep Time: 15 minutes
- Cook Time: 0 minutes
- Total Time: 4 hours 15 minutes (including chilling)
- Yield: 9 bars 1x
- Category: Dessert
- Method: No-Cook
- Cuisine: American
- Diet: Vegetarian
Description
These No-Bake Cherry Cheesecake Bars are a creamy, luscious dessert with a buttery graham cracker crust, smooth cream cheese filling, and a sweet cherry topping. Perfect for warm weather or when you need a quick and easy dessert without turning on the oven.
Ingredients
Crust
- 2 cups graham cracker crumbs
- 1/2 cup unsalted butter, melted
- 2 tablespoons granulated sugar
Filling
- 2 (8-ounce) packages cream cheese, softened
- 1 cup powdered sugar
- 1 teaspoon vanilla extract
- 1 (8-ounce) container whipped topping, thawed
Topping
- 1 (21-ounce) can cherry pie filling
Instructions
- Prepare the crust: In a medium bowl, combine the graham cracker crumbs, melted butter, and granulated sugar. Mix until evenly moistened, then press firmly into the bottom of a 9×9-inch baking dish. Place in the refrigerator to chill while preparing the filling.
- Make the cheesecake filling: In a large mixing bowl, beat the softened cream cheese until smooth and creamy. Add the powdered sugar and vanilla extract, and beat until fully combined. Gently fold in the whipped topping until the mixture is light and fluffy.
- Assemble the bars: Spread the cream cheese mixture evenly over the chilled crust. Spoon the cherry pie filling over the top and spread gently to cover the surface evenly.
- Chill to set: Cover the dish and refrigerate for at least 4 hours, or until the bars have fully set and are firm enough to slice.
- Serve: Slice into 9 bars and serve chilled for the best texture and flavor.
Notes
- For added texture, reserve a few tablespoons of graham cracker crumbs to sprinkle on top before serving.
- These bars can also be frozen for up to 1 month; thaw overnight in the refrigerator before serving to maintain texture.