If you’re anything like me, there’s something truly magical about the humble pie crust — that golden, flaky foundation that holds all the delicious fillings together just perfectly. Grandmother’s Pie Crust Recipe is a cherished classic that brings nostalgia and homey comfort right to your kitchen. It’s simple, buttery, and irresistibly crisp, making every pie feel like a warm hug from the past. Once you master this pie crust, your pies will never be the same, and you’ll find yourself reaching for this recipe time and time again.
Ingredients You’ll Need
These ingredients are straightforward yet essential, each playing a key role in creating the perfect texture and flavor of the pie crust. You’ll see how the simple combination of flour, butter, and a touch of water comes together to create that unmistakable flaky goodness.
- All-purpose flour: 2 1/2 cups provide the perfect structure and tenderness to the dough.
- Salt: 1 teaspoon enhances the flavors, balancing the richness of the butter.
- Cold unsalted butter: 1 cup, cut into small cubes, is the secret to achieving that flaky texture by creating layers.
- Ice water: 6–8 tablespoons gently hydrate the dough without melting the butter, crucial for flakiness.
- Granulated sugar (optional): 1 tablespoon adds a subtle sweetness to crusts for sweet pies, without overpowering the filling.
How to Make Grandmother’s Pie Crust Recipe
Step 1: Mix the Dry Ingredients
Start by whisking together the flour, salt, and sugar (if you’re making a sweet crust) in a large bowl. This ensures even distribution of flavors and makes the base for your dough smooth and consistent.
Step 2: Cut in the Butter
Add the cold, cubed butter to the flour mixture. Using a pastry cutter or your fingertips, blend the butter into the flour until the mixture looks like coarse crumbs with little pea-sized bits of butter—these little butter bits are what make your crust delightfully flaky once baked.
Step 3: Add Ice Water Gradually
Slowly drizzle ice water, one tablespoon at a time, into your crumbly mixture. Stir gently with a fork after each addition to help the dough come together. The trick here is to add just enough water so the dough holds together when pressed but doesn’t get overworked, which can toughen the crust.
Step 4: Divide and Chill the Dough
Split the dough evenly into two flat discs. Wrap each tightly in plastic wrap and chill in the refrigerator for at least one hour. This chilling step firms up the butter and relaxes the gluten, making it easier to roll out and guaranteeing flakiness.
Step 5: Roll Out and Shape
When you’re ready to bake, let the dough sit at room temperature for 5 to 10 minutes to soften slightly. Lightly flour your surface and roll out the dough to fit your pie pan. Whether you’re making a double-crust pie or two single crusts, this step is where your pie starts taking shape beautifully.
How to Serve Grandmother’s Pie Crust Recipe
Garnishes
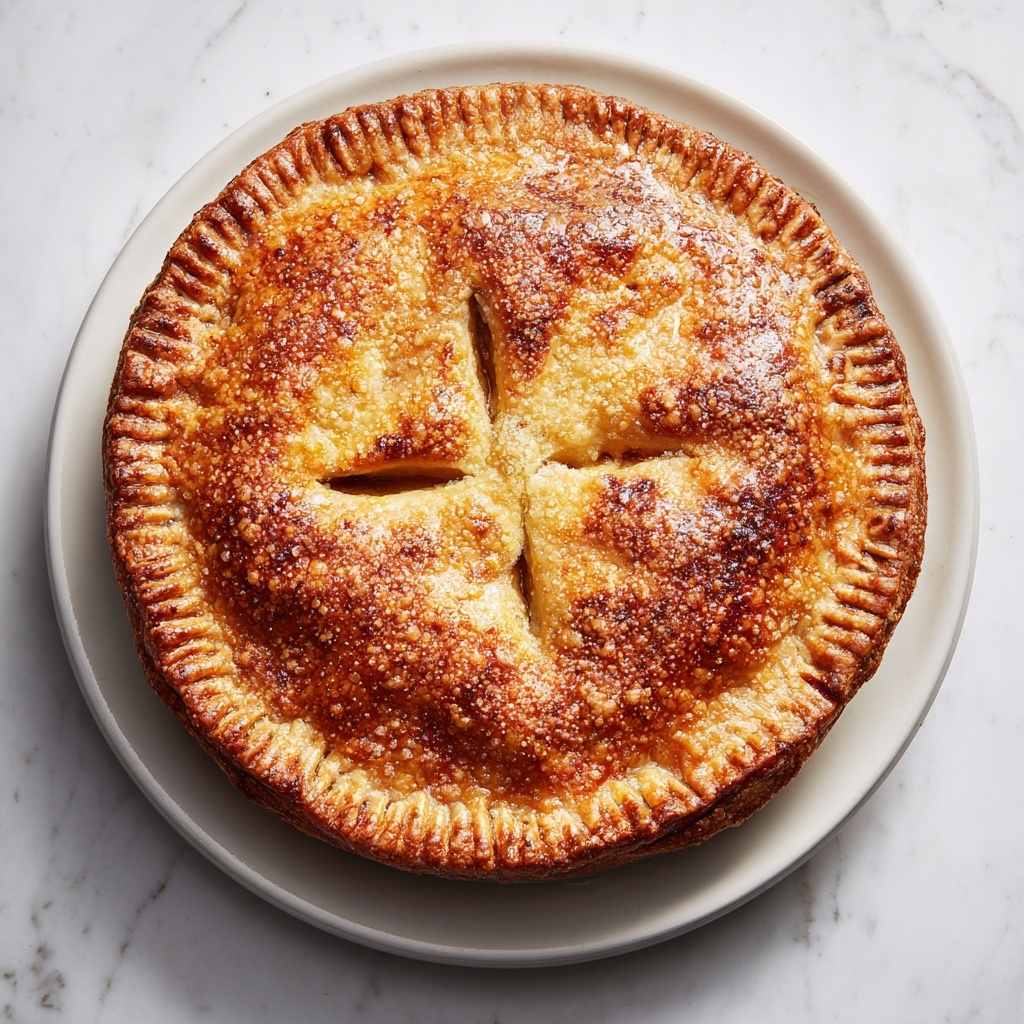
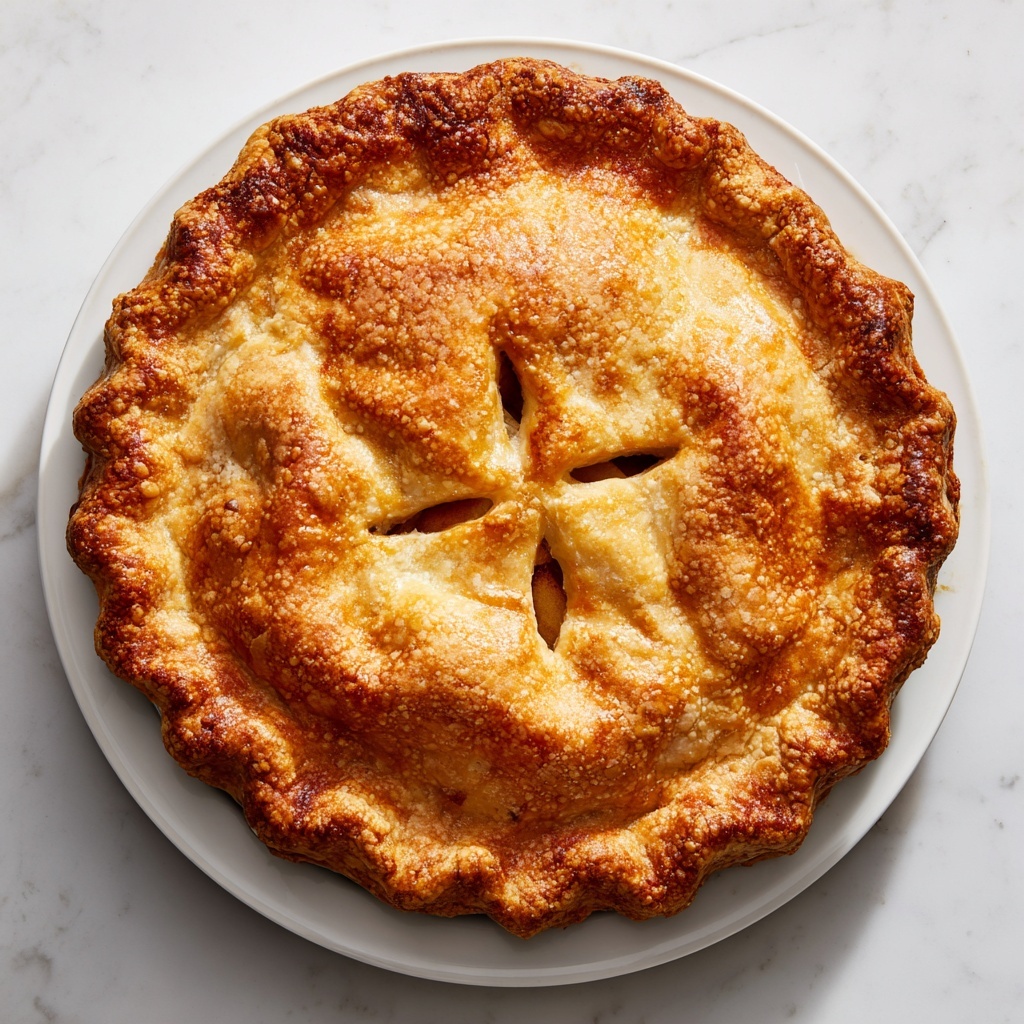
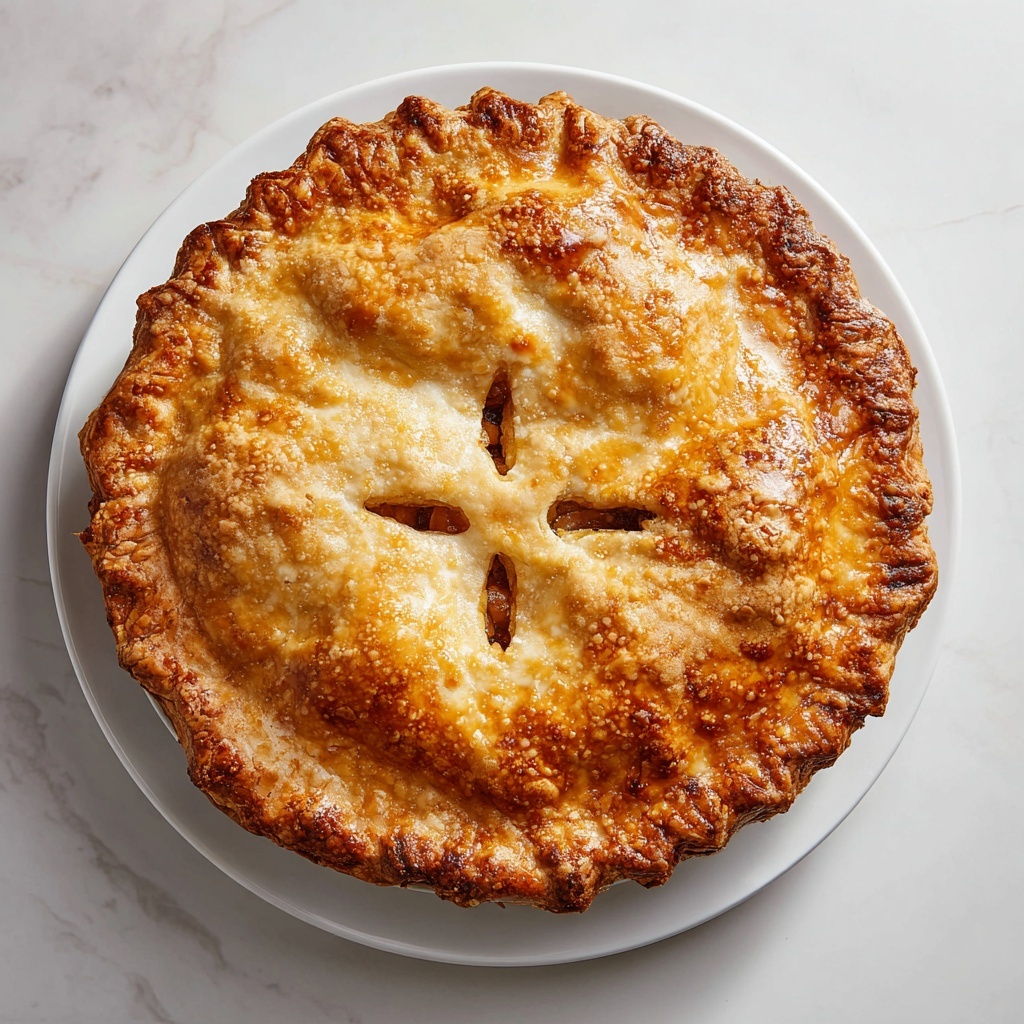
To elevate your pie, consider sprinkling a little coarse sugar on top of the crust before baking for a subtle crunch and sparkle. A nice brushing of egg wash can also add a gorgeous golden shine that will make your Grandmother’s Pie Crust Recipe stand out even more.
Side Dishes
This versatile crust pairs wonderfully with a variety of pie fillings, from tart fruit pies to creamy custards. Serve alongside a dollop of whipped cream, a scoop of vanilla ice cream, or even a drizzle of caramel or chocolate sauce to create a complete, indulgent dessert experience.
Creative Ways to Present
Get creative! Use cookie cutters to make decorative shapes from extra dough scraps for pie toppers, or crimp the edges uniquely to impress guests. You can also prepare mini hand pies using this crust for a charming, portable treat that’s perfect for gatherings.
Make Ahead and Storage
Storing Leftovers
If you have leftover dough or an unused crust, wrap it tightly in plastic wrap and refrigerate it. It will stay fresh for up to 2 days, allowing you to easily pull it out for quick baking whenever the craving strikes.
Freezing
Grandmother’s Pie Crust Recipe freezes beautifully. Wrap the dough discs well in plastic wrap and a layer of foil, then freeze for up to 3 months. When you want to use it later, simply thaw overnight in the fridge—just as easy as fresh!
Reheating
Since the pie crust itself is usually baked as part of a pie, reheating happens with the filled pie. Simply warm slices gently in the oven to restore crispness and enjoy as if freshly baked. Avoid microwaving to keep that signature flaky texture intact.
FAQs
Can I use salted butter instead of unsalted?
Yes, but adjust the added salt accordingly since salted butter contains salt. For best control over seasoning, unsalted butter is preferred in Grandmother’s Pie Crust Recipe.
Why is the butter kept cold?
Cold butter creates steam during baking which forms flaky layers. If it melts before baking, the crust can become tough and dense instead of light and flaky.
Is it necessary to chill the dough?
Chilling is crucial because it relaxes the gluten and re-hardens the butter, which helps the dough stay tender and flaky rather than shrinking or toughening during baking.
Can this crust be used for savory pies?
Absolutely! Just skip the sugar, and it makes an excellent base for quiches, pot pies, and other savory fillings, maintaining that wonderful flaky texture.
How do I prevent the crust from shrinking?
Don’t overwork the dough and make sure to chill it thoroughly before rolling. Also, avoid stretching the dough when fitting it into your pie dish to minimize shrinkage during baking.
Final Thoughts
If you want to create pies that feel like a warm embrace from family and tradition, this Grandmother’s Pie Crust Recipe is your new best friend in the kitchen. It’s straightforward, dependable, and yields that picture-perfect, flaky crust every time. I can’t wait for you to try it and make your own delicious memories filled with butter, flour, and a lot of love.
Print
Grandmother’s Pie Crust Recipe
- Prep Time: 15 minutes
- Cook Time: 0 minutes
- Total Time: 15 minutes (plus 1 hour chilling)
- Yield: 2 pie crusts 1x
- Category: Baking
- Method: No-Cook
- Cuisine: American
- Diet: Vegetarian
Description
Grandmother’s Pie Crust is a classic, flaky pie dough recipe that’s perfect for both sweet and savory pies. Made with simple ingredients like cold butter, flour, and ice water, this old-fashioned crust yields tender, buttery layers that hold up beautifully during baking. Whether you’re preparing a double-crust apple pie or individual tart shells, this versatile dough is a reliable foundation for your favorite fillings.
Ingredients
Dry Ingredients
- 2 1/2 cups all-purpose flour
- 1 teaspoon salt
- 1 tablespoon granulated sugar (optional, for sweet pies)
Wet Ingredients
- 1 cup cold unsalted butter, cut into small cubes
- 6–8 tablespoons ice water
Instructions
- Mix Dry Ingredients: In a large mixing bowl, whisk together the flour, salt, and sugar if using to ensure even distribution.
- Cut in Butter: Add the cold butter cubes and use a pastry cutter or your fingertips to work the butter into the flour mixture until it resembles coarse crumbs with some pea-sized pieces remaining, which helps create the flaky texture.
- Add Ice Water Gradually: Slowly add the ice water, one tablespoon at a time, mixing gently with a fork after each addition. Add only enough water for the dough to hold together when pressed without overmixing to keep it tender.
- Form Dough Discs: Divide the dough evenly into two portions, shape each into a flat disc, and wrap tightly in plastic wrap to prevent drying out.
- Chill the Dough: Refrigerate the wrapped dough discs for at least 1 hour. This step firms the butter and allows the dough to hydrate, enhancing flakiness and ease of rolling.
- Rest and Roll Out: When ready to use, let the dough rest at room temperature for 5–10 minutes to soften slightly. Then roll out on a lightly floured surface to fit your pie dish or tart pan.
Notes
- This recipe yields enough dough for one double-crust pie or two single-crust pies.
- For an extra flaky texture, chill your rolling pin and rolling surface before handling the dough.
- The dough can be frozen for up to 3 months; thaw overnight in the refrigerator before rolling out.