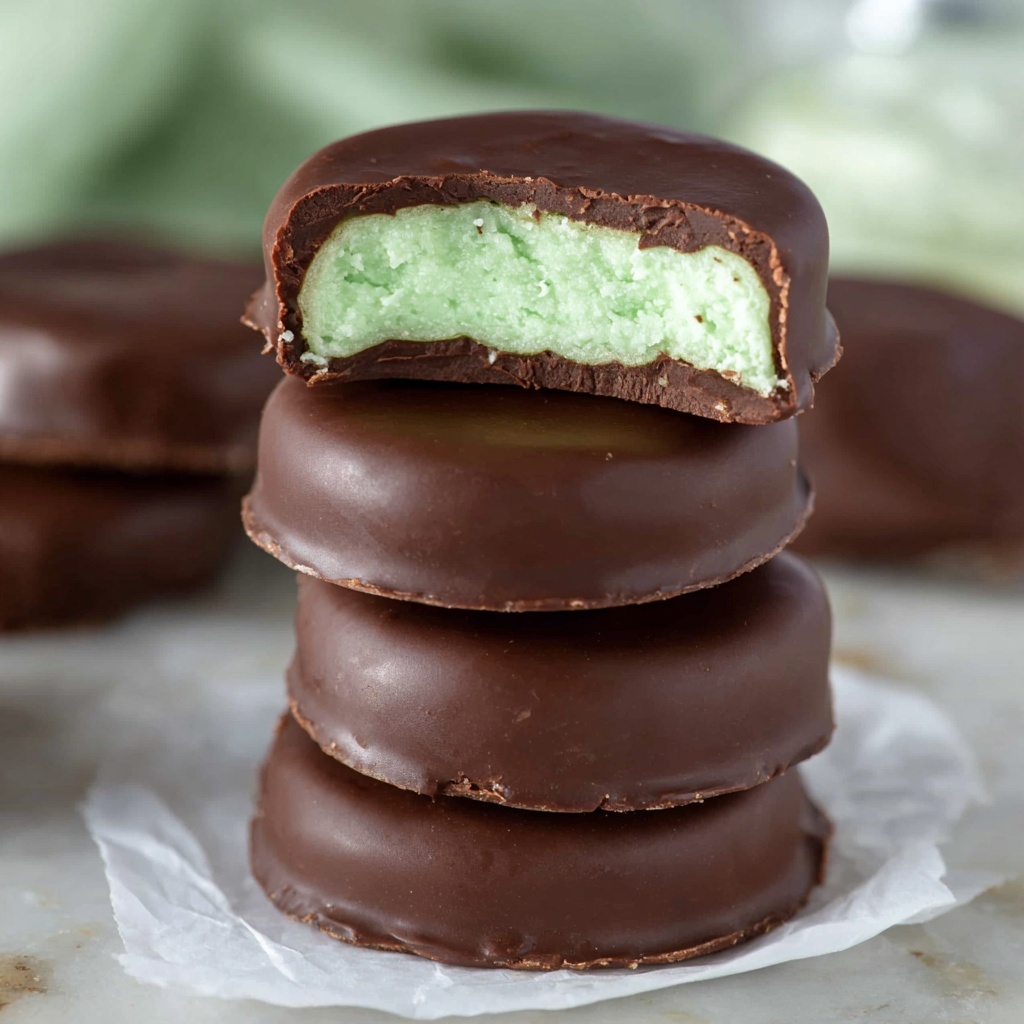
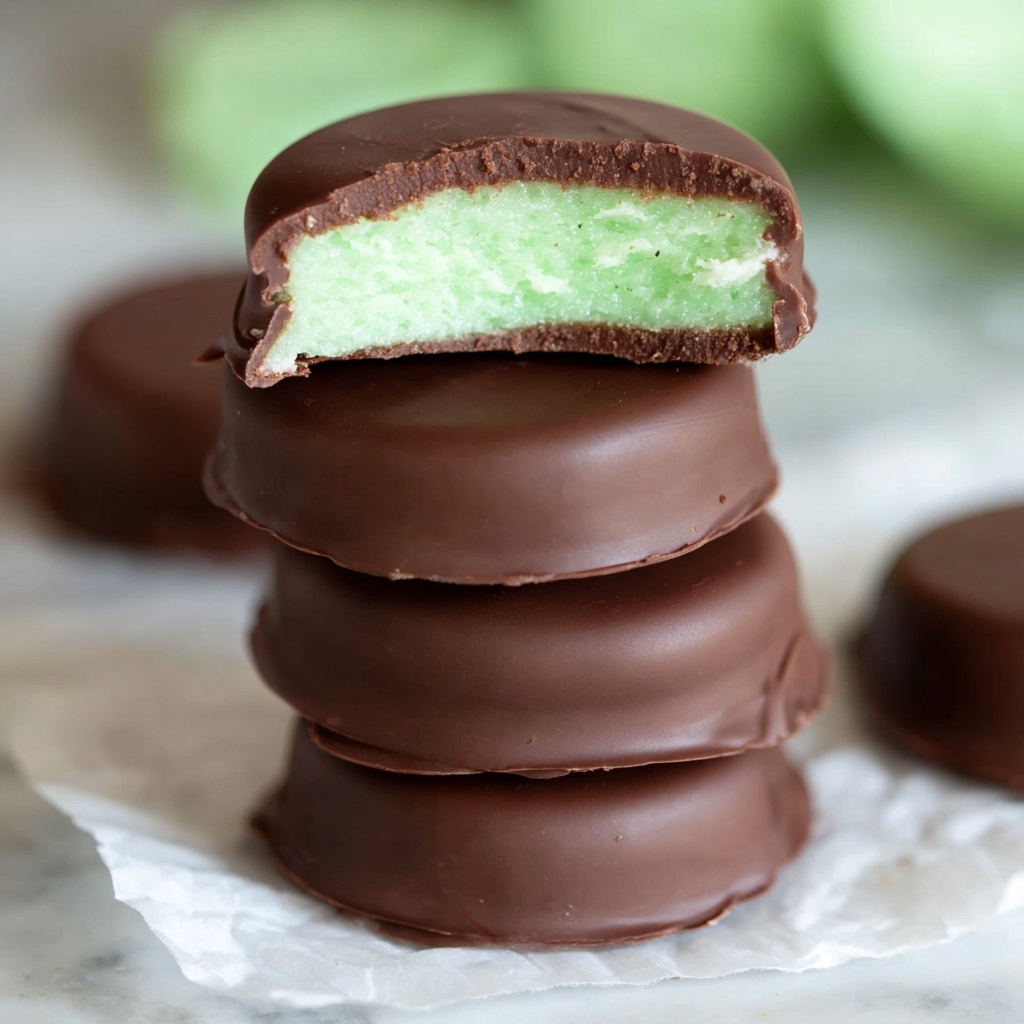
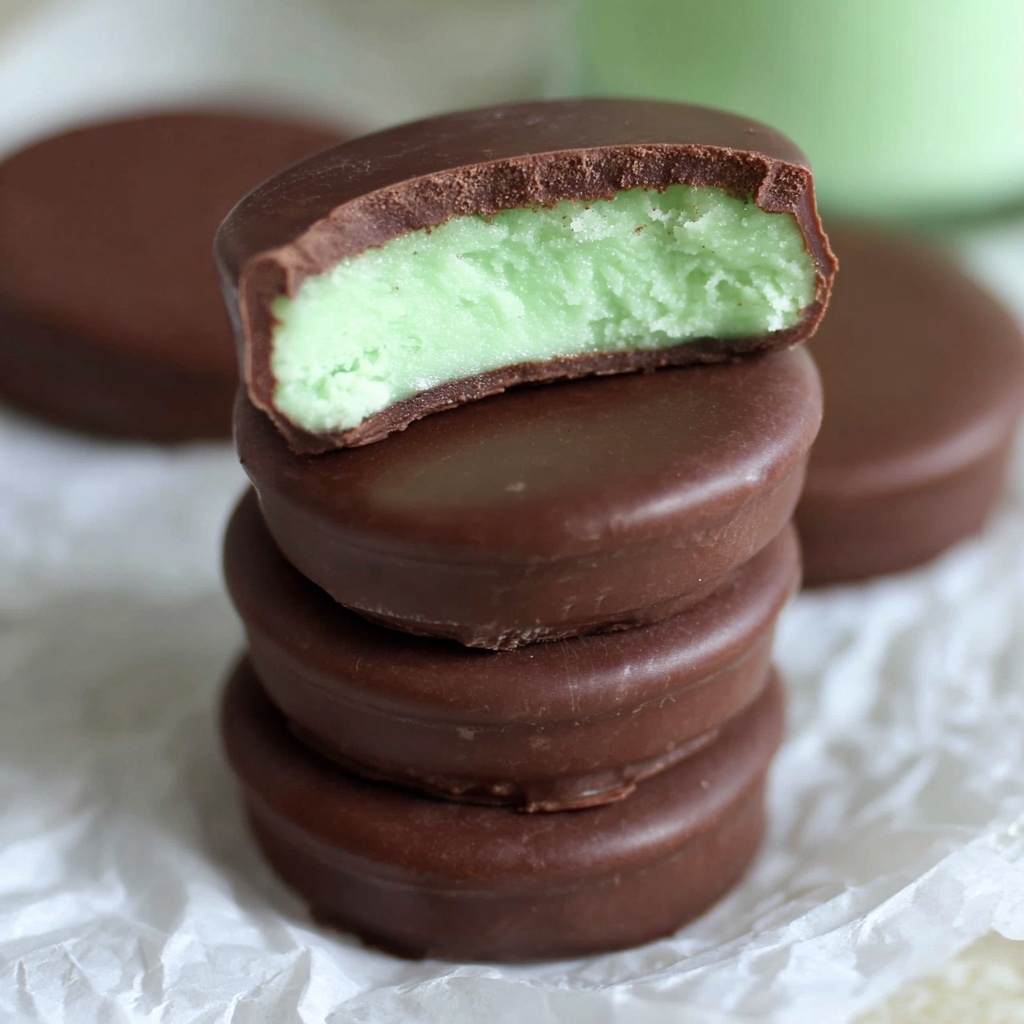
If you love the refreshing burst of mint paired with smooth, rich chocolate, then you are absolutely going to adore this Chocolate Covered Mint Patties Recipe. These delightful little treats blend creamy mint centers with a luscious chocolate coating, delivering a perfect balance of cool and sweet in every bite. Whether you’re making them for a holiday gathering or just to satisfy a craving, this recipe is straightforward enough to whip up quickly yet impressive enough to wow anyone lucky enough to try them.
Ingredients You’ll Need
All the ingredients in this Chocolate Covered Mint Patties Recipe are simple pantry staples, each playing a crucial role in crafting the perfect texture and flavor. They come together to create that creamy, minty center that is just the right consistency to coat with chocolate without melting away.
- Light corn syrup: Adds smoothness and helps keep the filling pliable so it doesn’t turn grainy.
- Butter (softened): Gives richness and a creamy texture to the mint center.
- Mint extract: Essential for that bright, unmistakable peppermint flavor.
- Salt: A pinch balances the sweetness, enhancing the overall flavor.
- Green food coloring: Provides that classic mint patty look, but feel free to add more or less to reach your preferred shade.
- Powdered sugar: The thickener that brings sweetness and helps form the firm yet chewy filling.
- Chocolate candy coating (CandiQuik recommended): Melts smoothly and sets with a glossy finish, making your mint patties look professional and taste divine.
How to Make Chocolate Covered Mint Patties Recipe
Step 1: Mix the Base Ingredients
Start by combining the light corn syrup, softened butter, mint extract, salt, and green food coloring in a medium-sized bowl. Stir these together with enthusiasm until the mixture looks uniform and vibrantly green. This base mixture is the heart of your mint patties, setting the tone for the fresh mint flavor and creamy texture.
Step 2: Add Powdered Sugar Gradually
Now, stir in one cup of powdered sugar at a time. At first, the mixture will be sticky and wet, but keep going until it becomes too stiff to stir effectively. This gradual addition ensures your center won’t be too crumbly or too soft, just the right balance to shape easily.
Step 3: Knead Into Dough
Turn the mixture out onto a clean surface and knead it, incorporating more powdered sugar as needed. Your goal is a dough that no longer sticks to your hands but feels pliable and smooth. This step is key to getting that classic mint patty texture — firm but tender enough to bite through easily.
Step 4: Shape the Patties
Roll the dough into small one-inch balls and arrange them on waxed paper-lined trays. Then gently flatten each ball using the bottom of a glass or the palm of your hand. These patties should be uniform in thickness for even chilling and coating later on.
Step 5: Chill the Patties
Cover the flattened patties with another sheet of waxed paper and pop them into the refrigerator for 60 to 90 minutes. Chilling solidifies the mint centers, making them easier to dip in chocolate without losing shape.
Step 6: Coat with Chocolate
Melt the chocolate candy coating according to the package instructions until silky smooth. Use a fork to dip each chilled mint patty fully into the chocolate, then tap off any excess coating. Place the chocolate-covered patties back onto the waxed paper to set.
Step 7: Set and Store
Allow the chocolate to harden completely at room temperature before storing your creations in an airtight container. This ensures the coating stays shiny and crunchy while locking in that perfect mint filling.
How to Serve Chocolate Covered Mint Patties Recipe
Garnishes
For an extra special touch, sprinkle a few of your Chocolate Covered Mint Patties with crushed peppermint candy or edible silver glitter before the chocolate sets. This adds a festive sparkle and a little crunch that elevates your homemade treats to something truly show-stopping.
Side Dishes
These mint patties pair beautifully with a cup of hot coffee or dark roasted tea, their cool mint flavor cutting through the warmth and bitterness. They can also be a refreshing finish after a rich meal, so consider serving them alongside a cheesecake or a rich chocolate mousse as a palate cleanser.
Creative Ways to Present
Arrange your mint patties in a decorative box lined with parchment for gifting, tied with a ribbon for a personal touch. Alternatively, serve them on a festive platter dusted with powdered sugar or cocoa powder for a beautiful, homemade centerpiece at parties.
Make Ahead and Storage
Storing Leftovers
Once fully set, store leftover mint patties in an airtight container at room temperature or in the refrigerator if your home tends to be warm. Properly stored, they will stay fresh and delicious for up to two weeks, making great treats throughout the season.
Freezing
You can freeze your mint patties by placing them in a single layer separated with waxed paper inside a freezer-safe container. They’ll keep well for up to three months, perfect for making ahead for holidays or last-minute gifting.
Reheating
These mint patties are best enjoyed cold or at room temperature. If you prefer, you can allow frozen patties to thaw fully at room temperature before serving. Avoid reheating as this can cause the chocolate coating to melt and lose its snap.
FAQs
Can I use real peppermint instead of mint extract?
While fresh peppermint leaves offer a lovely flavor, mint extract provides a much stronger and more consistent mint taste, which is essential for the signature brightness in this Chocolate Covered Mint Patties Recipe.
What kind of chocolate is best for coating?
Chocolate candy coatings like CandiQuik are ideal because they melt easily and harden with a shiny finish. However, you can also use good-quality melting wafers or tempered chocolate for the best texture and flavor.
How thick should I roll out the patties?
Flatten the balls to about 1/4 inch thick. This thickness ensures the fillings are firm enough to handle dipping and still give you that chewy, melt-in-your-mouth experience.
Can I make this recipe vegan?
It’s possible by substituting vegan butter and using dairy-free chocolate coatings. Just be sure the mint extract and other ingredients are free from animal products.
Why do I need to chill the mint centers before dipping?
Chilling firms up the mint mixture so it holds its shape during dipping. Without this step, the centers may melt or break apart in the warm melted chocolate.
Final Thoughts
This Chocolate Covered Mint Patties Recipe is one of those special treats that feels both nostalgic and utterly irresistible. With its simple ingredients and straightforward steps, you can bring a fresh homemade touch to your sweet tooth cravings or holiday celebrations. I truly hope you give this recipe a try — it’s bound to become a beloved favorite that friends and family will ask you to make again and again.
Print
Chocolate Covered Mint Patties Recipe
- Prep Time: 15 minutes
- Cook Time: 5 minutes
- Total Time: 20 minutes plus chilling time
- Yield: Approximately 60 servings 1x
- Category: Candy
- Method: No-Cook
- Cuisine: American
Description
Delicious and refreshing homemade Chocolate Covered Mint Patties that are perfect for holiday treats or anytime you crave a minty chocolate delight. These bite-sized candies feature a creamy, sweet mint filling coated in smooth chocolate, made easy with simple ingredients and no baking required.
Ingredients
Mint Filling
- 1/3 cup light corn syrup
- 5 tablespoons butter, softened
- 1 1/2 teaspoons mint extract
- 1/2 teaspoon salt
- Green food coloring, a few drops until desired color
- 4–5 cups powdered sugar
Chocolate Coating
- 10 ounces chocolate candy coating (such as CandiQuik)
Instructions
- Mix Wet Ingredients: In a medium bowl, combine the light corn syrup, softened butter, mint extract, salt, and green food coloring. Stir these well until the mixture is smooth and evenly colored.
- Add Powdered Sugar: Gradually stir in powdered sugar, about one cup at a time, until the mixture becomes too stiff to stir comfortably.
- Knead the Dough: Transfer the mixture to a surface and knead with your hands, adding more powdered sugar as needed until the dough is no longer sticky and can be shaped easily.
- Form Balls: Roll the dough into 1-inch balls and place them spaced apart on trays or baking sheets lined with waxed paper.
- Flatten Patties: Use a flat-bottomed cup or your hand to flatten each ball into a patty shape.
- Chill Patties: Cover the patties with another sheet of waxed paper and refrigerate for 60-90 minutes until firm and set.
- Melt Chocolate: Melt the chocolate candy coating according to the package instructions, typically by heating gently until smooth.
- Dip Patties in Chocolate: Using a fork, dip each mint patty into the melted chocolate, tap off any excess coating, and place it back on the waxed paper-lined tray.
- Coat All Patties: Continue dipping each patty until all are covered with chocolate.
- Set Candies: Allow the coated candies to sit at room temperature until the chocolate hardens and sets completely.
- Storage: Store the candies in an airtight container. For longer storage, freeze the patties in single layers separated by waxed paper.
Notes
- Adjust green food coloring to achieve your preferred shade of minty green.
- Ensure the chocolate coating is melted slowly to avoid burning or seizing.
- Refrigerate patties thoroughly before dipping to maintain shape during the coating process.
- Waxed paper is essential to prevent sticking both when forming and setting the patties.
- These mint patties can be frozen for up to 3 months for convenient long-term storage.