If you are looking for a delightfully simple yet irresistibly tasty treat, this Chocolate Covered Banana Pops Recipe is about to become your new favorite. Imagine rich, velvety vegan chocolate coating perfectly ripe bananas, chilled to just the right icy firmness, and topped with crunchy, nutty, or sweet garnishes that add bursts of texture. Whether you’re craving something sweet on a hot day or a fun dessert to share with friends and family, these banana pops bring together creamy fruit and decadent chocolate in a refreshingly playful way.
Ingredients You’ll Need
The magic of this recipe is in how straightforward but thoughtful the ingredients are. Each component builds layers of flavor and texture—from the natural sweetness of ripe bananas to the creamy, glossy vegan chocolate, plus the fun of various crunchy toppings.
- 6 ripe bananas: Look for bananas with a few brown spots but still firm to hold shape when frozen.
- 8 ounces (225 g) chopped high-quality vegan chocolate: Quality chocolate melts smoothly and offers rich flavor without overpowering the bananas.
- 1 1/2 tablespoons refined coconut oil: Helps thin the chocolate for easy dipping and adds a subtle silky shine.
- Chopped peanuts: Adds a crunchy, salty contrast to the sweet chocolate and banana.
- Shredded coconut: Provides a chewy, tropical note complementing the fruitiness.
- Granola: Brings a wholesome crunch for extra texture and flavor variety.
- Cacao nibs: Intensify the chocolate experience with bitter, crunchy bursts.
- Flaky salt: Enhances the sweetness and balances flavors beautifully.
How to Make Chocolate Covered Banana Pops Recipe
Step 1: Prep Your Bananas and Popsicle Sticks
Start by lining a baking sheet with parchment paper. Peel the bananas, then cut each banana in half to create perfectly sized pops. Gently insert a popsicle stick or wooden skewer into the cut end of each half, which makes dipping and eating much easier. Place them spaced out on your baking sheet so they don’t stick together during freezing. Pop them in the freezer for at least four hours, or you can prepare them up to two days ahead, which makes this recipe wonderfully flexible.
Step 2: Melt the Chocolate
Melting the chocolate and coconut oil mix so it’s smooth and glossy is key here. You can use a microwave-safe bowl, heating the chocolate and coconut oil together for 60 seconds initially, then stirring every 20 seconds until silken and completely melted. Alternatively, use a double boiler method by placing a glass bowl over a simmering pan of water and stirring frequently until melted. The coconut oil ensures that your chocolate coating is silky and easy to work with.
Step 3: Dunk the Frozen Bananas and Add Toppings
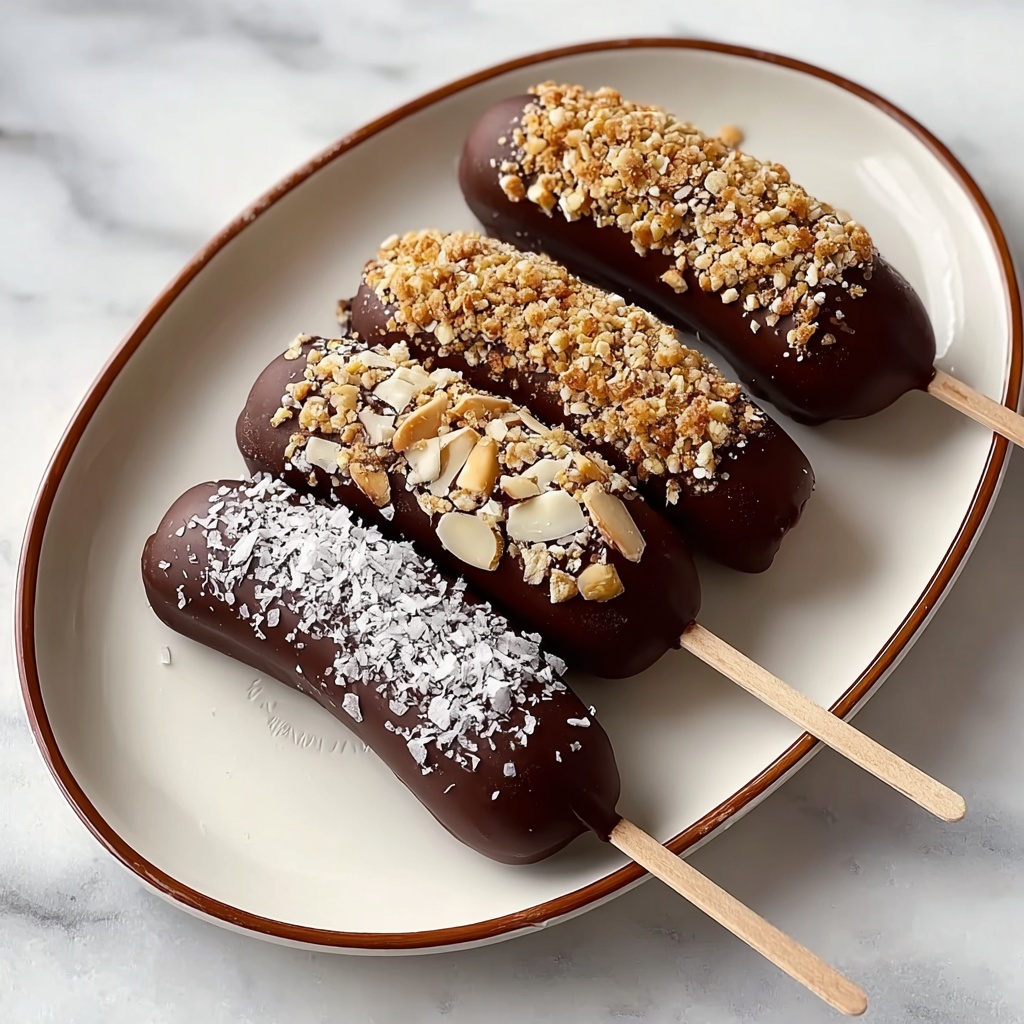
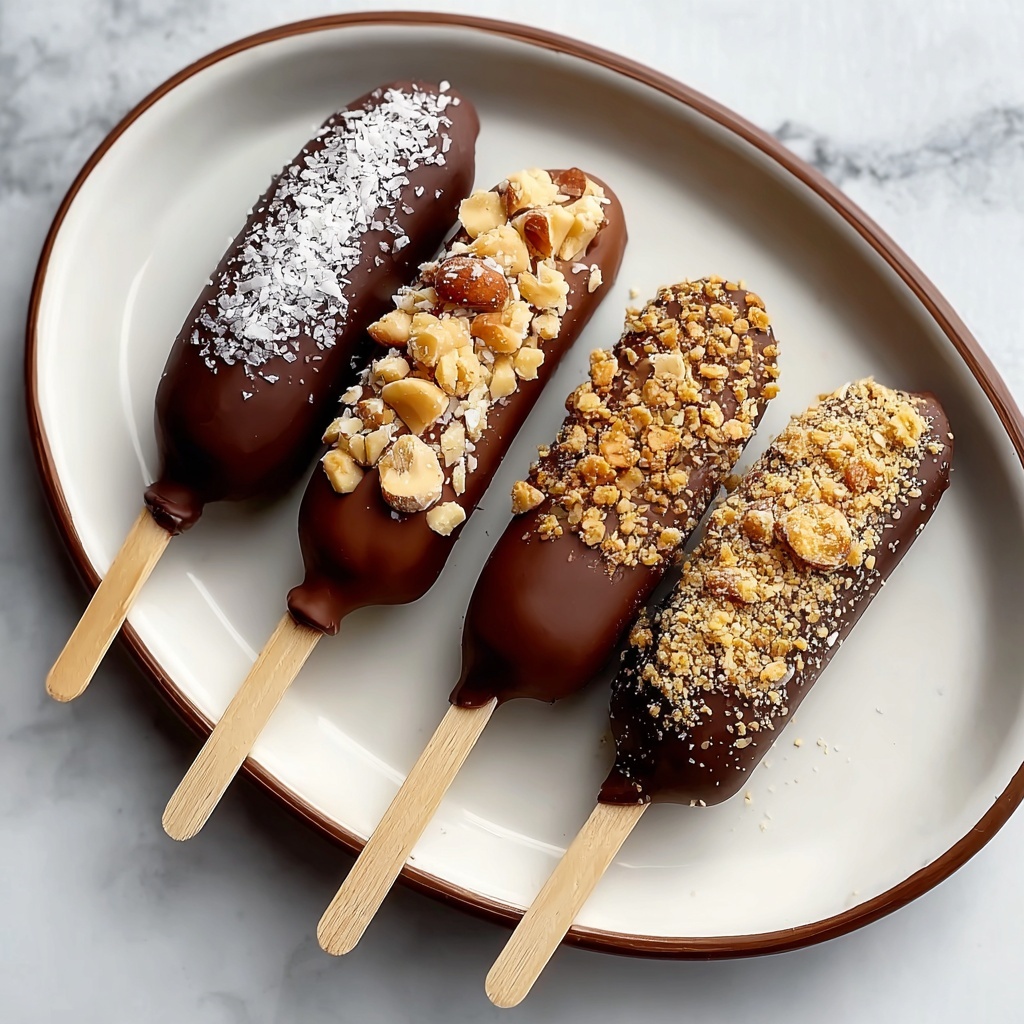
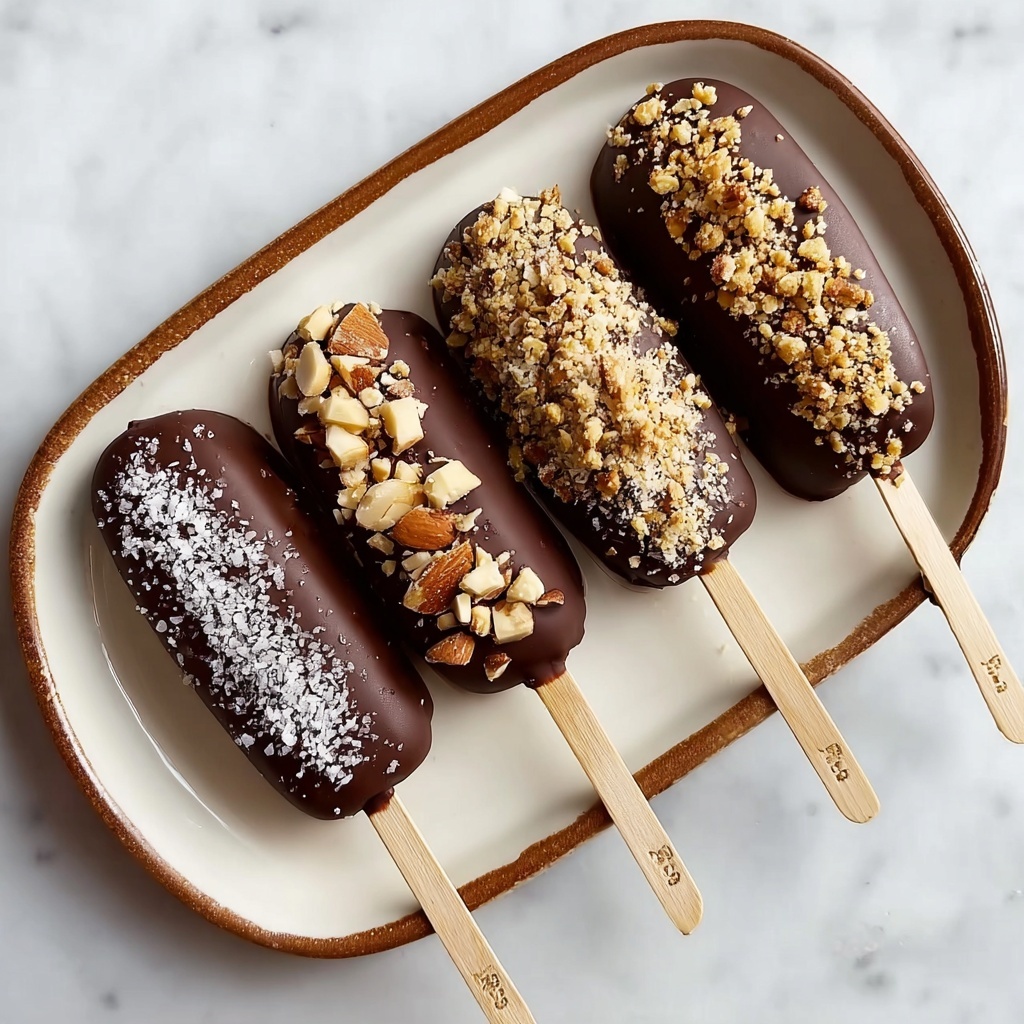
Once your bananas are frozen solid and the chocolate is melted, it’s time for the fun part: dipping. Take each frozen banana pop and dunk or drizzle the chocolate over it, letting any excess drip back into the bowl. While the chocolate is still wet, sprinkle on your choice of toppings like chopped peanuts, shredded coconut, granola, cacao nibs, or a pinch of flaky salt. This adds not only flavor contrast but also a playful texture that makes every bite exciting.
Step 4: Freeze and Serve
Place your decorated chocolate covered banana pops back on the parchment-lined baking sheet and freeze again just until the chocolate sets, which usually takes about 10–15 minutes. These pops are best enjoyed straight from the freezer for that perfect combination of creamy banana, crunchy chocolate shell, and added toppings.
How to Serve Chocolate Covered Banana Pops Recipe
Garnishes
Sprinkle a little extra flaky salt for a trendy sweet-salty kick or add a dash of cinnamon to the chocolate before dipping for warmth and spice. If you want to elevate the look, drizzle some white vegan chocolate back and forth over the cooled pops for a marbled effect. These small touches add an elegant touch alongside exciting flavor additions.
Side Dishes
Pair your Chocolate Covered Banana Pops with fresh berries or a light fruit salad to round out the sweet experience with brightness and acidity. Alternatively, a handful of nuts or crunchy granola on the side balances textures and makes your dessert feel indulgently complete.
Creative Ways to Present
For parties, arrange the pops upright in a tall vase filled with decorative pebbles or even colorful sprinkles for a playful display. Wrapping each pop in parchment and tying with a ribbon makes them perfect for gifting or party favors. You can also serve them on a wooden board with extra toppings scattered around for guests to customize their own.
Make Ahead and Storage
Storing Leftovers
If you have any leftovers, keep the chocolate covered banana pops in an airtight container in the freezer. This prevents freezer burn and keeps the pops fresh and tasty for up to one week. This way, your fun treat is always ready when you need a quick, refreshing bite.
Freezing
Freezing is actually a crucial part of this recipe for texture and ease of dipping. Bananas should be frozen thoroughly before coating to ensure the chocolate hardens nicely and creates that satisfying crunch. Store them individually on parchment first, then once frozen solid, transfer to a container for better space efficiency.
Reheating
Reheating isn’t really recommended, as the pops are best eaten frozen. If you want a softer, more fudgy experience, let a pop sit at room temperature for 5 minutes for a slight melt or enjoy it directly from the freezer for a cool and refreshing treat.
FAQs
Can I use regular milk chocolate instead of vegan chocolate?
Absolutely! Regular milk chocolate will work if you’re not strictly vegan. Just choose a good-quality chocolate for the best melting and flavor results.
How ripe should the bananas be?
Ideally, choose bananas that have some brown spots but are still firm. Overripe bananas can become too mushy and tricky to handle when freezing and dipping.
Can I make these pops without coconut oil?
Yes, but the chocolate may be thicker and harder to dip smoothly. Coconut oil helps achieve a nicely thin and glossy coating that sets beautifully.
What toppings work best on Chocolate Covered Banana Pops Recipe?
Crunchy toppings like nuts, granola, shredded coconut, and cacao nibs all add wonderful textures and flavors that contrast nicely with the smooth chocolate and creamy banana.
How long do these banana pops last in the freezer?
If stored properly in an airtight container, they stay delicious for up to one week. Beyond that, the quality may start to decline but they can still be eaten safely.
Final Thoughts
This Chocolate Covered Banana Pops Recipe is such a joyful treat to make and share, combining simple ingredients into a dessert full of fun textures and vibrant flavor. Whether you’re aiming to impress friends, satisfy a sweet craving, or introduce a healthier frozen snack option, these pops hit the spot every time. Don’t wait to try making them your own—you’ll love the way they brighten up any day with a touch of sweetness and crunch!
Print
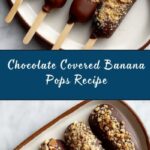
Chocolate Covered Banana Pops Recipe
- Prep Time: 10 minutes
- Cook Time: 10 minutes
- Total Time: 20 minutes plus freezing time
- Yield: 12 banana pops 1x
- Category: Dessert
- Method: Freezing and dipping (Chocolate melting via Microwave or Double-Boiler)
- Cuisine: American
- Diet: Vegan
Description
These Chocolate Covered Banana Pops are delicious and easy-to-make frozen treats, perfect for a refreshing dessert or snack. Ripe bananas are dipped in melted vegan chocolate and topped with a variety of crunchy and flavorful toppings like chopped peanuts, shredded coconut, granola, cacao nibs, and flaky salt. These pops are a fun, healthy, and naturally sweet treat that can be enjoyed immediately or stored frozen for later indulgence.
Ingredients
Main Ingredients
- 6 ripe bananas (should have some spots, but still be firm)
- 8 ounces (225 g) chopped high-quality vegan chocolate
- 1 1/2 tablespoons refined coconut oil
Toppings (Optional)
- Chopped peanuts
- Shredded coconut
- Granola
- Cacao nibs
- Flaky salt
Instructions
- Prep: Line a baking sheet with parchment paper. Peel the bananas and cut each banana in half. Insert a popsicle stick or wooden skewer into the cut side of each banana half. Arrange them on the baking sheet, spacing them apart evenly, and place the tray in the freezer for at least 4 hours or up to 2 days to freeze completely.
- Melt the Chocolate: Choose your preferred melting method – microwave or double boiler – to melt the chocolate with coconut oil.
- Microwave: Combine the chopped chocolate and coconut oil in a microwave-safe bowl. Microwave on high for 60 seconds, then stir well. Continue microwaving in 20-second intervals, stirring each time, until the mixture is smooth and fully melted.
- Double-Boiler: Fill a saucepan with a small amount of water and bring to a simmer. Place a heatproof glass bowl over the saucepan without touching the water. Add the chopped chocolate and coconut oil to the bowl. Stir frequently until the chocolate and oil have melted into a smooth mixture.
- Dunk and Decorate: Remove the frozen banana pops from the freezer. Dip each banana half into the melted chocolate, allowing any excess chocolate to drip off. While the chocolate is still wet, sprinkle with your choice of toppings such as chopped peanuts, shredded coconut, granola, cacao nibs, and a pinch of flaky salt.
- Serve: Enjoy the banana pops immediately for a softer texture or return them to the freezer to harden the chocolate coating and enjoy later as a refreshing frozen treat.
Notes
- Use ripe bananas for the best natural sweetness and texture—bananas with brown spots are ideal but should still be firm to hold the popsicle sticks.
- Refined coconut oil is preferred as it has a neutral flavor and helps the chocolate coating set smoothly.
- You can customize the toppings to your preference or omit them for a simple classic chocolate-covered banana.
- If storing in the freezer, place the banana pops in an airtight container or wrap individually to prevent freezer burn and absorption of odors.
- This recipe uses vegan chocolate, making it suitable for vegan diets.