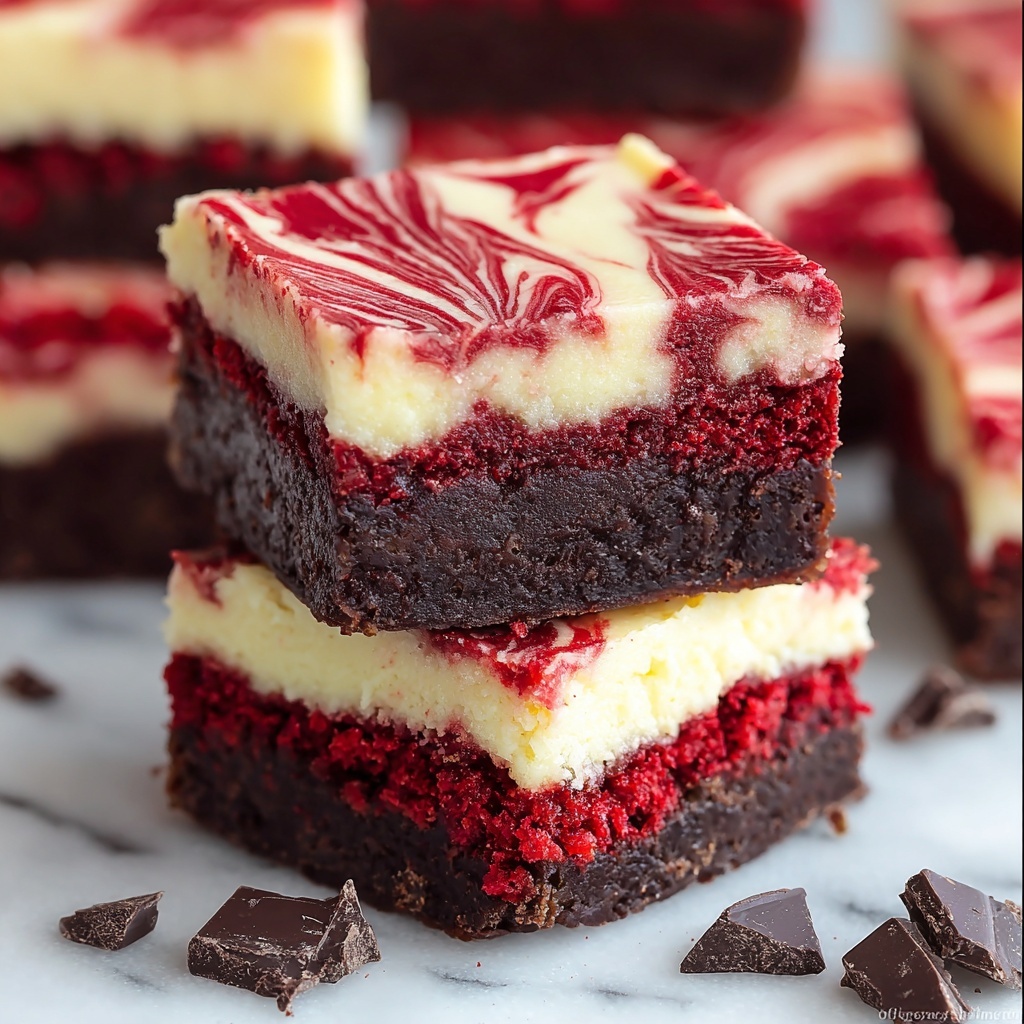
There is something utterly magical about a dessert that combines the rich, fudgy texture of brownies with the creamy tang of cheesecake, all wrapped in the striking hues of red velvet. This Decadent Red Velvet Cheesecake Brownies Recipe is the ultimate indulgence for anyone who loves the perfect balance of chocolate, cream cheese, and that iconic red velvet flair. With every bite, you’ll experience a luscious swirl of colors and flavors that is both elegant and comforting, making it an unforgettable treat to share with family or friends. Trust me, once you try this recipe, it will quickly become your go-to dessert for celebrations or cozy nights in.
Ingredients You’ll Need
Gathering these straightforward ingredients is the first step toward making a crowd-pleaser that tastes extraordinary. Each component plays an essential role in creating the moist, tender brownie base and the velvety cheesecake topping, while the red food coloring gives it that classic red velvet charm.
- Unsalted butter (1/2 cup, melted): Enhances richness and creates a fudgy brownie texture.
- Granulated sugar (1 cup + 1/4 cup): Sweetens both the brownie and cheesecake layers perfectly.
- Large eggs (3 total): Provide structure and add to the moistness of the brownies and cheesecake.
- Red food coloring (1 tablespoon): Gives the brownies their signature vibrant red hue without altering the flavor.
- Vanilla extract (1 1/2 teaspoons): Adds depth and balances the sweetness with a warm aroma.
- All-purpose flour (1 cup): Builds the brownie’s tender crumb.
- Unsweetened cocoa powder (1/4 cup): Infuses subtle chocolate richness that complements the cream cheese.
- Salt (1/4 teaspoon): Enhances all the flavors, making each bite pop.
- Baking powder (1/4 teaspoon): Provides just a slight lift to keep the brownies soft.
- Cream cheese (8 oz, softened): Creates the silky, tangy cheesecake layer that swirls beautifully on top.
How to Make Decadent Red Velvet Cheesecake Brownies Recipe
Step 1: Prepare Your Pan and Oven
Start by preheating your oven to 350°F (175°C). It’s key to get your pan ready early, so grease it well and line it with parchment paper. This little prep step ensures your brownies will come out effortlessly when baked.
Step 2: Mix the Brownie Batter
In a medium bowl, whisk together the melted butter and 1 cup of sugar until the mixture is smooth and glossy. Then add the eggs one at a time, followed by that vibrant splash of red food coloring and vanilla extract. Whisk everything together until it’s beautifully combined and the rich red color is uniform.
Step 3: Combine the Dry Ingredients
In a separate bowl, sift together the flour, cocoa powder, salt, and baking powder. Gradually fold these dry ingredients into the wet mixture. Be gentle to keep the batter light and airy, but completely mixed to give the brownies that perfect structure.
Step 4: Assemble the Brownie Base
Pour the luscious red velvet batter into your prepared pan, spreading it evenly with a spatula to create a smooth foundation for your cheesecake topping.
Step 5: Prepare the Cheesecake Layer
Now, in another bowl, beat the softened cream cheese with 1/4 cup sugar, one large egg, and 1/2 teaspoon vanilla extract. Whisk this mixture until silky and free of lumps — this creamy layer is what makes these brownies truly decadent.
Step 6: Swirl the Cheesecake in
Drop spoonfuls of the cheesecake mixture on top of the brownie batter. Then, grab a knife or skewer and gently swirl the two batters together. Don’t overdo it; you want to see lovely marbled patterns when you cut into your brownies.
Step 7: Bake to Perfection
Slide your pan into the oven and bake for 30 to 35 minutes. Keep an eye out for a toothpick that, when inserted, comes out with just a few moist crumbs attached — that tells you it’s baked just right. Resist the urge to overbake so your brownies stay fudgy and creamy.
Step 8: Cool Before Slicing
Allow your Decadent Red Velvet Cheesecake Brownies Recipe to cool completely in the pan. This step is crucial for clean, beautiful slices that reveal the swirl of rich brownie and tangy cheesecake inside.
How to Serve Decadent Red Velvet Cheesecake Brownies Recipe
Garnishes
A dusting of powdered sugar or a drizzle of white chocolate can elevate these brownies from wow to spectacular. For a pop of texture and flavor, try sprinkling crushed pecans or fresh berries on top right before serving. These little touches make the dessert feel extra special and inviting.
Side Dishes
Pair these brownies with a scoop of vanilla bean ice cream or a dollop of freshly whipped cream for an indulgent contrast of warm and cold. A cup of rich coffee or a smooth glass of milk also complements the flavors beautifully, creating a cozy, satisfying dessert experience.
Creative Ways to Present
If you’re celebrating a special occasion, cut the brownies into mini squares and place them on decorative serving trays with toothpicks for easy bites. You can also stack layers with a spoonful of frosting or fresh fruit in between for an impressive, layered dessert display that’s sure to wow your guests.
Make Ahead and Storage
Storing Leftovers
Once cooled, store your brownies in an airtight container at room temperature for up to three days. Keeping them sealed preserves the moist texture and delicious flavor so every bite tastes fresh, just like the first.
Freezing
Want to enjoy your Decadent Red Velvet Cheesecake Brownies Recipe later? Wrap them tightly in plastic wrap and aluminum foil, then freeze for up to two months. Thaw in the refrigerator overnight before serving for a perfectly preserved treat.
Reheating
If you like your brownies a little warm, gently reheat them in the microwave for 15-20 seconds or in a low-temperature oven. This brings back that gooey richness and soft cheesecake center, making them taste freshly baked all over again.
FAQs
Can I use less red food coloring in this recipe?
Absolutely! You can reduce the amount of red food coloring if you prefer a subtler red hue, but keep in mind that the classic red velvet look depends on a generous splash of color.
What type of cream cheese works best?
Use full-fat cream cheese for the creamiest texture and best flavor. Avoid low-fat or whipped versions, as they can alter the texture of the cheesecake layer.
Can I make this recipe gluten-free?
Yes! Substitute the all-purpose flour with a 1:1 gluten-free baking flour blend. Just be sure to check that all other ingredients, like cocoa powder and baking powder, are gluten-free as well.
How can I make these brownies extra fudgy?
Try slightly reducing the flour by a couple of tablespoons or baking for a minute less than recommended. Also, be careful not to overmix the batter to keep it tender and moist.
What is the best way to cut these brownies without ruining the swirls?
Use a sharp knife warmed under hot water and wiped dry before slicing. Cut gently in a single downward motion to maintain the beautiful marbled design.
Final Thoughts
This Decadent Red Velvet Cheesecake Brownies Recipe combines the best of two worlds into one heavenly dessert that’s sure to impress and delight. Whether you’re baking for a special occasion or simply treating yourself, these brownies bring that cozy, sophisticated sweetness anyone will love. So, grab your mixing bowls and get ready to enjoy some seriously amazing brownies that you’ll want to bake again and again!
Print
Decadent Red Velvet Cheesecake Brownies Recipe
- Prep Time: 15 minutes
- Cook Time: 35 minutes
- Total Time: 50 minutes
- Yield: 12 servings 1x
- Category: Dessert
- Method: Baking
- Cuisine: American
Description
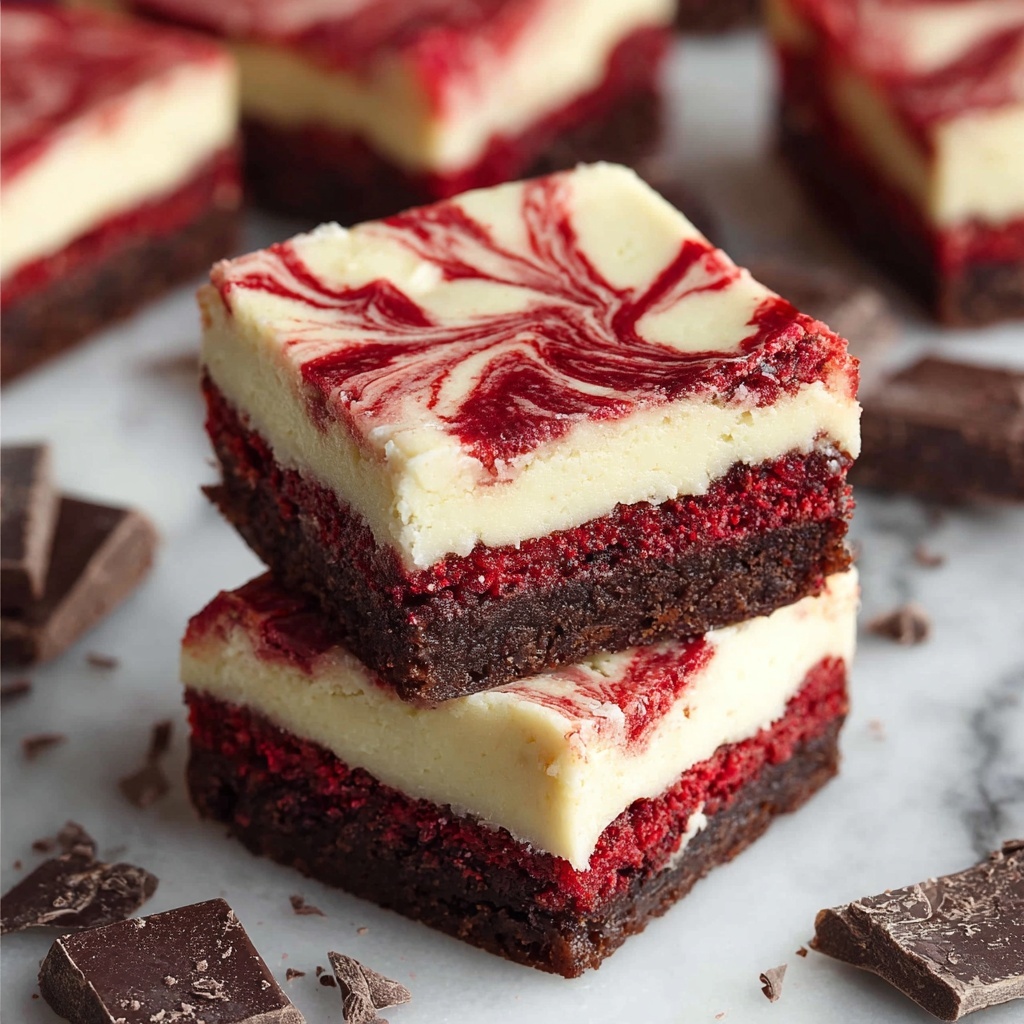
These Decadent Red Velvet Cheesecake Brownies combine rich, fudgy red velvet brownies swirled with a creamy, smooth cheesecake layer. Perfectly moist and bursting with chocolate and vanilla flavors, they’re an irresistible treat for any occasion.
Ingredients
Brownie Batter
- 1/2 cup unsalted butter, melted
- 1 cup granulated sugar
- 2 large eggs
- 1 tablespoon red food coloring
- 1 teaspoon vanilla extract
- 1 cup all-purpose flour
- 1/4 cup unsweetened cocoa powder
- 1/4 teaspoon salt
- 1/4 teaspoon baking powder
Cheesecake Layer
- 8 oz cream cheese, softened
- 1/4 cup granulated sugar
- 1 large egg
- 1/2 teaspoon vanilla extract
Instructions
- Preheat and Prepare Pan: Preheat your oven to 350°F (175°C). Grease and line an 8×8-inch baking pan with parchment paper to ensure easy removal of the brownies after baking.
- Make Brownie Batter: In a medium bowl, combine the melted butter and 1 cup of granulated sugar until smooth. Add the eggs, red food coloring, and vanilla extract, whisking until all ingredients are well combined.
- Combine Dry Ingredients: In a separate bowl, mix together the all-purpose flour, unsweetened cocoa powder, salt, and baking powder. Gradually add these dry ingredients into the wet mixture, stirring until fully incorporated and a smooth batter forms.
- Spread Brownie Batter: Pour the prepared brownie batter evenly into the lined baking pan, smoothing the surface for an even layer.
- Prepare Cheesecake Layer: In another bowl, beat the softened cream cheese, 1/4 cup granulated sugar, egg, and vanilla extract together until the mixture is smooth and creamy.
- Add Cheesecake Swirl: Drop spoonfuls of the cheesecake mixture over the brownie batter in the pan. Use a knife or a skewer to gently swirl the cheesecake filling into the brownie base, creating a marbled effect.
- Bake: Bake in the preheated oven for 30-35 minutes or until a toothpick inserted into the center comes out with a few moist crumbs but no wet batter.
- Cool and Serve: Allow the brownies to cool completely in the pan before slicing into 12 squares. This ensures clean cuts and the best texture before serving.
Notes
- Make sure the cream cheese is softened to room temperature for a smooth cheesecake swirl.
- Use an 8×8-inch pan for the correct thickness and baking time; a larger pan will make thinner brownies.
- Do not overbake; brownies are best when slightly fudgy in the center.
- If you want a more intense red velvet flavor, increase the cocoa powder slightly or add a teaspoon of vinegar to enhance the red color.
- Store leftovers in an airtight container at room temperature for up to 3 days or refrigerate for up to a week.