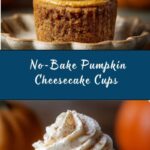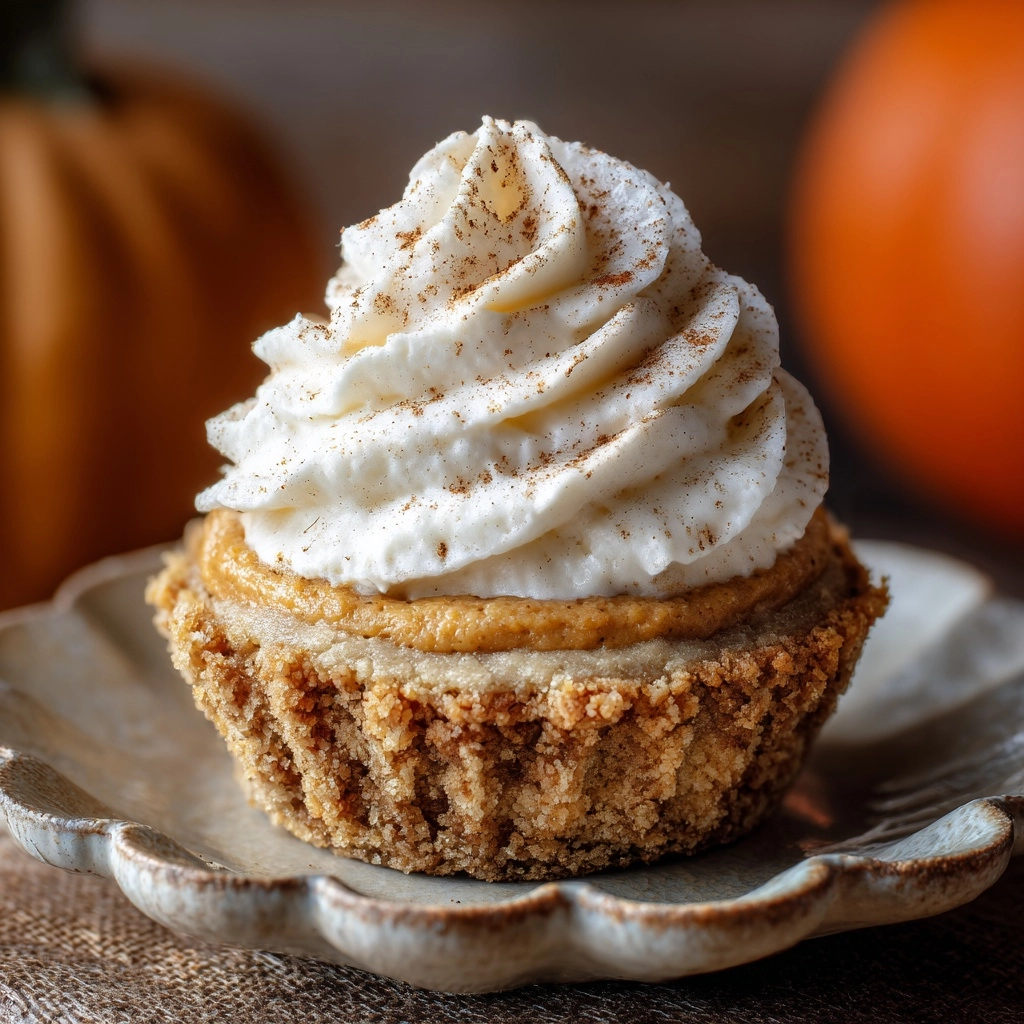
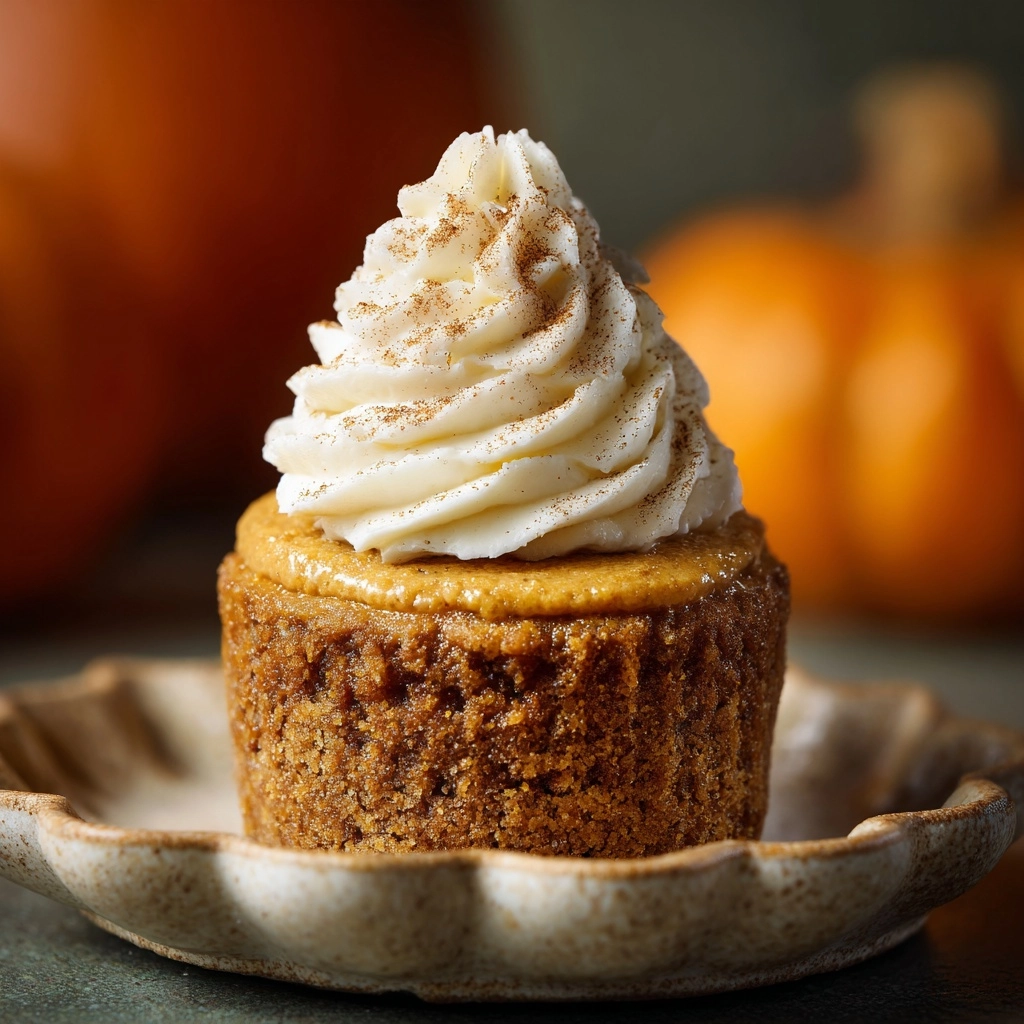
If you’re searching for an effortless, impressive fall dessert, look no further than these No-Bake Pumpkin Cheesecake Cups. They capture everything you crave about autumn: a creamy cheesecake filling laced with pumpkin, warm spices, and a buttery graham cracker crust, all piled into individual cups. With no oven required and only a handful of ingredients, this treat is perfect for gatherings or cozy nights in, satisfying your pumpkin cravings with minimal fuss and maximum flavor.
Ingredients You’ll Need
The beauty of No-Bake Pumpkin Cheesecake Cups lies in their simplicity—each ingredient plays an essential role, from the comforting spices to the luscious cream cheese. These classics yield a showstopping dessert with none of the hassle, just pure, pumpkin-spiced delight in every spoonful.
- Graham cracker crumbs: The backbone of your crust, providing that buttery, crumbly bite in every cup.
- Melted butter: Binds the graham cracker crumbs together for a rich, cohesive base.
- Granulated sugar: Adds just the right amount of sweetness and balance to the crust.
- Cream cheese (softened): The heart of the cheesecake layer, giving silkiness and tang.
- Canned pumpkin purée: Delivers pure pumpkin flavor and gorgeous color—just make sure it’s not pumpkin pie filling!
- Powdered sugar: Creates a smooth, creamy filling and dissolves effortlessly into the mix.
- Ground cinnamon: Essential for classic pumpkin spice warmth and aroma.
- Ground nutmeg: Lends a gentle, nutty finish to the flavor profile.
- Ground ginger: Adds a subtle heat and spicy note, perfect with pumpkin.
- Vanilla extract: Rounds out and deepens the flavors in every creamy bite.
- Whipped topping (plus more for topping): Makes the filling light, airy, and utterly spoonable.
- Crushed graham crackers and cinnamon (optional): Perfect for a final touch of crunch and spice as a garnish.
How to Make No-Bake Pumpkin Cheesecake Cups
Step 1: Make the Graham Cracker Crust
Start by stirring your graham cracker crumbs, melted butter, and a touch of granulated sugar together in a small bowl. The mixture should resemble wet sand—easy to press but not greasy. Divide this mixture between six small cups or jars, using a spoon to gently press it into an even layer at the bottom. This buttery, sweet foundation gives every cup that classic cheesecake crunch.
Step 2: Prepare the Pumpkin Cheesecake Filling
In a mixing bowl, beat your softened cream cheese until it’s luxuriously smooth—no lumps allowed. Add the pumpkin purée, powdered sugar, cinnamon, nutmeg, ginger, and vanilla extract, and keep mixing until everything looks dreamy and unified. It should smell like a slice of autumn itself!
Step 3: Fold in the Whipped Topping
Gently fold the whipped topping into your pumpkin cream cheese mixture. The goal is to keep it airy and light, so use a gentle hand—the whipped topping transforms the filling into a mousse-like, cloud-soft texture that melts in your mouth.
Step 4: Assemble the Cups
Spoon or pipe the pumpkin cheesecake filling over each crust layer, going right up to the rim if you like. For a neat and bakery-worthy look, use a piping bag or a zip-top bag with the corner snipped off. Smooth the tops so they’ll be perfect for garnishing later.
Step 5: Chill Before Serving
Pop the assembled cups into the refrigerator and let them chill for at least 2 hours (if you can wait that long!). This step allows the flavors to mingle and the filling to set into a creamy, sliceable consistency. The anticipation is so worth it!
How to Serve No-Bake Pumpkin Cheesecake Cups

Garnishes
Finish each no-bake pumpkin cheesecake cup with a swirl of whipped topping, a scattering of crushed graham crackers, and a generous pinch of cinnamon. These little extras make each cup look as pretty as they taste, and guests will swoon over those delicious finishing touches.
Side Dishes
No-Bake Pumpkin Cheesecake Cups shine brightest on their own, but they’re also delightful with fresh berries or pear slices for a bit of contrast. If you’re serving a harvest spread, a mug of spiced chai or bold coffee pairs beautifully with the creamy, spiced filling.
Creative Ways to Present
Bring out your most charming mini jars, vintage teacups, or even shot glasses to serve the cheesecake cups. Layering the filling and crust in clear vessels shows off those gorgeous strata, and for a personal touch, try tying a ribbon or twine around each cup before plating.
Make Ahead and Storage
Storing Leftovers
If you somehow end up with extra No-Bake Pumpkin Cheesecake Cups, just cover them tightly and store them in the refrigerator. They stay fresh, creamy, and flavor-packed for up to two days—ideal for snacking with your morning coffee or enjoying as an impromptu sweet treat.
Freezing
Want to extend the pumpkin pleasure? You can freeze assembled cheesecake cups (without the garnishes) for up to a month. Cover each cup with plastic wrap and a layer of foil, then thaw overnight in the fridge before serving. Add whipped topping and garnishes after thawing for the best results.
Reheating
No reheating needed—these are heavenly straight from the fridge! If you’ve frozen them, let them thaw until creamy and chilled once again. They’re meant to be cool, refreshing, and ready the moment your sweet tooth calls.
FAQs
Can I use homemade whipped cream instead of whipped topping?
Absolutely! Homemade whipped cream works wonderfully here. Just whip it to medium peaks and fold it gently into the filling to keep everything light and luscious.
Is there a way to make these No-Bake Pumpkin Cheesecake Cups gluten-free?
Yes! Simply swap in gluten-free graham crackers for the crust, and you’ll have a dessert everyone can savor without worry.
How far in advance can I prepare these pumpkin cheesecake cups?
You can assemble them up to two days ahead and refrigerate. Leave garnishing until just before serving for the prettiest presentation and best texture.
Can I use pumpkin pie filling instead of pure pumpkin purée?
It’s best to stick with pure pumpkin purée, as pumpkin pie filling has extra sugar and spices, which can throw off the flavor balance of your cheesecake cups.
Can I double the recipe for a crowd?
Definitely! This recipe scales up like a charm. Just use a larger mixing bowl and prepare as many cups as you need—perfect for autumn parties or family gatherings.
Final Thoughts
I can’t recommend these No-Bake Pumpkin Cheesecake Cups enough—they’re everything you want from a fall dessert, minus the stress. They’re simple, satisfying, and oh so festive. Whether you’re hosting friends or celebrating the everyday, give them a try and watch how quickly they disappear!
Print
No-Bake Pumpkin Cheesecake Cups Recipe
- Prep Time: 15 minutes
- Cook Time: 0 minutes
- Total Time: 2 hours 15 minutes (includes chilling)
- Yield: 6 cups 1x
- Category: Dessert
- Method: No-Bake
- Cuisine: American
- Diet: Non-Vegetarian
Description
Indulge in these delightful No-Bake Pumpkin Cheesecake Cups, a perfect autumn treat that combines creamy pumpkin cheesecake with a buttery graham cracker crust. These individual desserts are easy to make and sure to impress your guests.
Ingredients
Graham Cracker Crust:
- 1 cup graham cracker crumbs
- 3 tablespoons melted butter
- 2 tablespoons granulated sugar
Pumpkin Cheesecake Filling:
- 8 oz cream cheese (softened)
- 1/2 cup canned pumpkin purée
- 1/2 cup powdered sugar
- 1/2 teaspoon ground cinnamon
- 1/4 teaspoon ground nutmeg
- 1/4 teaspoon ground ginger
- 1/2 teaspoon vanilla extract
- 1 cup whipped topping (plus more for topping)
- Crushed graham crackers and cinnamon for garnish (optional)
Instructions
- Prepare Graham Cracker Crust: In a small bowl, mix graham cracker crumbs, melted butter, and granulated sugar until combined. Press a couple tablespoons of the crust mixture into the bottoms of 6 small serving cups or jars.
- Make Pumpkin Cheesecake Filling: In a separate bowl, beat the softened cream cheese until smooth. Add pumpkin purée, powdered sugar, cinnamon, nutmeg, ginger, and vanilla extract, and mix until fully incorporated. Fold in the whipped topping until the mixture is light and creamy.
- Assemble and Chill: Spoon or pipe the pumpkin cheesecake filling over the crust layer in each cup. Chill in the refrigerator for at least 2 hours before serving.
- Serve: Top with more whipped topping, crushed graham crackers, and a sprinkle of cinnamon if desired.
Notes
- For a lighter version, use reduced-fat cream cheese and light whipped topping.
- These can be made up to 2 days in advance and stored in the fridge until ready to serve.
Nutrition
- Serving Size: 1 cup
- Calories: 310
- Sugar: 20g
- Sodium: 220mg
- Fat: 20g
- Saturated Fat: 12g
- Unsaturated Fat: 7g
- Trans Fat: 0g
- Carbohydrates: 28g
- Fiber: 1g
- Protein: 3g
- Cholesterol: 45mg