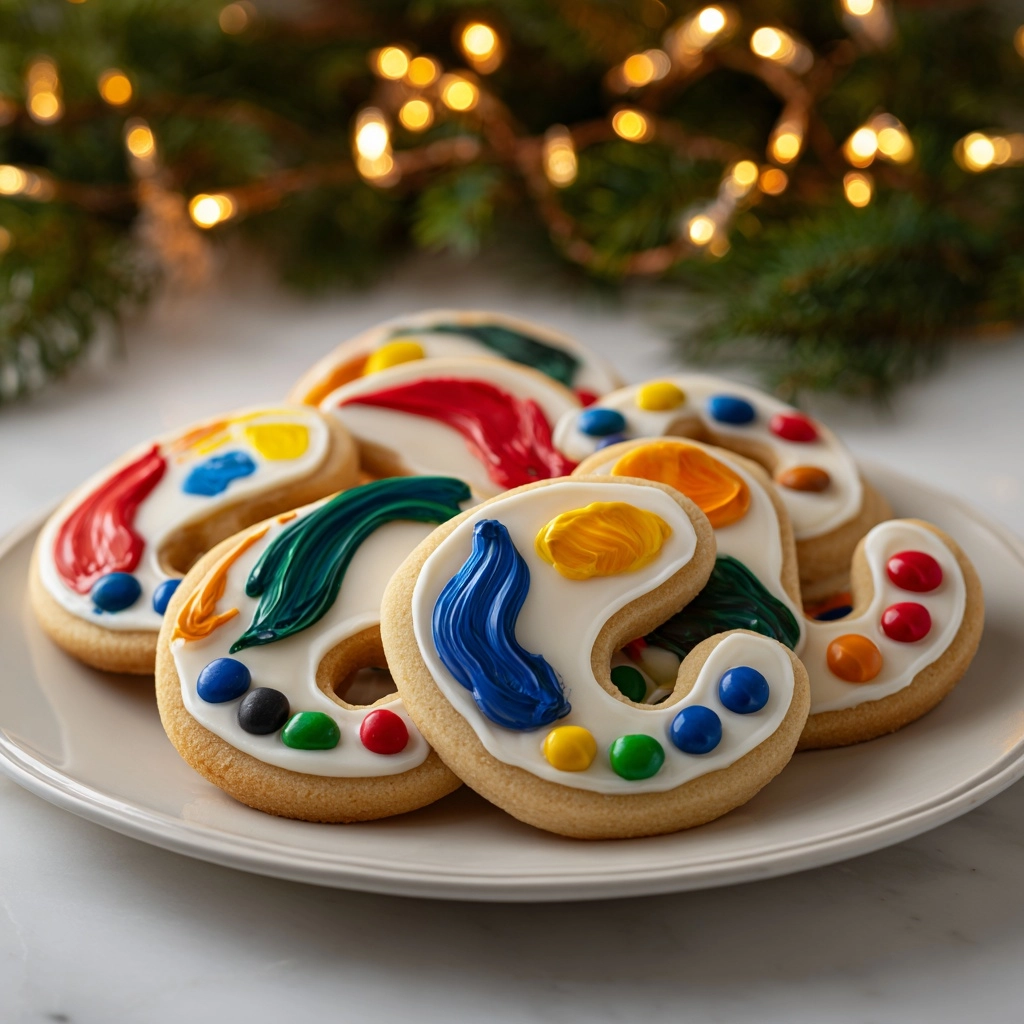
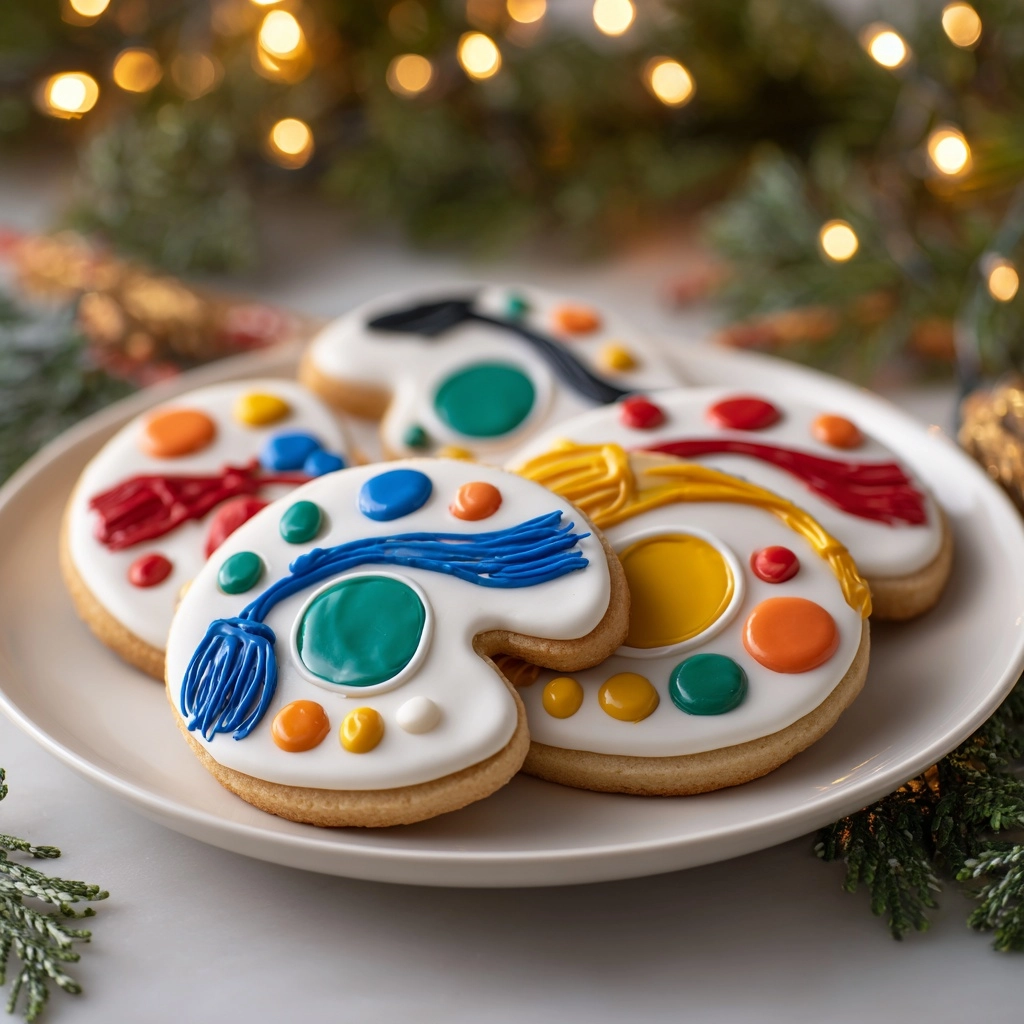
There’s nothing quite like the magic of homemade Christmas Lights Royal Icing Sugar Cookies gleaming from a holiday platter. These festive treats blend buttery, tender sugar cookies with a merry display of twinkling royal icing “lights”—making them not only a showstopper at parties but also endlessly fun to decorate. With a crisp yet soft bite and vibrant, customizable designs, these cookies are as joyful to bake as they are to eat. Whether you’re filling tins for gifting or dazzling your dessert table, this recipe brings together nostalgia, creativity, and the sweet sparkle of the season.
Ingredients You’ll Need
All you need are a handful of familiar baking staples and a few decorating essentials to create these cheerful Christmas Lights Royal Icing Sugar Cookies. Each ingredient in this recipe plays a starring role—delivering softness, structure, perfect sweetness, and the bright colors that make these cookies shine.
- All-purpose flour: The backbone of your cookie; provides stability for rolling and cutting shapes.
- Baking powder: Just the right lift to keep these cookies light and tender.
- Salt: Enhances all the other flavors, so don’t skip it!
- Unsalted butter, softened: Creates rich flavor and helps the sugar blend smoothly.
- Granulated sugar: Gives the cookies just the right amount of sweetness and helps with texture.
- Large egg: Binds everything together, ensuring your dough isn’t crumbly.
- Vanilla extract: The secret note of warmth and comfort in every bite.
- Powdered sugar: For smooth, glossy royal icing with a perfect sheen.
- Meringue powder: Makes the royal icing set firm and glossy—much easier than using raw egg whites.
- Water: Adjusts the icing’s consistency for outlining and flooding.
- Gel food coloring (white, black, red, green, blue, yellow): Gels give vivid color without thinning the icing.
- Small round piping tips: For clean, crisp details when decorating your cookies.
- Optional black edible marker: Adds super precise lines and extra neat “wires” for your holiday lights.
How to Make Christmas Lights Royal Icing Sugar Cookies
Step 1: Mix Dry Ingredients
Start by whisking together the flour, baking powder, and salt in a medium bowl. This simple step ensures an even distribution, so every bite has the perfect texture and a little lift. It also prevents any lumps and makes your dough remarkably smooth.
Step 2: Cream Butter and Sugar
In a large mixing bowl, beat softened butter and granulated sugar together until the mixture is light, fluffy, and pale—this creaming process is key for cookies that bake up tender and delicious. You’ll notice the texture shifts from dense to airy, promising a cookie that melts in your mouth.
Step 3: Add Egg and Vanilla
Crack in your egg and pour in the vanilla extract, then mix until well combined. The egg holds your dough together, while vanilla whispers a festive aroma into every little bite. Don’t be afraid to use a generous tablespoon for that signature sugar cookie depth!
Step 4: Combine Wet and Dry Ingredients
Gradually add your dry mixture to the butter-egg base, mixing gently until a soft dough forms. At first the dough might look crumbly, but as you mix, it will come together beautifully—avoid overmixing to keep your cookies tender.
Step 5: Chill the Dough
Divide the dough in half, wrap each portion in plastic wrap, and chill for at least 1 hour. This step is a game-changer! Chilling lets the flavors mingle, the dough firm up, and results in cookies that hold their shape during baking—a must for Christmas Lights Royal Icing Sugar Cookies.
Step 6: Roll and Cut Cookies
Once your dough is chilled, dust a surface with flour and roll out each portion to about 1/4 inch thickness. Use your favorite cookie cutters—anything from bulbs to classic rounds or simple rectangles. Place shapes on a parchment-lined baking sheet, leaving a bit of space between each.
Step 7: Bake to Golden Perfection
Bake in a preheated 350°F (175°C) oven for 8–10 minutes. The goal is pale centers with just the hint of golden edges—enough to set but not overbake. Let the cookies cool completely before you even think about decorating. Patience pays off here!
Step 8: Make the Royal Icing
In a clean bowl, beat together powdered sugar, meringue powder, and 4–5 tablespoons water until stiff peaks form (about 5 minutes). If needed, add a bit more water, one drop at a time, until you reach a consistency that’s thick enough to outline but will gently settle flat when piped.
Step 9: Color and Prepare Icing
Divide your icing: keep most white for the base, then tint smaller amounts with gel food coloring for the lights (red, green, yellow, blue) and a bit of black for the string. Gels ensure your colors are vivid and the icing stays just right for piping.
Step 10: Decorate Your Cookies
Outline and “flood” each cooled cookie with white icing, giving a clean, gleaming canvas for your lights. Let this base dry completely—overnight is best. Next, pipe a wavy black line across each cookie to create the “light string,” then dot on bursts of color for the bulbs. If you have a black edible marker, use it for ultra-fine details. Let your creativity—and those cookies—shine!
How to Serve Christmas Lights Royal Icing Sugar Cookies
Garnishes
For a playful finishing touch, sprinkle a hint of edible glitter or sanding sugar on your “lights” while the icing is wet for a shimmering effect. Mini snowflake sprinkles along the edges also add extra winter magic. Presentation matters with these cookies—they’re almost too pretty to eat!
Side Dishes
Pair these cookies with mugs of hot cocoa, creamy eggnog, or spiced apple cider to capture the cozy spirit of the holidays. A plate of Christmas Lights Royal Icing Sugar Cookies also looks stunning mixed with other festive bakes on a dessert board—think chocolate-dipped pretzels, peppermint bark, or gingerbread.
Creative Ways to Present
Stack and wrap the cookies in clear cellophane bags with a sparkly ribbon and a sprig of holly for gifting that delights the eyes before the first bite. For a show-stopping party centerpiece, arrange the cookies in concentric circles on a cake stand, or weave them between strands of real mini lights on a platter for extra holiday dazzle.
Make Ahead and Storage
Storing Leftovers
Store fully decorated Christmas Lights Royal Icing Sugar Cookies in an airtight container at room temperature. Layer sheets of parchment or wax paper between cookies to prevent smudging. They’ll stay soft and beautiful (and irresistibly tasty) for up to a week, making them perfect for slow savoring or sharing over several days.
Freezing
For long-term storage, freeze the undecorated cookies in a single layer, then stack with parchment between once firm. You can also freeze fully decorated cookies, though the icing may lose some of its shine. Thaw at room temperature, and the taste and texture will remind you why this recipe is a holiday staple!
Reheating
Cookies don’t need reheating, but if you adore a warm cookie, pop one in a 250°F (120°C) oven for 2–3 minutes—just long enough to take the chill off. Let cool before biting, as the icing softens slightly with heat. Fresh-from-the-oven coziness, even days later!
FAQs
How far in advance can I make Christmas Lights Royal Icing Sugar Cookies?
You can bake the cookies up to three days ahead and store them in an airtight container. Decorate the day before serving for best results, or freeze undecorated cookies for up to two months and decorate fresh when ready.
Why should I use gel food coloring for the icing?
Gel food coloring is concentrated, so you get bold, vibrant hues without watering down your icing. This is crucial for making those “lights” really pop and for keeping the royal icing smooth and easy to pipe.
Can I make these cookies gluten-free?
Absolutely! Substitute your favorite 1:1 gluten-free flour blend for the all-purpose flour. Just be careful not to overwork the dough, and check that your meringue powder and other add-ins are gluten-free as well.
What’s the best way to dry the royal icing?
Let the cookies air dry at room temperature on a flat surface, uncovered, for several hours—ideally overnight. Humidity can affect drying time, so if you’re in a pinch, use a fan on low nearby for extra insurance.
Can kids help decorate these Christmas Lights Royal Icing Sugar Cookies?
Yes—kids love helping with the piping and dotting! Prepare the base cookies and icing ahead so little hands can focus on the fun part: making colorful bulbs and goofy light strings. It’s a fantastic, mess-friendly holiday activity for families.
Final Thoughts
If you’re craving a bake full of holiday color, joy, and shareable sweetness, look no further than Christmas Lights Royal Icing Sugar Cookies. They’re as fun to craft as they are to give, and every bright little bulb promises a sprinkle of cheer. I can’t wait for you to make a batch, decorate with friends and family, and start a new festive tradition in your own kitchen!
Print
Christmas Lights Royal Icing Sugar Cookies Recipe
- Prep Time: 1 hour (includes chilling and decorating)
- Cook Time: 10 minutes
- Total Time: 1 hour 10 minutes
- Yield: 24 cookies 1x
- Category: Dessert
- Method: Baking
- Cuisine: American
- Diet: Vegetarian
Description
These Christmas Lights Royal Icing Sugar Cookies are a festive and delicious treat perfect for the holiday season. The buttery sugar cookie base is topped with vibrant royal icing in bright colors to resemble Christmas lights, making them a visually stunning addition to any cookie platter.
Ingredients
Sugar Cookies:
- 2 1/2 cups all-purpose flour
- 1/2 teaspoon baking powder
- 1/4 teaspoon salt
- 3/4 cup unsalted butter, softened
- 3/4 cup granulated sugar
- 1 large egg
- 1 tablespoon vanilla extract
Royal Icing:
- 3 cups powdered sugar
- 2 tablespoons meringue powder
- 4–5 tablespoons water
Additional:
- Gel food coloring (white, black, red, green, blue, yellow)
- Small round piping tips
- Optional black edible marker
Instructions
- Sugar Cookies: In a medium bowl, whisk together flour, baking powder, and salt. In a large bowl, beat the softened butter and granulated sugar until light and fluffy. Add the egg and vanilla extract and mix until combined. Gradually add the dry ingredients and mix until a dough forms. Divide the dough into two portions, wrap in plastic, and chill for at least 1 hour.
- Baking: Preheat oven to 350°F (175°C). Roll out dough on a lightly floured surface to about 1/4 inch thickness. Cut into desired cookie shapes and place on a parchment-lined baking sheet. Bake for 8–10 minutes or until edges are lightly golden. Let cool completely.
- Royal Icing: To make the royal icing, mix powdered sugar, meringue powder, and water until stiff peaks form, about 5 minutes. Adjust water to reach flooding consistency. Divide and tint portions of the icing: keep most white, then color small amounts red, green, yellow, blue, and black for the lights and string. Outline and flood each cookie with white icing, let dry completely. Pipe a wavy black line across each cookie for the light string. Pipe small colored dots along the line for lights, or use a black edible marker for fine detail. Let dry before serving or packaging.
Notes
- For best results, let the base icing dry overnight before decorating with colored icing.
- Use gel food coloring to maintain icing consistency.
- Cookies stay fresh in an airtight container for up to 1 week or can be frozen undecorated for longer storage.
Nutrition
- Serving Size: 1 cookie
- Calories: 150
- Sugar: 17g
- Sodium: 45mg
- Fat: 5g
- Saturated Fat: 3g
- Unsaturated Fat: 2g
- Trans Fat: 0g
- Carbohydrates: 25g
- Fiber: 0g
- Protein: 1g
- Cholesterol: 20mg