If you’ve ever dreamed of waking up to a bowl of chocolatey goodness that’s both crunchy and wholesome, this Homemade Chocolate Cereal Recipe is here to make that dream come true. Combining the natural nutty flavor of almond flour, the satisfying crunch of puffed rice, and the rich depth of cocoa powder, this recipe is a perfect way to start your day or snack anytime. It’s simple to whip up, totally customizable, and will quickly become your go-to breakfast treat that beats any store-bought cereal hands down.

Ingredients You’ll Need
To create this delicious Homemade Chocolate Cereal Recipe, you only need a handful of simple ingredients that wonderfully balance flavor, texture, and nutrition. Each one plays a crucial role from adding crunch and richness to that unmistakable chocolatey taste.
- Rolled oats: Provide a hearty base with a chewy texture and natural sweetness perfect for cereal.
- Puffed rice cereal: Adds lightness and an irresistible crispy crunch to every bite.
- Almond flour: Gives a subtle nutty depth and keeps the cereal moist yet crisp.
- Cocoa powder: Brings a rich, deep chocolate flavor without overwhelming sweetness.
- Maple syrup: Offers natural sweetness and a lovely hint of caramel.
- Coconut oil, melted: Adds a smooth richness and helps bind the cereal together.
- Vanilla extract: Enhances the chocolate and sweet flavors with a warm, aromatic touch.
- Salt: Balances sweetness and intensifies the chocolate notes.
How to Make Homemade Chocolate Cereal Recipe
Step 1: Prepare Your Oven and Baking Sheet
Set your oven to 325°F (165°C) and line a baking sheet with parchment paper. This ensures even baking and easy cleanup while preventing the cereal from sticking.
Step 2: Combine Dry Ingredients
In a large bowl, mix together the rolled oats, puffed rice cereal, almond flour, cocoa powder, and salt. This dry mixture forms the base of your cereal, where flavors and textures start to come alive.
Step 3: Mix Wet Ingredients Separately
In another bowl, whisk together the melted coconut oil, maple syrup, and vanilla extract. These wet ingredients will bring moisture, sweetness, and that lovely silky texture that binds the cereal components.
Step 4: Blend Wet and Dry Ingredients
Pour the wet mixture into the dry ingredients and stir thoroughly until every oat and puff is coated with chocolatey richness. It’s the moment when the magic really starts to happen.
Step 5: Spread and Bake
Evenly spread the mixture across your lined baking sheet, making sure it’s not too thick for uniform crispiness. Bake for 20 to 25 minutes, stirring halfway through to ensure every piece bakes to crispy perfection.
Step 6: Cool Completely
Once baked, let your homemade cereal cool entirely on the tray. This step is essential as it lets the cereal crisp up fully to that perfect crunch you want for breakfast bowls.
Step 7: Store Your Creation
Transfer the cooled cereal to an airtight container for freshness. This Homemade Chocolate Cereal Recipe stores beautifully, ready for mornings or snacks ahead.
How to Serve Homemade Chocolate Cereal Recipe
Garnishes
For an extra touch of freshness and texture, sprinkle your cereal bowl with fresh berries, sliced bananas, or a handful of chopped nuts. You can even dust a pinch of cinnamon or drizzle a bit of dark chocolate for extra indulgence.
Side Dishes
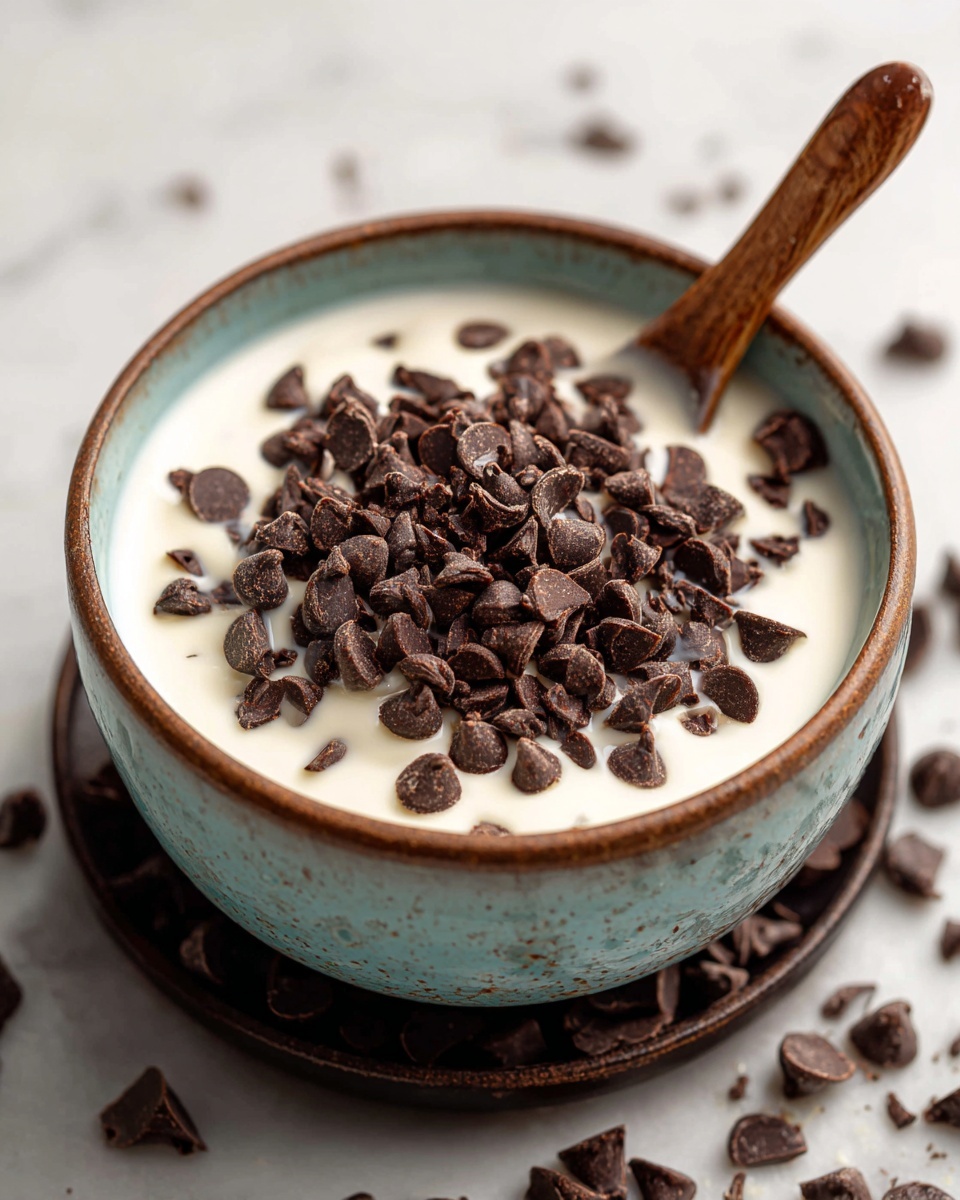
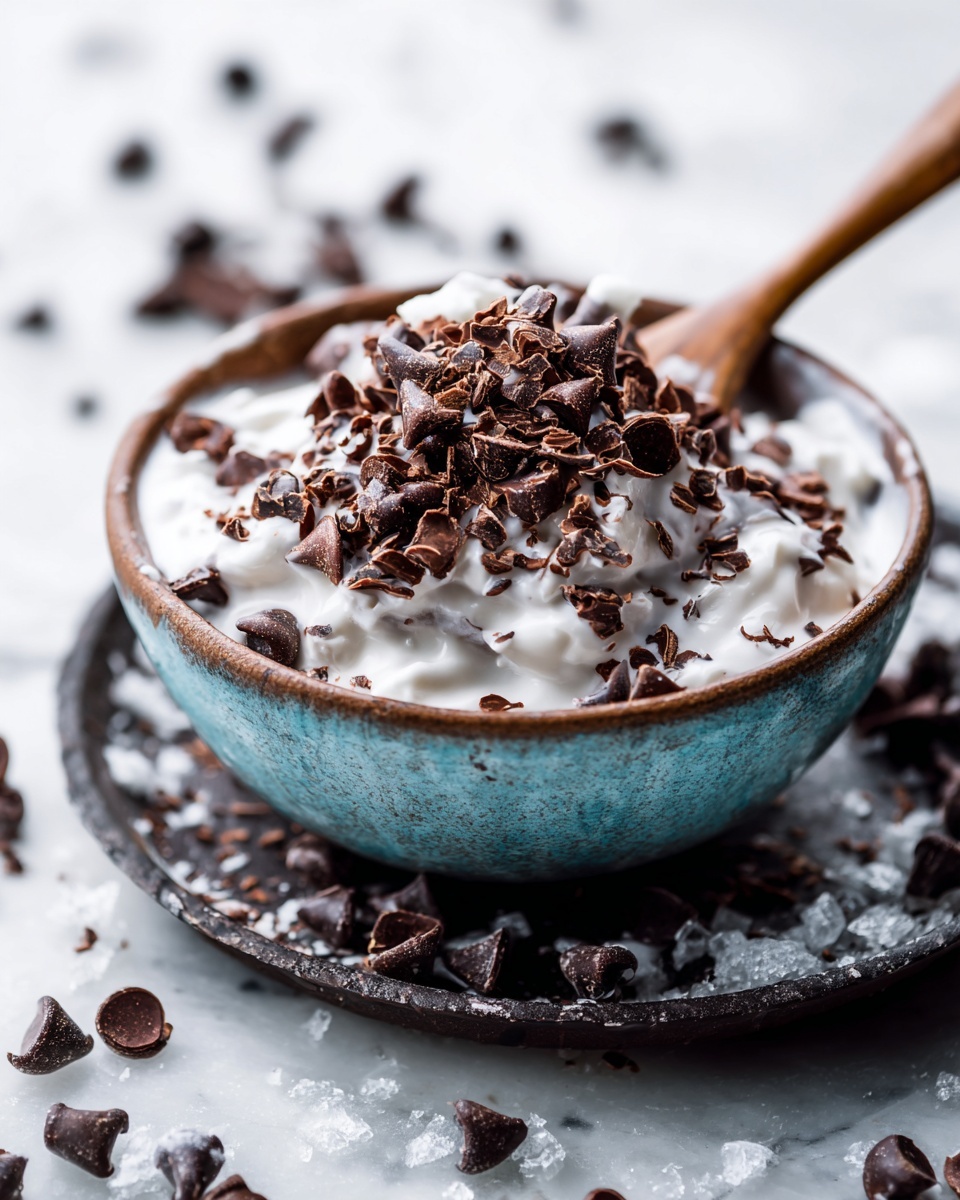
This cereal pairs wonderfully with a cold splash of almond milk or creamy yogurt to balance the crunch with creaminess. To make a more filling breakfast, serve alongside a smoothie or a simple fruit salad for vibrant contrast.
Creative Ways to Present
Turn your cereal into a delicious parfait by layering it with yogurt and fruit in a glass. Or, crush some and use it as a topping over ice cream or warm oatmeal to add a chocolaty, crunchy twist that will wow your taste buds.
Make Ahead and Storage
Storing Leftovers
Keep any leftover homemade cereal stored in an airtight container at room temperature for up to two weeks. Make sure it’s completely cooled before sealing to maintain that satisfying crunch every time you dig in.
Freezing
You can freeze the cereal in a sealed container for up to three months. When ready to enjoy, simply thaw at room temperature for a few hours. This makes stocking up easy and convenient.
Reheating
Reheating isn’t necessary since the cereal is best enjoyed crunchy cold or at room temperature. However, if you prefer it warm, gently toast it in a dry skillet over low heat for a couple of minutes to revive crispiness and that toasty aroma.
FAQs
Can I use other nuts instead of almond flour?
Absolutely! You can substitute almond flour with hazelnut flour, oat flour, or even finely ground cashews to bring a different nutty flavor and texture to your chocolate cereal.
Is this cereal gluten-free?
Yes, as long as you use certified gluten-free rolled oats and puffed rice, this Homemade Chocolate Cereal Recipe is a great gluten-free option for breakfast or snacks.
How crunchy will this homemade cereal be?
The cereal is delightfully crispy thanks to the baking process and the puffed rice. Cooling it completely after baking ensures the crunch sets perfectly.
Can I make this recipe vegan?
This recipe is naturally vegan as it uses plant-based ingredients like coconut oil and maple syrup instead of honey or butter, making it perfect for vegan diets.
How long does the homemade chocolate cereal last?
Stored properly in an airtight container, it stays fresh and crunchy for about two weeks at room temperature, making it a great make-ahead breakfast solution.
Final Thoughts
There’s something truly special about starting your day with this Homemade Chocolate Cereal Recipe. It’s easy to make, deliciously chocolatey, and full of wholesome ingredients that nourish and delight. I encourage you to try it—you’ll love how rewarding and fun it is to make your own cereal. Say goodbye to sugary store-bought boxes and hello to homemade goodness that tastes like a warm hug in a bowl!
Print
Homemade Chocolate Cereal Recipe
- Prep Time: 10 minutes
- Cook Time: 25 minutes
- Total Time: 35 minutes
- Yield: 4 servings 1x
- Category: Breakfast
- Method: Baking
- Cuisine: American
- Diet: Gluten Free
Description
This homemade chocolate cereal is a delicious and nutritious breakfast option made with rolled oats, puffed rice, almond flour, and rich cocoa powder. Sweetened naturally with maple syrup and brought together with coconut oil and vanilla extract, this crispy cereal is baked to perfection and perfect for a wholesome start to your day.
Ingredients
Dry Ingredients
- 1 1/2 cups rolled oats
- 1 cup puffed rice cereal
- 1/2 cup almond flour
- 1/4 cup cocoa powder
- 1/4 teaspoon salt
Wet Ingredients
- 1/4 cup maple syrup
- 1/4 cup coconut oil, melted
- 1 teaspoon vanilla extract
Instructions
- Preheat the oven – Preheat your oven to 325°F (165°C) and line a baking sheet with parchment paper to prevent sticking and ensure even baking.
- Combine dry ingredients – In a large bowl, mix together the rolled oats, puffed rice cereal, almond flour, cocoa powder, and salt until evenly combined to form the base of the cereal.
- Mix wet ingredients – In a separate bowl, whisk together the melted coconut oil, maple syrup, and vanilla extract until smooth and well blended.
- Combine wet and dry – Pour the wet ingredient mixture into the bowl with dry ingredients and stir thoroughly until every oat and puffed rice piece is coated and the mixture is evenly combined.
- Spread mixture – Spread the mixture evenly onto the prepared baking sheet, creating a thin, uniform layer for even baking and crispiness.
- Bake the cereal – Place the baking sheet in the preheated oven and bake for 20-25 minutes, stirring halfway through to ensure the cereal crisps evenly and does not burn.
- Cool and store – Remove from oven and allow the cereal to cool completely on the baking sheet, allowing it to harden and crisp up further. Once cooled, transfer the cereal to an airtight container for storage.
Notes
- Be sure to stir the cereal halfway through baking to achieve even crispiness and prevent burning.
- Allow the cereal to cool completely before storing to maintain its texture.
- Store in an airtight container to keep the cereal fresh for up to one week.
- You can add nuts or dried fruit after baking for extra flavor and texture.