If you have ever been captivated by the chewy, soft texture and subtly sweet flavor of this traditional Japanese treat, you are in for a real delight with this Mochi Recipe. Easy to make and incredibly satisfying, this recipe transforms just a few simple ingredients into a wonderfully sticky and tender mochi that can be enjoyed plain or customized with your favorite fillings. Whether you’re new to mochi or already a fan, this guide will walk you through the process step-by-step with warm, friendly tips to make your homemade mochi experience nothing short of amazing.
Ingredients You’ll Need
Gathering a handful of straightforward pantry staples is all it takes to create this luscious mochi. Each ingredient plays a crucial role in delivering the perfect balance of texture and flavor without any fuss.
- 1 cup glutinous rice flour (mochiko): The star ingredient that gives mochi its signature chewy texture and structure.
- 3/4 cup water: Hydrates the rice flour and helps form the smooth, sticky dough.
- 1/4 cup granulated sugar: Adds a delicate sweetness that complements mochi’s subtle flavor perfectly.
- Cornstarch or potato starch (for dusting): Essential for preventing sticking while shaping your mochi pieces.
How to Make Mochi Recipe
Step 1: Combine Ingredients
Start by mixing the glutinous rice flour, water, and sugar in a microwave-safe bowl. Stir until the mixture is completely smooth and without any lumps. This base is crucial because it ensures your mochi will have the right consistency—silky and ready to become wonderfully chewy.
Step 2: Microwave the Mixture
Cover the bowl loosely with plastic wrap or a microwave-safe lid and microwave it on high for 1 minute. After that, give it a good stir to mix any cooked bits from the edges back into the center. Microwave again for another 1 to 2 minutes, stirring every 30 seconds. You’ll instantly notice the mochi thickening and turning slightly translucent as it becomes sticky and elastic.
Step 3: Cool and Dust
Once the mochi has reached the perfect chewy texture, let it cool just enough to handle safely. Meanwhile, really dust a clean surface with your cornstarch or potato starch; this step is the secret to managing mochi’s famously sticky nature. Transfer the mochi onto this surface and sprinkle more starch on top to keep it from sticking to your hands and tools.
Step 4: Shape and Cut
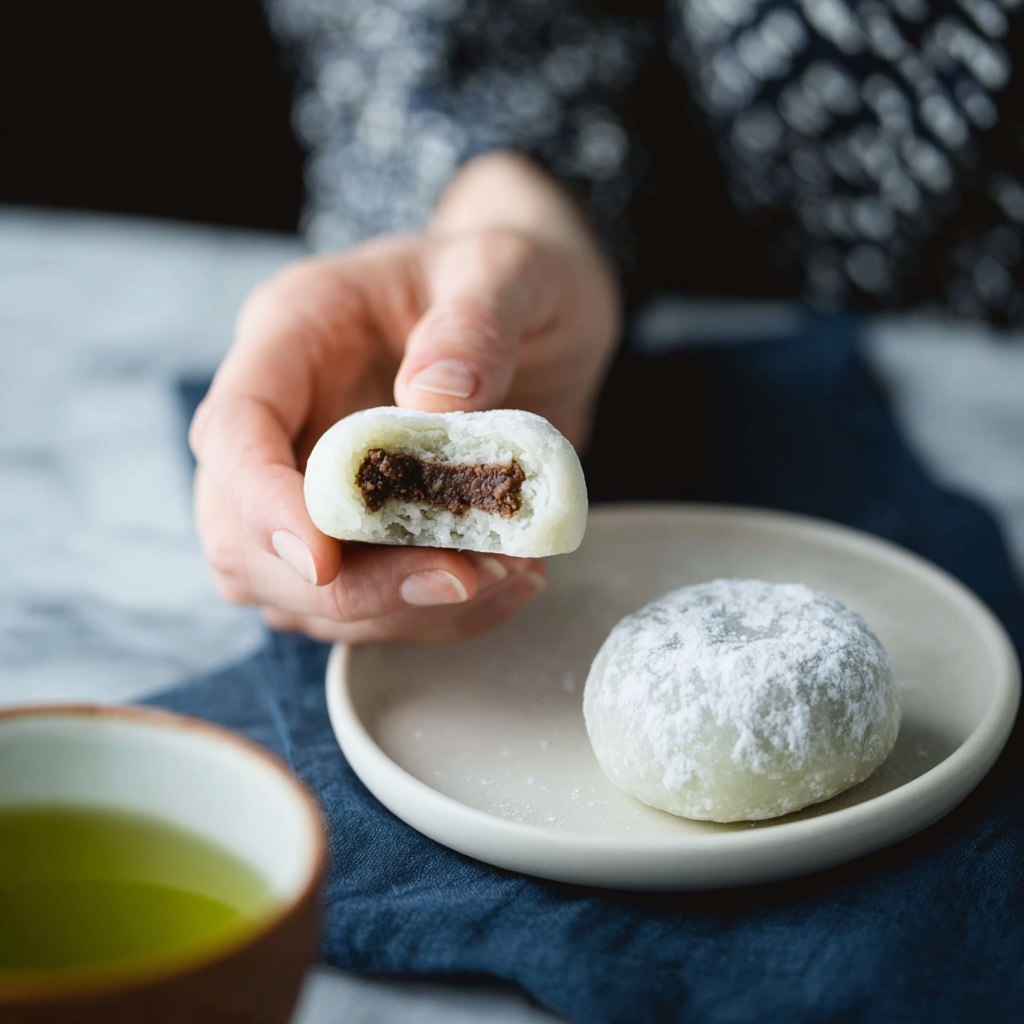
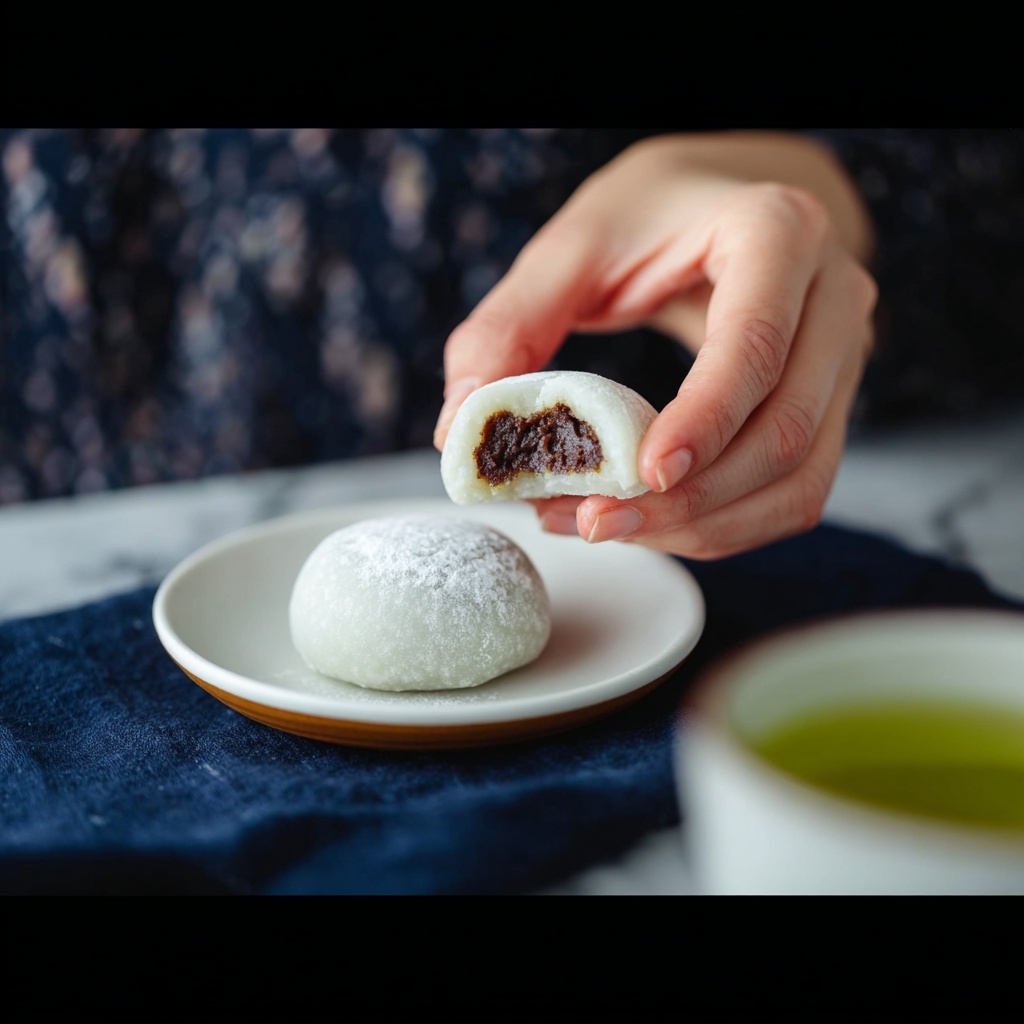
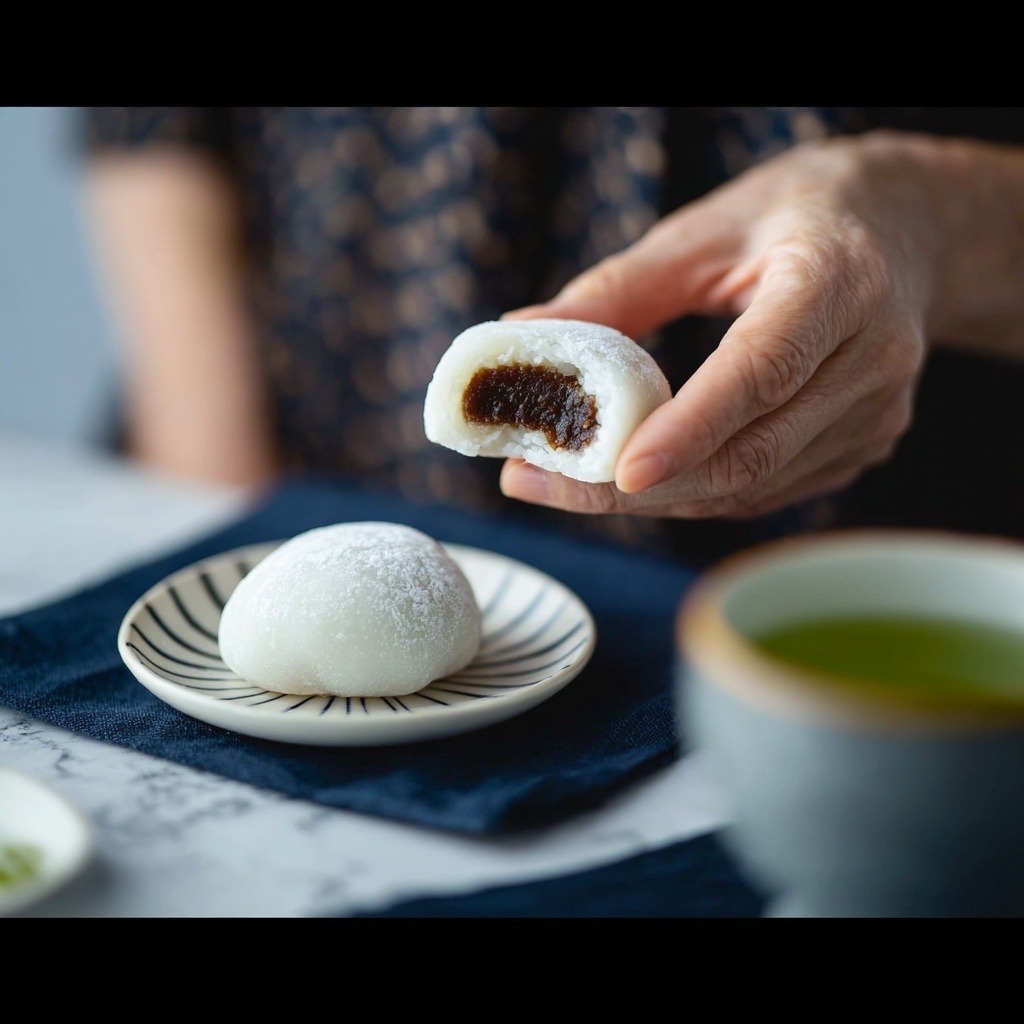
Gently pat or roll the mochi to about a 1/2-inch thickness. Then, using a starch-dusted knife or cookie cutter, cut the mochi into your desired pieces. Whether you prefer classic squares or fun shapes, keeping your tools dusted will make this step a breeze. These mochi pieces can be enjoyed as is or filled with a variety of scrumptious fillings like red bean paste, fresh fruit, or even ice cream for a cool twist.
How to Serve Mochi Recipe
Garnishes
To elevate your mochi, consider dusting it lightly with kinako (roasted soybean flour) or drizzling a touch of sweetened condensed milk or matcha syrup on top. These garnishes add a lovely contrast to the mochi’s chewy texture and a boost of flavor that feels extra special.
Side Dishes
Pairing mochi with a cup of green tea or a bowl of fresh seasonal fruit creates a beautifully balanced snack or dessert that highlights the subtle sweetness of mochi and refreshes your palate.
Creative Ways to Present
Get playful by turning mochi pieces into bite-sized dessert sandwiches filled with sweet red bean paste, or wrap them around small scoops of ice cream for a delightful contrast of temperatures and textures. Alternatively, arrange colorful mochi on a platter dusted with flower petals or edible glitter for a stunning centerpiece at any gathering.
Make Ahead and Storage
Storing Leftovers
If you have any leftover mochi, wrap the pieces individually in plastic wrap and store them in an airtight container at room temperature for up to one day. Mochi tastes best fresh and soft, so consuming it promptly is ideal.
Freezing
Mochi freezes very well and can be kept in the freezer for up to two weeks. Make sure to wrap each piece tightly and place them in an airtight container or freezer bag to prevent freezer burn. When ready to enjoy, thaw at room temperature for 10 to 15 minutes.
Reheating
To bring your mochi back to life, microwave it for about 10 to 15 seconds until warm and soft. Alternatively, steaming mochi gently can also restore its tender chewiness without drying it out.
FAQs
What is the difference between mochiko and regular rice flour?
Mochiko is glutinous rice flour, which comes from sticky rice and has unique properties that create mochi’s characteristic chew. Regular rice flour, made from non-glutinous rice, will not give the same stretchy texture.
Can I make mochi without a microwave?
Yes! While this Mochi Recipe is designed for the microwave, you can also cook the mixture on a stovetop over low heat while stirring constantly until the dough thickens, but be mindful to avoid burning.
How can I add flavors to the mochi dough?
Simply mix in a few drops of vanilla extract, matcha powder, or fruit juice into the batter before microwaving. These additions are subtle but bring an exciting twist to the classic mochi taste.
Is mochi gluten-free?
Yes, mochi is naturally gluten-free since it is made from glutinous rice flour that does not contain wheat gluten, making this recipe suitable for gluten-free diets.
How sticky is mochi to handle?
Mochi can be quite sticky, which is why generously dusting your hands, tools, and surfaces with cornstarch or potato starch is key to handling it easily without frustration.
Final Thoughts
There is something truly magical about making mochi at home, especially with a simple, reliable Mochi Recipe like this one. The soft, chewy texture combined with the gratifying process of shaping and sharing these little morsels is a wonderful experience. I encourage you to give this recipe a try, personalize it with your favorite fillings, and enjoy every chewy bite with friends and family. Happy mochi making!
Print
Mochi Recipe
- Prep Time: 5 minutes
- Cook Time: 3 minutes
- Total Time: 8 minutes
- Yield: 8 to 10 pieces 1x
- Category: Dessert
- Method: No-Cook
- Cuisine: Japanese
- Diet: Gluten Free,Vegan
Description
This easy-to-make Mochi recipe uses glutinous rice flour and a microwave to create a chewy, sweet Japanese dessert in just minutes. Soft, sticky, and versatile, the mochi can be enjoyed plain or filled with delightful fillings like red bean paste or ice cream.
Ingredients
Ingredients
- 1 cup glutinous rice flour (mochiko)
- 3/4 cup water
- 1/4 cup granulated sugar
- Cornstarch or potato starch (for dusting)
Instructions
- Combine Ingredients: In a microwave-safe bowl, mix the glutinous rice flour, water, and granulated sugar until the batter is smooth and fully blended.
- Microwave Initial Cooking: Cover the bowl loosely with plastic wrap or a microwave-safe lid and microwave on high for 1 minute.
- Stir Mixture: Remove the bowl and stir the mixture well to ensure even cooking.
- Continue Microwaving: Microwave for another 1 to 2 minutes, stirring every 30 seconds, until the mochi thickens, becomes sticky, and slightly translucent.
- Cool Slightly: Let the cooked mochi cool down for a few minutes so it becomes manageable to handle.
- Prepare Surface: Dust a clean surface generously with cornstarch or potato starch to prevent sticking.
- Shape Mochi: Transfer the mochi onto the dusted surface, sprinkle more starch on top, then pat or roll it out to about 1/2-inch thickness.
- Cut Mochi Pieces: Using a knife or starch-dusted cookie cutter, cut the mochi into 8 to 10 pieces.
- Serve: Enjoy the mochi plain or fill with red bean paste, fruit, or ice cream as desired.
Notes
- Keep your hands and tools dusted with starch to handle the sticky dough more easily.
- For flavored mochi, add a few drops of vanilla extract, matcha powder, or fruit juice to the batter before microwaving.