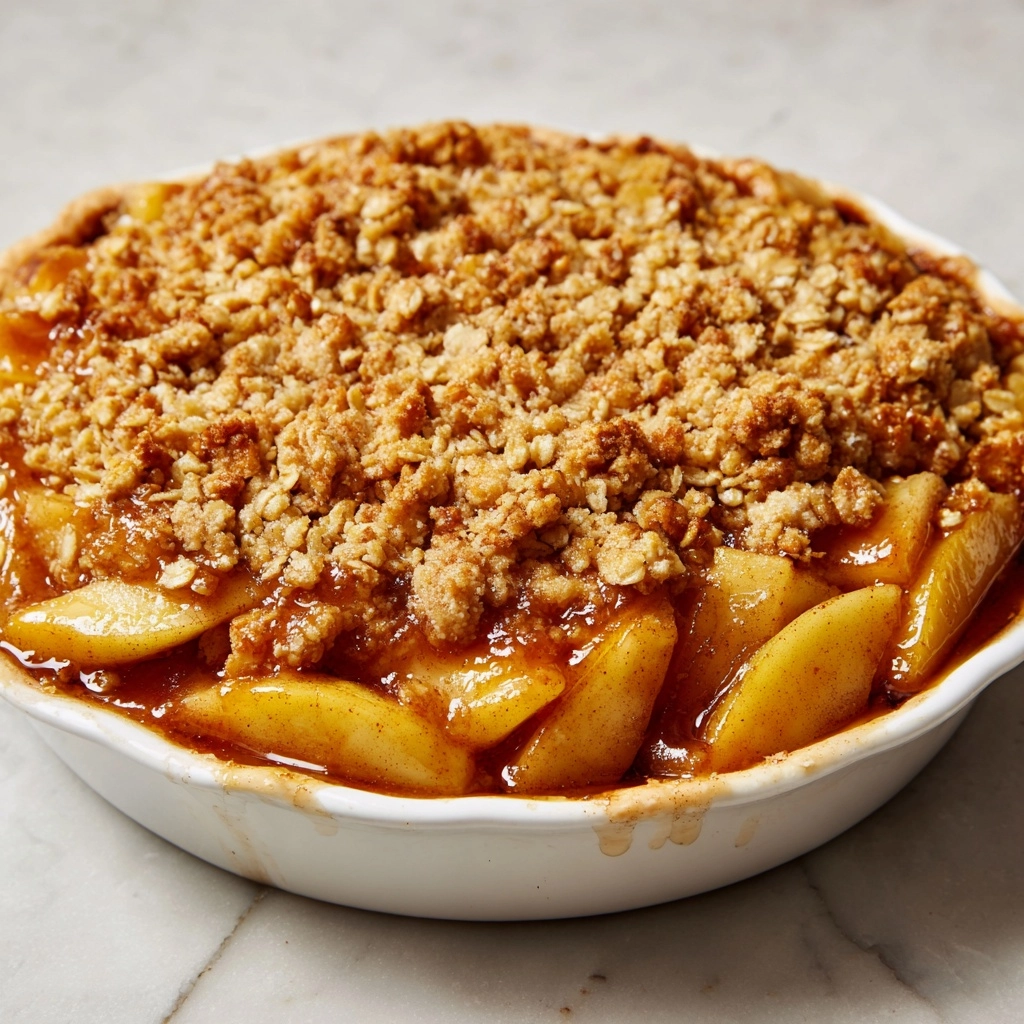
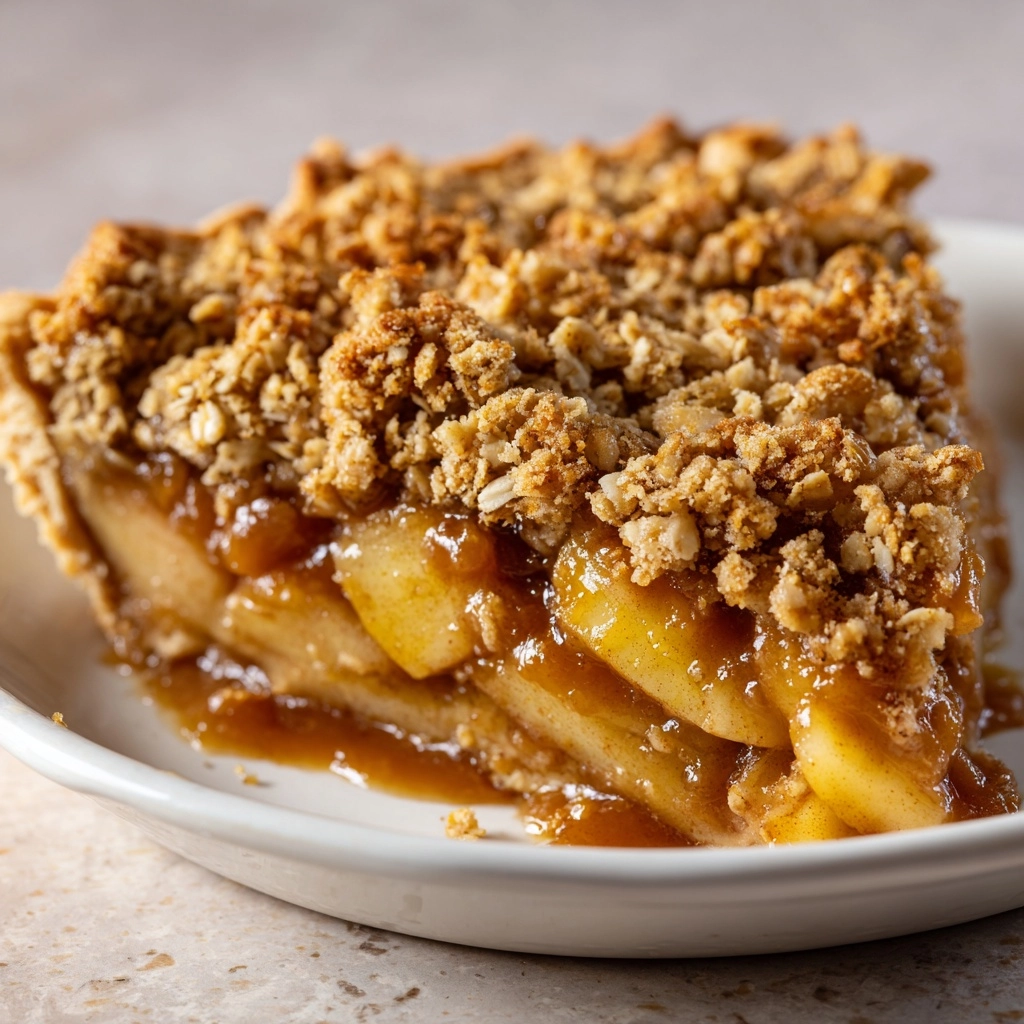
Scooping through the warm, golden topping into layers of soft, cinnamon-kissed apples is one of those pure joys that never gets old. That’s why this Old Fashioned Easy Apple Crisp holds a permanent spot in my recipe box! With its contrast of buttery crumble and perfectly sweet-tart fruit, it captures everything comfort food should be. The classic simplicity shines in every bite, making this a go-to dessert for gatherings, cozy evenings, or whenever you need a taste of nostalgia.
Ingredients You’ll Need
You’ll be thrilled at how straightforward the ingredient list is for this Old Fashioned Easy Apple Crisp. Each ingredient is hand-picked for flavor, texture, and a bit of kitchen magic—nothing fussy, just the good stuff that makes every spoonful irresistible.
- Apples: Go with 6 cups peeled and sliced apples (5–6 medium)—Granny Smith for tartness or Honeycrisp for a touch of sweetness are absolute winners here!
- Lemon juice: A tablespoon keeps the apples vibrant, brightens the flavor, and prevents browning while you prep.
- Granulated sugar: The ¾ cup sweetness brings out the natural flavor of your apples, balancing any tartness.
- Ground cinnamon: One teaspoon is just enough to make the whole kitchen smell like a dreamy autumn day.
- Ground nutmeg: Only ¼ teaspoon, but it gives the filling a subtle, earthy warmth.
- Old-fashioned rolled oats: A classic base for crisp topping, 1 cup adds hearty texture and that signature crumble.
- All-purpose flour: ¾ cup helps bind the oat topping so it stays delightfully crunchy.
- Packed brown sugar: Half a cup provides lovely caramel notes, deepening every forkful.
- Unsalted butter: ½ cup, cold and cubed, is the secret to those golden, buttery clumps in the topping.
- Salt: Just ¼ teaspoon sharpens all the sweet flavors, tying everything together.
How to Make Old Fashioned Easy Apple Crisp
Step 1: Prep Your Baking Dish
Start by preheating your oven to 350°F. A light greasing of a 9×9-inch (or similar size) baking dish keeps things from sticking and helps your apple crisp serve up beautifully.
Step 2: Mix the Apples
In a large mixing bowl, gently toss your sliced apples with the lemon juice. Sprinkle in the granulated sugar, cinnamon, and nutmeg, then toss again until the apples are evenly coated. This sweet-spiced mixture is your flavor-packed foundation, so make sure every piece of apple gets some love.
Step 3: Layer the Apples
Pour your apple mixture into the prepared baking dish. Give it a light shake or a gentle pat so the apples settle evenly—no dry corners, only juicy, tangy fruit waiting to bubble up under the topping.
Step 4: Make the Crisp Topping
In a clean bowl, combine the oats, flour, brown sugar, and salt. Add the cold, cubed butter next. Now, use a pastry cutter, two forks, or your fingertips to work the butter into the mixture until it forms crumbly clumps. This is truly the magic moment: every buttery crumble will crisp up beautifully in the oven!
Step 5: Top and Bake
Scatter the oat topping evenly over the apples—make sure to reach every edge! Slide the dish into your preheated oven and bake for 40–45 minutes. You’re looking for a topping that’s deeply golden and apples that are tender and bubbling away at the edges. Your kitchen will smell absolutely heavenly.
Step 6: Cool and Enjoy
Let your Old Fashioned Easy Apple Crisp cool for at least fifteen minutes before serving. This helps the juices thicken and ensures each serving holds together perfectly. Scoop onto plates while still warm and revel in the homey goodness!
How to Serve Old Fashioned Easy Apple Crisp

Garnishes
For a picture-perfect finish, a scoop of creamy vanilla ice cream melting into the crisp is a must for me! A drizzle of caramel sauce or a sprinkle of extra cinnamon adds even more flair. A dollop of lightly whipped cream or a few toasted chopped nuts can bring a gorgeous touch, too.
Side Dishes
This dessert is so charmingly versatile. If you want to keep things pure and simple, a cup of hot coffee or chai tea is the perfect match. Or, turn it into a festive dessert plate by serving alongside other autumn favorites like spiced poached pears or warm apple cider.
Creative Ways to Present
Try portioning your Old Fashioned Easy Apple Crisp into individual ramekins for an elegant dinner party treat. Feeling rustic? Serve it family-style, straight from the baking dish in the center of your table. For a fun twist, layer it in parfait glasses with yogurt for an irresistible breakfast (or brunch!) delight.
Make Ahead and Storage
Storing Leftovers
If you have any of this delightful crisp left, simply cover your baking dish or transfer servings to an airtight container. Store in the refrigerator for up to 4 days. The flavors mellow and blend, making leftovers every bit as tempting as day one.
Freezing
Yes, you can freeze Old Fashioned Easy Apple Crisp! Cool it completely, wrap tightly (or use a freezer-safe container), and freeze for up to 2 months. Thaw overnight in the refrigerator before reheating, so the texture stays true.
Reheating
To bring back that just-baked taste and texture, reheat portions in the oven at 350°F until warmed through (about 15-20 minutes). If you’re short on time, the microwave works, too—just know the topping will be softer. A minute or two is perfect for quick apple crisp bliss!
FAQs
Can I use different kinds of apples for Old Fashioned Easy Apple Crisp?
Absolutely! Mixing tart apples like Granny Smith with sweeter varieties like Honeycrisp or Fuji gives a fantastic depth of flavor. Use whatever looks freshest at the market for your own signature blend.
Can I add nuts to the topping?
Definitely. Adding about half a cup of chopped pecans or walnuts to the oat topping brings a lovely crunch and nutty flavor—totally delicious if you love that extra texture!
Is there a way to make this gluten-free?
Yes, just swap in a 1:1 gluten-free all-purpose flour blend and make sure your oats are certified gluten-free. The results are every bit as golden and crumbly as the original.
Can I make Old Fashioned Easy Apple Crisp ahead of time?
You can assemble the crisp and refrigerate it, unbaked, several hours ahead or overnight. Bake straight from the fridge, adding a few extra minutes if needed. It’s a great hands-off dessert for entertaining!
What’s the best way to serve this for a crowd?
Double the recipe and bake it in a 9×13-inch pan for a potluck or holiday dinner. Serve right from the dish with a big bowl of ice cream on the side, and watch it disappear!
Final Thoughts
Few desserts offer as much pure comfort and old-fashioned charm as Old Fashioned Easy Apple Crisp. I hope you’ll give this classic recipe a try, whether you’re baking for a family get-together or just satisfying your own sweet tooth. Gather some apples, warm up the oven, and treat yourself to a slice of nostalgia—it’s as simple, satisfying, and sweet as it gets!
Print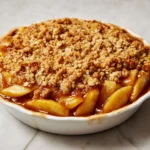
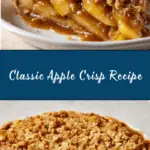
Old Fashioned Easy Apple Crisp Recipe
- Prep Time: 15 minutes
- Cook Time: 45 minutes
- Total Time: 1 hour
- Yield: 6 servings 1x
- Category: Dessert
- Method: Baking
- Cuisine: American
- Diet: Vegetarian
Description
This Old Fashioned Easy Apple Crisp recipe is a classic dessert that’s perfect for fall. With a sweet and spiced apple filling topped with a crunchy oat topping, it’s a comforting and delicious treat that the whole family will love.
Ingredients
Apples:
- 6 cups peeled and sliced apples (about 5–6 medium, preferably Granny Smith or Honeycrisp)
- 1 tablespoon lemon juice
- ¾ cup granulated sugar
- 1 teaspoon ground cinnamon
- ¼ teaspoon ground nutmeg
Topping:
- 1 cup old-fashioned rolled oats
- ¾ cup all-purpose flour
- ½ cup packed brown sugar
- ½ cup unsalted butter, cold and cut into cubes
- ¼ teaspoon salt
Instructions
- Preheat the oven: Preheat the oven to 350°F and lightly grease a 9×9-inch or similar baking dish.
- Prepare the apples: In a large bowl, toss the sliced apples with lemon juice, granulated sugar, cinnamon, and nutmeg. Transfer the apple mixture to the prepared baking dish.
- Make the topping: In another bowl, combine oats, flour, brown sugar, and salt. Add the cold butter and cut it into the mixture until crumbly. Sprinkle the topping evenly over the apples.
- Bake: Bake for 40–45 minutes, or until the top is golden brown and the apples are tender and bubbling around the edges.
- Serve: Let cool slightly before serving. Enjoy warm on its own or with a scoop of vanilla ice cream.
Notes
- This recipe works well with a mix of sweet and tart apples for more flavor depth.
- For a nutty twist, add ½ cup chopped pecans or walnuts to the topping.
- Store leftovers in the fridge for up to 4 days. Reheat in the oven or microwave before serving.
Nutrition
- Serving Size: 1 portion
- Calories: 340
- Sugar: 30 g
- Sodium: 80 mg
- Fat: 15 g
- Saturated Fat: 9 g
- Unsaturated Fat: 5 g
- Trans Fat: 0 g
- Carbohydrates: 52 g
- Fiber: 4 g
- Protein: 2 g
- Cholesterol: 35 mg