If you’re craving a dessert that brings back warm memories with every spoonful, you have to try this delightful Old-Fashioned Homemade Banana Pudding Recipe. It’s the perfect blend of creamy, sweet pudding cushioned between soft banana slices and crisp vanilla wafers. This classic dessert captures the spirit of home cooking, combining simple ingredients into a dish that feels like a comforting hug. Easy to make yet impressively delicious, this recipe will quickly become one of your go-to favorites for family gatherings or quiet indulgent moments.
Ingredients You’ll Need
All the ingredients in this Old-Fashioned Homemade Banana Pudding Recipe are pantry staples that come together to create an irresistible balance of flavors and textures. Each item plays an essential role, from the velvety custard base to the slight crunch of the vanilla wafers and the natural sweetness of ripe bananas.
- Granulated sugar: Adds just the right amount of sweetness to the pudding without overwhelming the delicate banana flavor.
- All-purpose flour: Acts as a natural thickener to give the pudding that luscious, creamy texture.
- Salt: Enhances all the flavors, making the sweetness more vibrant and the vanilla more fragrant.
- Milk: The rich liquid base that brings everything together and keeps the pudding smooth and silky.
- Large eggs: Provide richness and help set the pudding’s consistency while adding a subtle creaminess.
- Pure vanilla extract: Infuses the pudding with a warm, comforting aroma that’s both nostalgic and inviting.
- Vanilla wafers: Classic and slightly crunchy, they add texture and a sweet buttery note beneath the pudding and bananas.
- Ripe bananas: The star of the dish, these bring natural sweetness and softness, making every bite irresistibly fresh.
How to Make Old-Fashioned Homemade Banana Pudding Recipe
Step 1: Making the Custard Base
Begin by whisking together the granulated sugar, all-purpose flour, and salt in a medium saucepan. Gradually add the milk, whisking constantly until the mixture is perfectly smooth. This is the base of your pudding and getting the texture right here is crucial.
Step 2: Cooking the Mixture
Place the saucepan over medium heat and stir continuously. You’ll notice the mixture slowly thickening and just as it starts to bubble, reduce the heat to low. Keep stirring for two more minutes to develop that creamy pudding consistency. Removing from heat now ensures the pudding cooks evenly without scorching.
Step 3: Tempering the Eggs
In a separate bowl, lightly beat your eggs. To avoid scrambling, slowly whisk in about half a cup of the warm pudding mixture into the eggs—a method known as tempering. Then pour this mixture back into the saucepan while continuing to whisk. This step is key to creating that smooth, custardy texture we all love.
Step 4: Final Cooking and Flavoring
Return the saucepan to medium heat and continue stirring until the custard gently boils. Let it cook for an additional two minutes, stirring constantly to prevent sticking. Take it off the heat and stir in the vanilla extract. Let the mixture cool for about 15 minutes, stirring occasionally to keep the pudding smooth.
Step 5: Assembling the Dessert
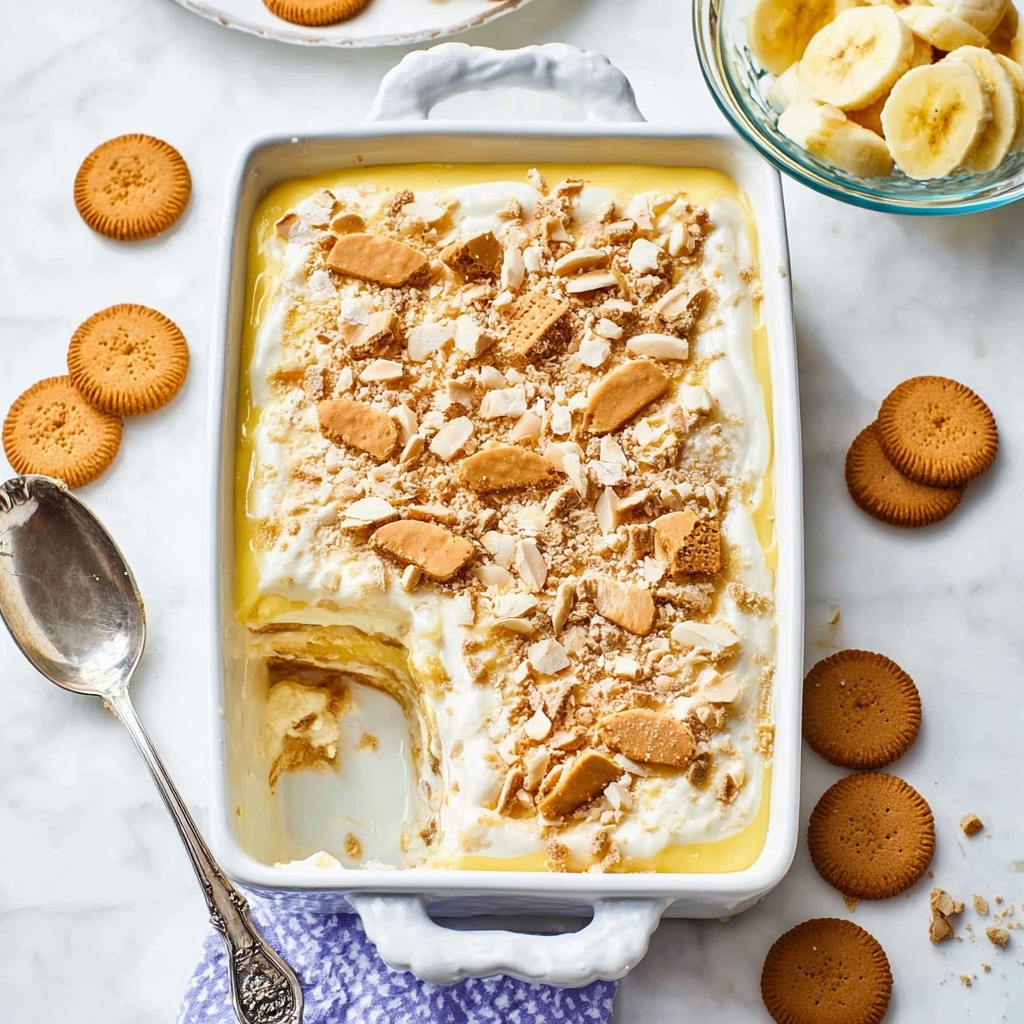
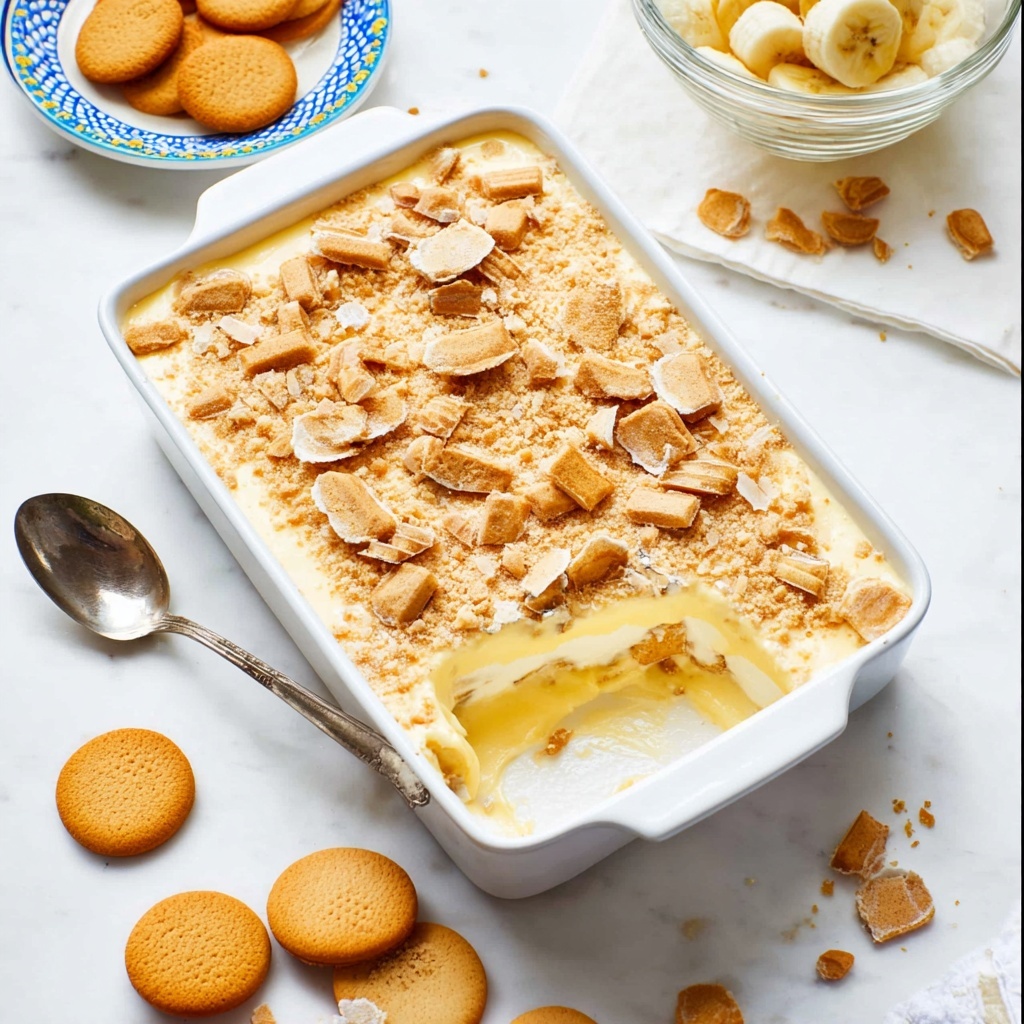
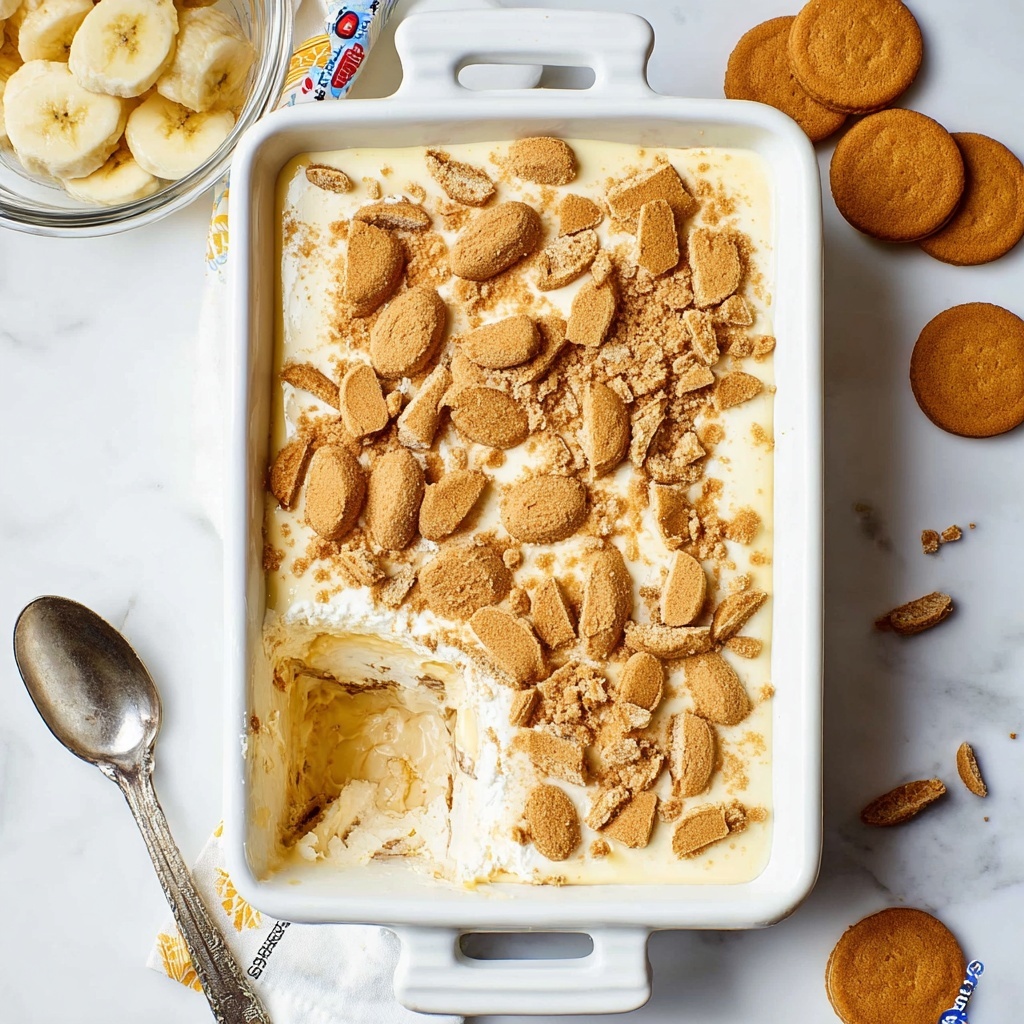
Grab an 8-inch square baking dish and start by layering roughly 25 vanilla wafers across the bottom. Top them with a layer of sliced bananas, then pour half of the pudding over this layer. Repeat these layers once more with the remaining wafers, bananas, and pudding. This layering creates the iconic texture and flavor combos that make this dessert unforgettable.
Step 6: Chilling and Finishing Touches
Cover the pudding with plastic wrap, pressing it directly onto the surface to keep a skin from forming. Refrigerate your creation for at least 4 hours or, better yet, overnight. Right before serving, sprinkle crushed vanilla wafers on top for an added crunch that perfectly complements the creamy layers beneath.
How to Serve Old-Fashioned Homemade Banana Pudding Recipe
Garnishes
To elevate this Old-Fashioned Homemade Banana Pudding Recipe even more, consider garnishing with a dollop of freshly whipped cream or a sprinkle of nutmeg for warmth and spice. A handful of toasted pecans or a few extra banana slices on top can add beautiful texture and visual appeal as well.
Side Dishes
This banana pudding pairs wonderfully with light, fruity side dishes, like a simple fresh berry salad or a crisp mint garnish. It also goes well after a heavier meal to provide a sweet but gentle finish that won’t overwhelm the palate.
Creative Ways to Present
For a fun twist on presentation, serve your pudding in individual glass jars or clear dessert cups to show off the lovely layers. You can alternate layers with whipped cream or add layers of other cookies for exciting texture contrasts. This makes for a charming, shareable dessert that’s perfect for gatherings and celebrations.
Make Ahead and Storage
Storing Leftovers
Leftover banana pudding keeps beautifully in the refrigerator when covered tightly with plastic wrap or stored in an airtight container. It’s best enjoyed within 3 days for optimal freshness and flavor. Just give it a good stir before serving again if it has settled.
Freezing
This Old-Fashioned Homemade Banana Pudding Recipe is not ideal for freezing, as bananas tend to get mushy and the custard texture can separate when thawed. For the best taste and texture, I recommend making it fresh and enjoying it within a few days.
Reheating
If you prefer your pudding warm, gently reheat servings in the microwave for 15 to 20 seconds, just enough to take the chill off. Be careful not to overheat, since the pudding can curdle or become grainy. Serving it chilled is the classic way to enjoy the full flavor experience.
FAQs
Can I use instant pudding mix instead of making custard from scratch?
While instant pudding mixes save time, they don’t quite capture the creamy, rich texture and authentic flavor of this Old-Fashioned Homemade Banana Pudding Recipe. Making the custard from scratch gives you that perfect balance of smoothness and depth in every bite.
How ripe should the bananas be?
For the best flavor and texture, use bananas that are ripe with some brown spots but not overripe or mushy. This ripeness level ensures sweetness and softness without turning the pudding too watery or bitter.
Can I substitute the all-purpose flour for cornstarch?
Yes, cornstarch is a great alternative thickener and will give you a slightly silkier custard. Use about half the amount of cornstarch compared to flour—usually 2 tablespoons cornstarch for every 1/4 cup flour.
Is it necessary to temper the eggs?
Tempering the eggs is essential to prevent them from cooking too quickly and creating lumps. It gently warms the eggs before mixing them back into the hot custard, ensuring a perfectly smooth pudding.
Can I make this banana pudding vegan?
To make a vegan version of this Old-Fashioned Homemade Banana Pudding Recipe, you can substitute plant-based milk like almond or oat milk, use a cornstarch-thickened pudding, and replace eggs with silken tofu or a commercial egg replacer. However, the traditional taste will be different but still delicious!
Final Thoughts
There is something truly special about an Old-Fashioned Homemade Banana Pudding Recipe that connects us to moments of joy and comfort. Its creamy custard, sweet bananas, and crisp wafers combine into a harmony that’s irresistibly nostalgic and fresh. I wholeheartedly encourage you to make this recipe and enjoy the smiles it brings around your table. Trust me, once you’ve experienced this classic, it will become a cherished staple in your dessert repertoire.
Print
Old-Fashioned Homemade Banana Pudding Recipe
- Prep Time: 10 minutes
- Cook Time: 20 minutes
- Total Time: 40 minutes plus chilling time
- Yield: 8 servings 1x
- Category: Dessert
- Method: Stovetop
- Cuisine: Southern American
Description
This Old-Fashioned Homemade Banana Pudding recipe is a classic Southern dessert featuring creamy vanilla pudding layered with ripe bananas and crunchy vanilla wafers. Perfectly balanced in sweetness and texture, this comforting pudding is simple to make on the stovetop and chilled to set for a luscious, crowd-pleasing treat.
Ingredients
Banana Pudding Base
- ¾ cup granulated sugar
- ¼ cup all-purpose flour
- ¼ teaspoon salt
- 3 cups milk
- 3 large eggs
- 2 teaspoons pure vanilla extract
Layers
- 1 box (approximately 8 ounces) vanilla wafers
- 3–4 ripe bananas, sliced
Instructions
- Prepare the pudding base: In a medium saucepan, whisk together sugar, flour, and salt to combine the dry ingredients thoroughly. Gradually whisk in the milk until the mixture is smooth with no lumps.
- Cook the pudding mixture: Place the saucepan over medium heat and cook the mixture, stirring constantly, until it thickens and begins to bubble. This ensures even cooking and prevents burning.
- Simmer the pudding: Reduce the heat to low and continue cooking for 2 more minutes, stirring constantly to maintain a smooth texture. Remove the pan from heat after simmering.
- Temper the eggs: In a small bowl, lightly beat the eggs. Gradually whisk in about ½ cup of the hot pudding mixture into the eggs to slowly raise their temperature without curdling.
- Combine eggs with pudding: Pour the tempered eggs back into the saucepan with the remaining pudding mixture, whisking continuously to incorporate evenly.
- Cook to thicken: Return the saucepan to medium heat and cook the mixture while stirring constantly until it gently boils. Continue cooking for an additional 2 minutes to ensure it reaches the proper thickness.
- Finish the pudding: Remove the saucepan from heat and stir in the vanilla extract for flavor. Let the pudding cool for 15 minutes, stirring occasionally to prevent a skin from forming.
- Layer the dessert: In an 8-inch square baking dish, arrange approximately 25 vanilla wafers evenly on the bottom.
- Add bananas: Place a layer of sliced bananas over the wafers to add natural sweetness and creaminess.
- Pour pudding: Pour half of the cooled pudding over the banana layer spreading it evenly for a smooth surface.
- Repeat layers: Add another layer of vanilla wafers, followed by bananas and then pour the remaining pudding on top to complete the layers.
- Cover and chill: Cover the dish with plastic wrap, pressing it directly onto the surface of the pudding to prevent a skin from forming. Refrigerate for at least 4 hours or overnight to allow flavors to meld and the pudding to set.
- Serve: Before serving, optionally sprinkle crushed vanilla wafers on top for added texture and crunch.
Notes
- For best results, use ripe but firm bananas to prevent them from turning mushy during refrigeration.
- Press the plastic wrap gently onto the pudding surface to keep it from forming a thick skin.
- You can add whipped cream on top before serving for an extra creamy finish.
- Store leftovers covered in the refrigerator and consume within 3 days for optimal freshness.
- If you prefer a thicker pudding, you can increase the flour slightly or cook a few minutes longer while stirring.