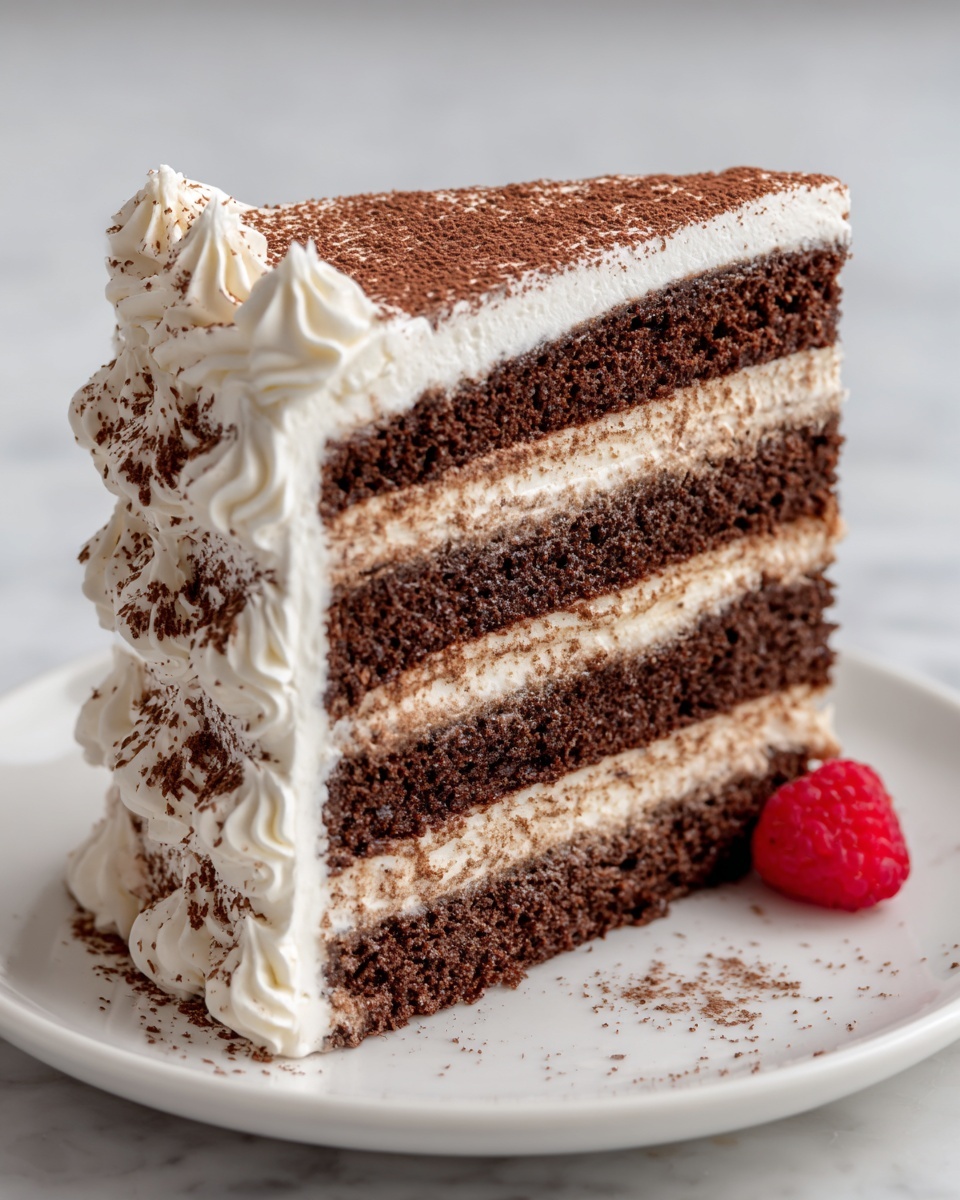
If you are looking for a dessert that is both effortless and irresistibly delicious, this Quick Icebox Cake Recipe is exactly what you need. Imagine layers of luscious whipped cream and crisp wafer cookies coming together after a few hours in the fridge to create a dreamy, melt-in-your-mouth treat that tastes like something you’d order in a fancy café. This no-bake delight is perfect for warm afternoons or last-minute gatherings where you want to impress without the fuss. Every bite brings that perfect balance of creamy sweetness and subtle crunch, making it an instant favorite for family and friends alike.
Ingredients You’ll Need
These ingredients are simple, straightforward, and play an essential role in making your Quick Icebox Cake Recipe a stunning success. From the rich creaminess of the heavy whipping cream to the crunch and flavor profile of the wafer cookies, each component builds the texture and taste of this heavenly dessert.
- 2 cups heavy whipping cream: This gives the cake its creamy, silky base and holds the layers together beautifully once whipped.
- 1/3 cup powdered sugar: Adds a gentle sweetness without graininess, perfect for blending smoothly into the cream.
- 1 teaspoon vanilla extract: Enhances the flavor profile with a warm, comforting vanilla essence.
- 1 box (about 9 oz) chocolate or vanilla wafer cookies: These form the crunchy layers that soften over time to create a cake-like texture.
- 1/2 cup mini chocolate chips or shaved chocolate (optional): Adds a touch of chocolate goodness for extra indulgence and a beautiful garnish.
- Fresh berries or fruit slices for topping (optional): Provides a fresh burst of color and tartness that complements the sweet cream layers perfectly.
How to Make Quick Icebox Cake Recipe
Step 1: Whip the Cream Mixture
Start by beating the heavy whipping cream, powdered sugar, and vanilla extract on medium-high speed until you see stiff peaks form. This means the cream will hold its shape when you lift the beaters, which is crucial for those fluffy, rich layers in your icebox cake.
Step 2: Create the First Layer
Spread a thin, even layer of the whipped cream mixture along the bottom of an 8×8-inch or 9×9-inch square dish. This initial layer acts as the tasty base that will keep your wafer cookies from sticking to the pan, while also soaking up just enough moisture.
Step 3: Add the Cookie Layer
Place your wafer cookies on top of the whipped cream, breaking some if needed to cover the surface evenly. Choosing your cookies carefully here is key since they soften during chilling but still provide that satisfying bite you crave in an icebox cake.
Step 4: Repeat the Layers
Now spread another generous layer of whipped cream over the cookies. Continue to alternate layers of cookies and cream, building up a beautiful stacked dessert. Finish with a final layer of whipped cream on top to seal all those flavors and textures together.
Step 5: Garnish and Chill
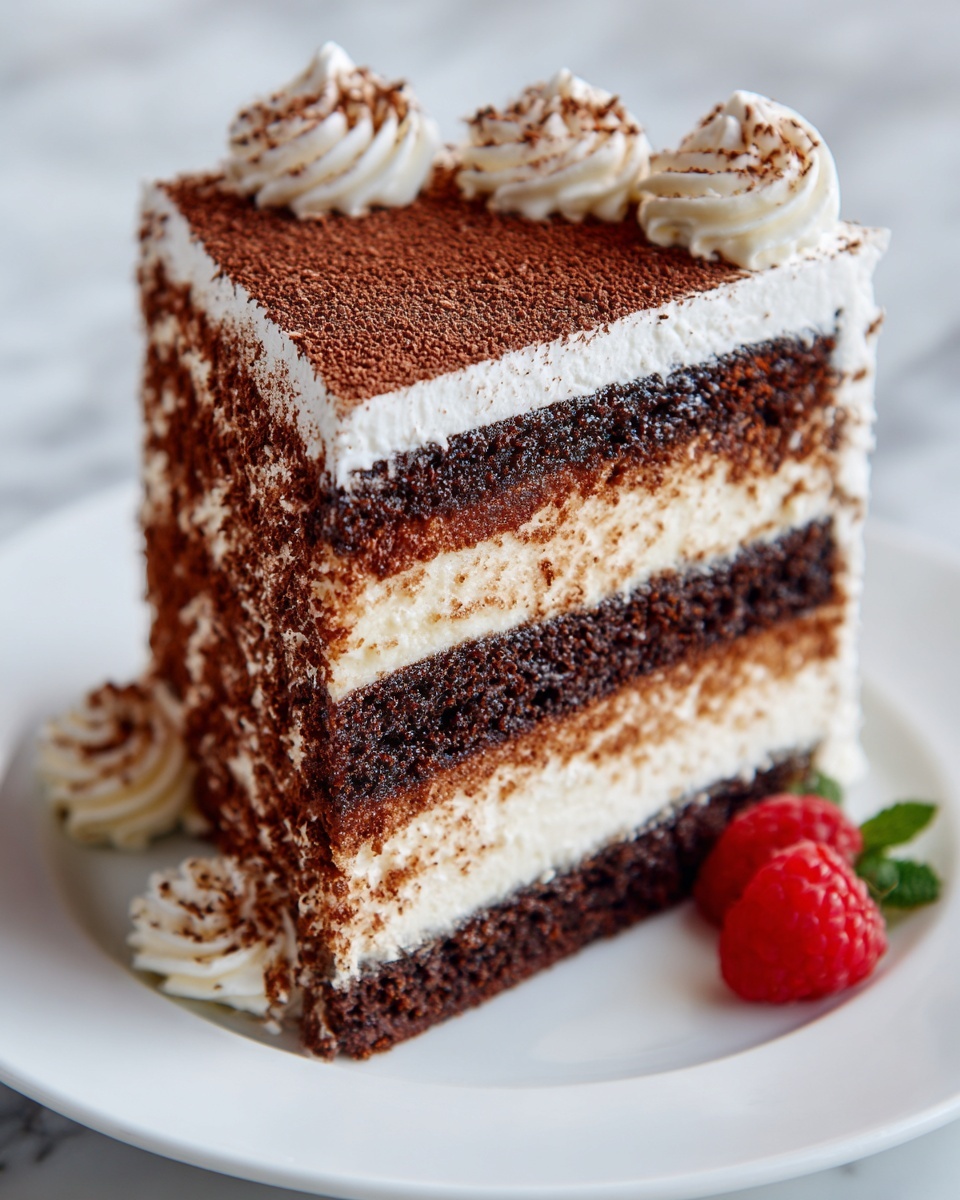
Smooth the top layer with a spatula, then sprinkle with your choice of mini chocolate chips, shaved chocolate, or fresh fruit to make the presentation pop. Cover the dish and refrigerate for at least 4 hours or overnight. This chilling step is what transforms the cookie layers into cake-like softness and melds all the flavors perfectly.
How to Serve Quick Icebox Cake Recipe
Garnishes
Adding garnishes not only makes your Quick Icebox Cake Recipe look stunning but also introduces new flavors and textures. Fresh berries like strawberries, raspberries, or blueberries add vibrant color and a touch of tartness, while chocolate shavings or sprinkles bring a decadent finish. Mint leaves can offer a refreshing aroma and a pop of green for a beautiful contrast.
Side Dishes
This icebox cake pairs wonderfully with a light side like a simple fruit salad or a scoop of vanilla ice cream to enhance the dessert experience without overpowering it. If you’re serving this at a party, consider pairing it with coffee or a sparkling beverage to complement the richness of the whipped cream layers.
Creative Ways to Present
For a fun twist, try assembling your Quick Icebox Cake Recipe in individual clear cups or jars. This makes for an elegant presentation and easy portion control. You can also layer in crushed nuts or drizzle sauces like caramel or chocolate between the layers for an exciting variation that’s sure to surprise and delight your guests.
Make Ahead and Storage
Storing Leftovers
Once you’ve enjoyed your Quick Icebox Cake Recipe, any leftovers should be tightly covered and stored in the refrigerator. The flavors continue to develop when chilled, but the dessert is best eaten within three days to maintain the perfect balance of texture and freshness.
Freezing
If you want to prepare in advance, freezing this icebox cake is possible but with a small trade-off in texture. Wrap the dish tightly in plastic wrap and then foil to protect from freezer burn. Thaw overnight in the fridge before serving; the cake may be a little firmer, but it will still taste delicious.
Reheating
This dessert is meant to be enjoyed cold, so reheating is not recommended. Instead, simply take it out of the fridge about 10 minutes before serving to allow it to soften slightly for the best mouthfeel.
FAQs
Can I use other types of cookies besides wafer cookies?
Absolutely! Graham crackers or thin chocolate chip cookies also work wonderfully. Just remember that the cookies soften as the cake chills, so choosing thinner or crispier options helps maintain the texture balance.
How long does it take to prepare the Quick Icebox Cake Recipe?
The prep time is incredibly short—about 15 minutes. Most of the magic happens during the 4-hour chilling period when the cookies absorb moisture and create that perfect cake-like consistency.
Can I make this dessert vegan or dairy-free?
Yes, you can substitute the heavy cream with a non-dairy whipping cream alternative and use dairy-free cookies. Just ensure the cream substitute whips well to achieve stiff peaks for the best texture.
What’s the best way to cut the icebox cake?
Using a sharp, serrated knife dipped in warm water and wiped dry between cuts helps create clean slices without squishing the layers.
Is it possible to add flavors besides vanilla?
Definitely! You can swap the vanilla extract for almond, coffee, or even orange extract for a creative twist that complements the cookies and cream beautifully.
Final Thoughts
I truly hope you give this Quick Icebox Cake Recipe a try because it’s one of those desserts that brings pure joy with minimal effort. Whether you’re looking for a last-minute treat or a show-stopping dessert to impress guests, this cake is guaranteed to deliver on flavor, texture, and smiles. Trust me, once you taste the heavenly layers of whipped cream and softened cookies, you’ll be hooked for life!
Print
Quick Icebox Cake Recipe
- Prep Time: 15 minutes
- Cook Time: 0 minutes
- Total Time: 4 hours 15 minutes
- Yield: 9 servings 1x
- Category: Dessert
- Method: No-Cook
- Cuisine: American
- Diet: Vegetarian
Description
This Quick Icebox Cake Recipe is a delightful no-bake dessert perfect for warm days and quick preparation. Layers of whipped cream and chocolate or vanilla wafer cookies meld together after chilling to create a creamy, soft, and indulgent treat that’s easy to make and sure to impress. Optional toppings like mini chocolate chips or fresh berries add extra flavor and texture, making it a versatile dessert for any occasion.
Ingredients
Whipped Cream Mixture
- 2 cups heavy whipping cream
- 1/3 cup powdered sugar
- 1 teaspoon vanilla extract
Layers and Toppings
- 1 box (about 9 oz) chocolate or vanilla wafer cookies
- 1/2 cup mini chocolate chips or shaved chocolate (optional)
- Fresh berries or fruit slices for topping (optional)
Instructions
- Prepare the Whipped Cream: In a large bowl, beat the heavy cream, powdered sugar, and vanilla extract with an electric mixer on medium-high speed until stiff peaks form, ensuring the whipped cream is light and airy.
- Layer the Base: Spread a thin layer of whipped cream evenly on the bottom of an 8×8-inch or 9×9-inch square dish to help anchor the first layer of cookies.
- Add Cookies: Arrange a layer of wafer cookies over the whipped cream, breaking some cookies if necessary to completely cover the surface of the dish for even layering.
- Repeat Layers: Spread another layer of whipped cream over the cookies and repeat the cookie and cream layering process until all the cookies and cream are used, making sure to end with a final smooth layer of whipped cream on top.
- Add Toppings: Sprinkle the top layer with mini chocolate chips, shaved chocolate, or fresh fruit slices as desired to add flavor and visual appeal.
- Chill: Cover the dish with plastic wrap and refrigerate for at least 4 hours, or ideally overnight, to allow the cookies to soften and the flavors to fully meld together.
- Serve: Slice the chilled icebox cake into squares and serve cold for a refreshing and creamy dessert experience.
Notes
- You can substitute graham crackers or thin chocolate chip cookies for the wafer cookies to vary the flavor and texture.
- Try replacing vanilla extract with almond or coffee extract to give the dessert a unique twist.
- This icebox cake can be stored safely in the refrigerator for up to 3 days, maintaining its flavor and texture.