If you’ve ever dreamed of baking your own tangy, bubbly bread right at home, starting with a simple yet magical sourdough starter is the way to go. This Sourdough Starter Recipe is your gateway to capturing wild yeast and cultivating a lively culture that gives homemade bread its amazing texture, flavor, and that irresistible crust. With just flour, water, and a little patience, you’ll nurture your own living ferment that transforms humble ingredients into a baker’s masterpiece.
Ingredients You’ll Need
Creating the perfect sourdough starter might sound complex, but it truly only requires two essential ingredients. Each plays a crucial role in awakening natural yeast and bacteria to get your starter bubbling with life and ready for baking.
- Flour: Using all-purpose or whole wheat flour provides the natural sugars and nutrients needed to feed your yeast and encourage fermentation.
- Filtered or dechlorinated water: Clean water without chlorine is important since chlorine can inhibit the growth of your starter’s natural yeast.
How to Make Sourdough Starter Recipe
Step 1: Mix Flour and Water
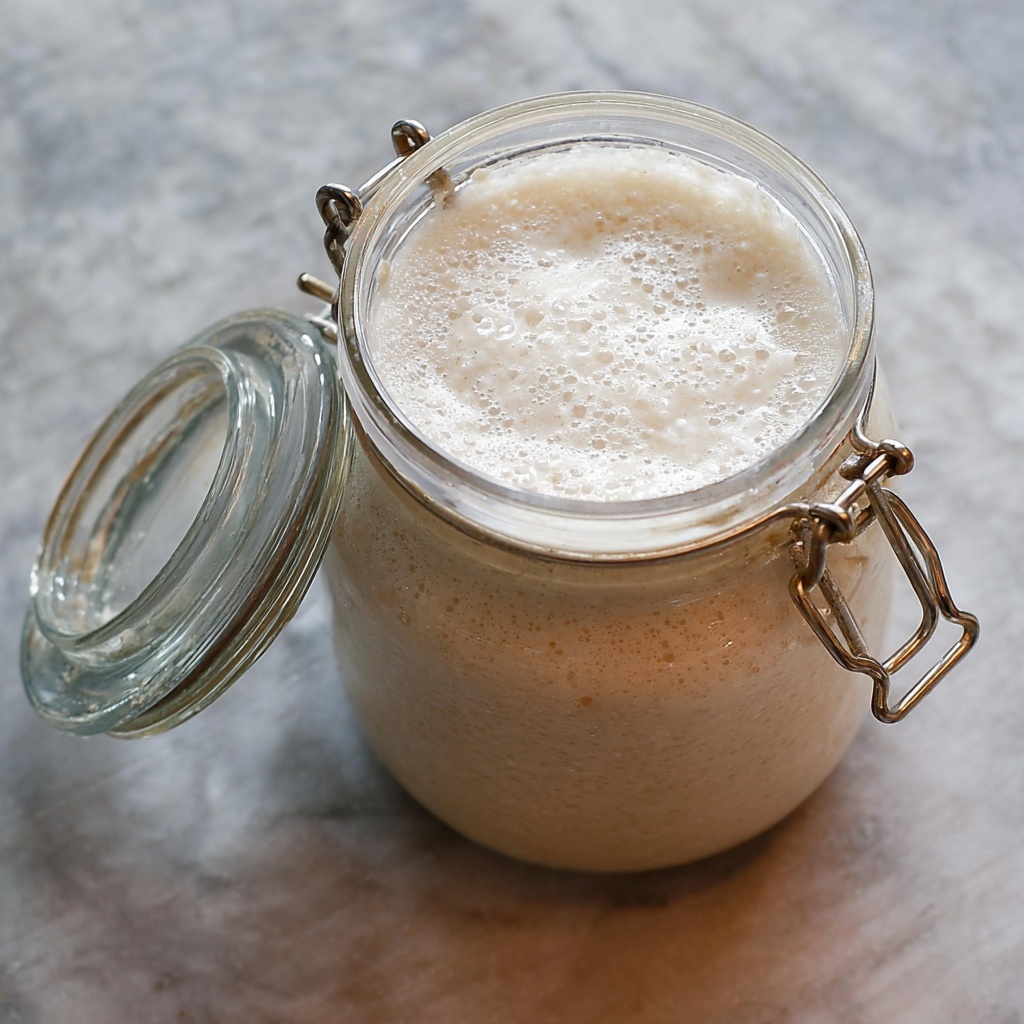
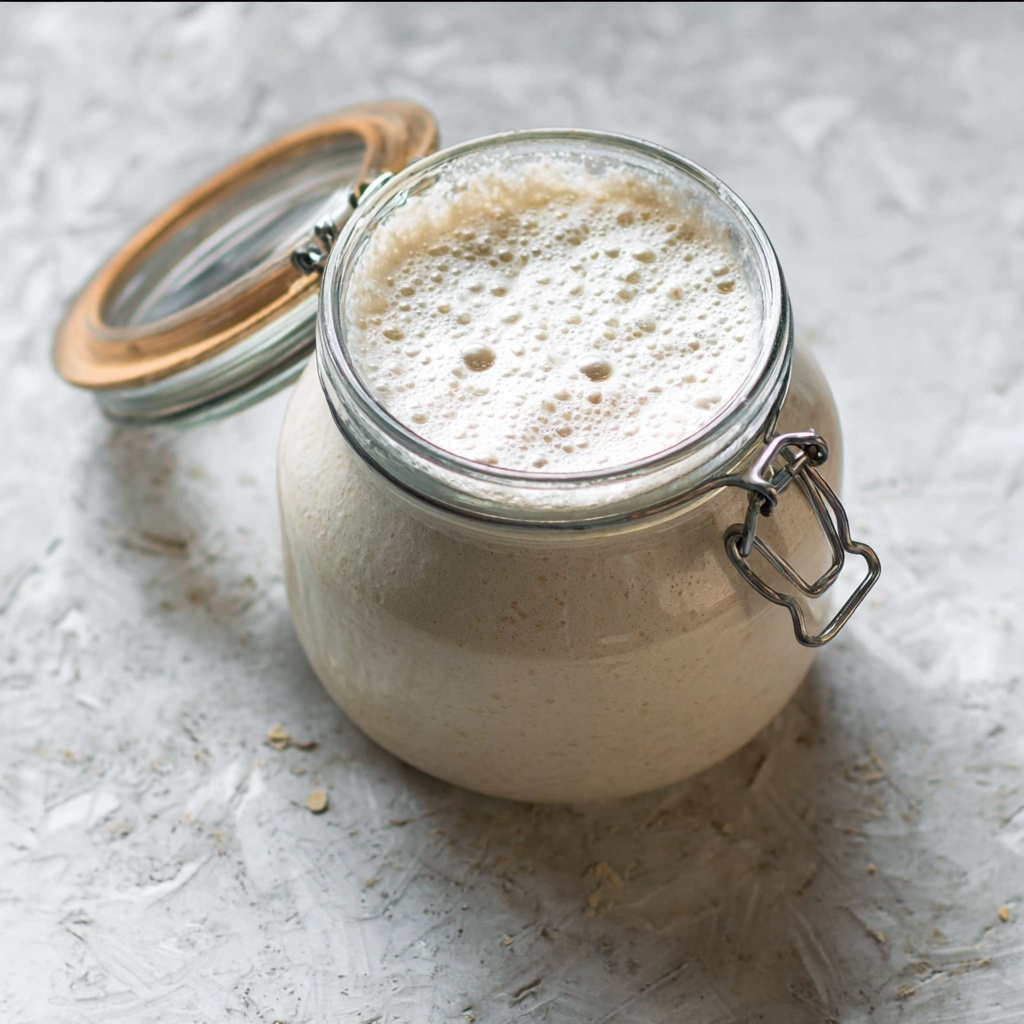
Begin by combining 1 cup of your chosen flour with 1/2 cup of filtered or dechlorinated water in a clean glass jar or bowl. Stir thoroughly until all the flour is hydrated and no dry patches remain. Cover this loosely—either with a cloth or a lid left slightly ajar—to allow air to reach the culture but prevent debris from falling in. Place it in a warm spot, ideally around 70 to 75 degrees Fahrenheit, and let it rest undisturbed for 24 hours.
Step 2: Feed and Discard
After the first day, you might already notice a few bubbles, or it might look unchanged, which is totally normal. Discard about half of the mixture—this helps balance acidity and keeps your starter manageable in size. Then, feed it again by adding 1 cup of flour and 1/2 cup of fresh filtered water. Mix everything together, cover loosely, and leave it in the same warm spot for another 24 hours.
Step 3: Continue Daily Feedings
Repeat the daily ritual of discarding half and feeding your starter with fresh flour and water. Around days three or four, you’ll likely see bubbles forming, smell a pleasant tang, and find the mixture expanding. These are signs your natural yeast and friendly bacteria are thriving. By the end of the first week, your starter should double in size within a few hours of feeding, smell sour but not unpleasant, and be teeming with bubbles—proof that it’s ready for baking delicious sourdough bread.
Step 4: Maintain Your Starter
If you bake frequently, keep your starter at room temperature and feed it once daily to keep it lively and active. For less frequent baking, store the starter in the refrigerator and feed it once a week. Before baking, always feed your starter and let it become bubbly and active again for the best results.
How to Serve Sourdough Starter Recipe
Garnishes
While the starter itself isn’t eaten directly, imagining its transformation helps you appreciate garnishes in finished sourdough bread. Sprinkling fresh herbs, seeds like sesame or poppy, or flakes of sea salt on top of your loaves before baking adds delightful texture and flavor, all owed to your starter’s fermentative magic.
Side Dishes
Rich, tangy sourdough pairs wonderfully with a wide array of accompaniments. Think creamy butters, herb-infused olive oils, or your favorite homemade jams and cheeses. The character that your Sourdough Starter Recipe imparts to bread elevates every bite alongside fresh salads, hearty soups, or rustic cheeses.
Creative Ways to Present
Once your starter has matured, the bread you bake can be shaped into impressive artisan loaves, rustic boule, or inviting sandwich slices. You can even create sourdough pancakes, waffles, and pizza crusts. Each variation carries the depth and complexity birthed from that very same sourdough starter you lovingly feed and tend to daily.
Make Ahead and Storage
Storing Leftovers
Your sourdough starter is alive, so storing it means keeping it nourished. If you won’t bake right away, place the starter in the fridge in a loosely covered jar. Feeding it once a week will keep it active without needing daily attention, making it perfect for busy lifestyles.
Freezing
While freezing your starter is possible, it’s not ideal, as freezing slows down the yeasts and bacteria. If you want to pause your starter for a long period, consider drying some on parchment paper and storing it in an airtight container as a backup. This way, you can rehydrate and revive your starter when ready.
Reheating
Before using refrigerated or lesser-fed starter in recipes, always bring it back to room temperature and feed it. This refreshes the microbes, waking them up from their slower refrigerated state, so your dough rises beautifully and develops the full sourdough flavor.
FAQs
Why is my sourdough starter not bubbling?
It might be a temperature issue, as yeast prefers warmth. Also, using chlorinated water or poor-quality flour can slow down fermentation. Try switching to filtered water and whole wheat flour to jumpstart activity.
Can I use all-purpose flour for my starter?
Absolutely! Both all-purpose and whole wheat flours work well. Whole wheat tends to encourage faster fermentation early on because of its higher nutrient content, but you can switch to all-purpose anytime.
How often should I feed my sourdough starter?
At room temperature, feed your starter once every 24 hours. If stored in the fridge, feeding once per week suffices to keep it healthy and ready for baking.
What if I forget to feed my starter for a few days?
Your starter might develop a layer of hooch (liquid on top). Simply pour it off, feed your starter, and it should bounce back with a little time and care.
Can I use tap water to feed my starter?
It’s best to avoid tap water if it contains chlorine or chloramine, as these chemicals can inhibit yeast growth. Use filtered, bottled, or dechlorinated water for optimal results.
Final Thoughts
Starting your own sourdough culture from scratch with this Sourdough Starter Recipe is one of the most rewarding culinary adventures you can undertake. It takes just a few simple ingredients, everyday patience, and a touch of love to unlock incredible flavors and textures that store-bought yeast just can’t match. I promise, once you see that bubbly jar grow day by day, you’ll feel a proud connection to the art of baking that’s truly timeless. Give it a try—you’ll be amazed at what you create!
Print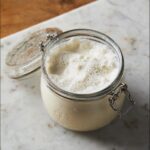
Sourdough Starter Recipe
- Prep Time: 5 minutes per day
- Cook Time: 0 minutes
- Total Time: 7 days
- Yield: About 1 cup active starter 1x
- Category: Basics
- Method: Fermentation
- Cuisine: Traditional
- Diet: Vegan
Description
Learn how to create your own sourdough starter from scratch with this simple, step-by-step fermentation recipe. Using just flour and filtered water, you’ll cultivate wild yeast and beneficial bacteria over a week to form the foundation for delicious homemade sourdough bread.
Ingredients
Starter Ingredients
- 1 cup (120g) all-purpose flour or whole wheat flour
- 1/2 cup (120ml) filtered or dechlorinated room temperature water
Instructions
- Day 1 Mixing: In a clean glass jar or bowl, combine 1 cup of flour with 1/2 cup water. Stir thoroughly until no dry flour remains. Cover the container loosely with a cloth or lid to allow airflow and leave it at room temperature (70–75°F) for 24 hours.
- Day 2 Feeding: You may or may not see bubbles at this point. Discard half of the starter (approximately 1/2 cup) and feed it by adding 1 cup flour and 1/2 cup water. Mix well, cover loosely again, and let it rest for another 24 hours at room temperature.
- Days 3–7 Daily Maintenance: Repeat the feeding routine each day: discard half the starter and feed with fresh 1 cup flour and 1/2 cup water. By days 3 or 4, you should observe bubbles, a tangy aroma, and rising activity. Continue this process until day 6 or 7, when the starter should double in size within 4 to 6 hours after feeding and be full of bubbles with a pleasant sour smell.
- Ongoing Care: If you bake daily, keep the starter at room temperature and feed it once a day. For less frequent baking, refrigerate your starter and feed it once weekly. Always feed the starter before using it in a recipe to keep it active and healthy.
Notes
- Use filtered or dechlorinated water because chlorine can inhibit the fermentation process.
- Whole wheat flour can accelerate fermentation in the beginning stages but you may switch to all-purpose flour later.
- Maintain cleanliness by using clean utensils and containers to prevent unwanted contamination.